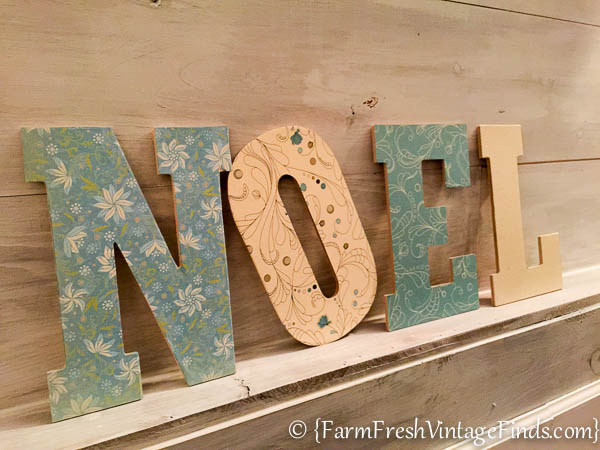
Easy DIY Noel Sign
Today I have a fun easy tutorial for you, teaching you how to make this Noel sign for Christmas. It’s so easy and inexpensive anyone can do it!
I like to keep my decorating minimal during the holidays. Don’t get me wrong I love Christmas and everything that goes with it but I don’t like to turn my house upside down decorating. I used to do that but over the last few years I’ve tried to adopt a more minimalistic approach to holiday decorating. This makes clean up so much easier!
That said, I like to keep the decorations simple and clean. This Noel “sign” is an example of just that.
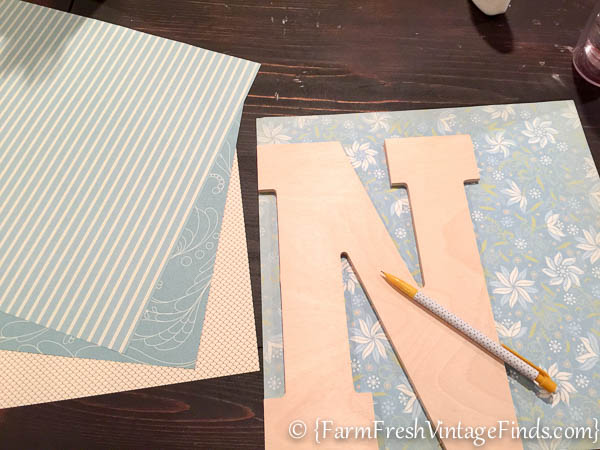
I started out by going to the craft store and picking up the letters. I think they were about $1.99 each. I then went through my treasure trove of scrapbook paper and picked out some blue and white papers. I have mostly silver, blue and white for all my Christmas decorations so I thought these colors would work great.
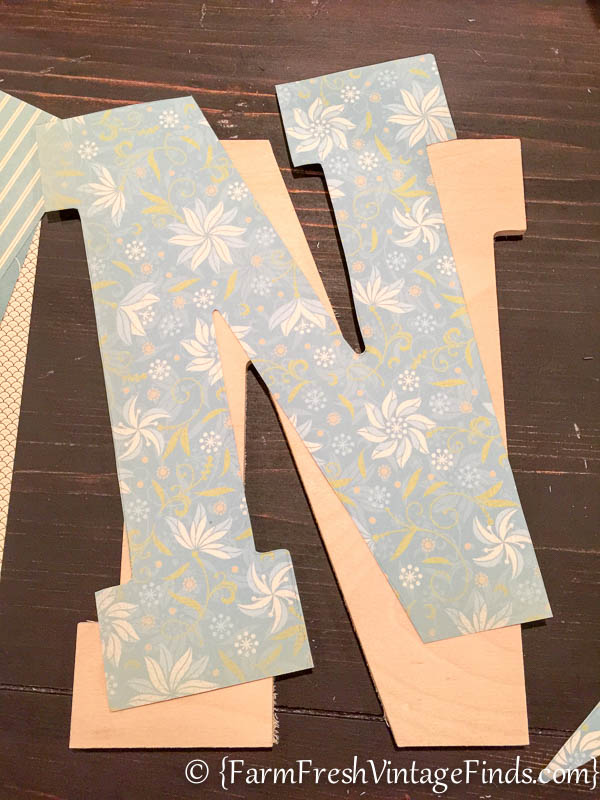
Next I traced around the letters with a pencil and then cut them out.
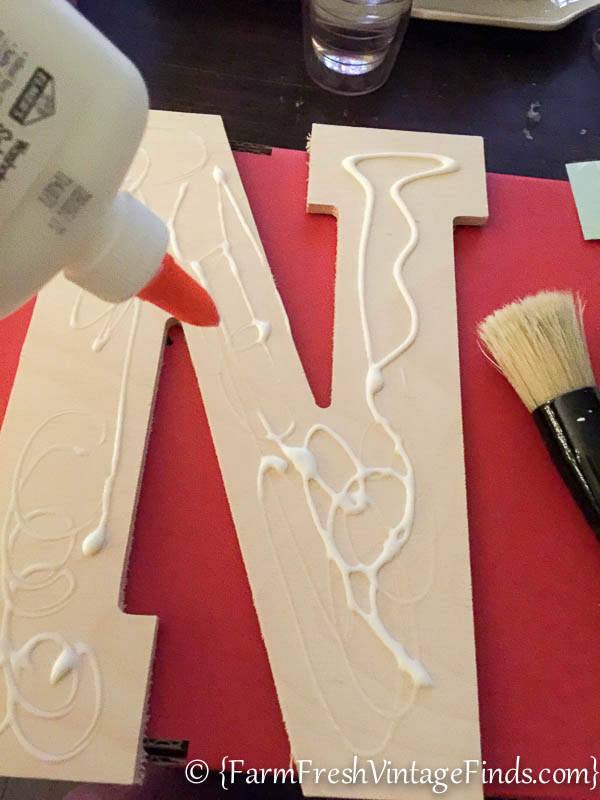
After that I used white school glue and my stencil brush to spread glue over the entire wooden letter.
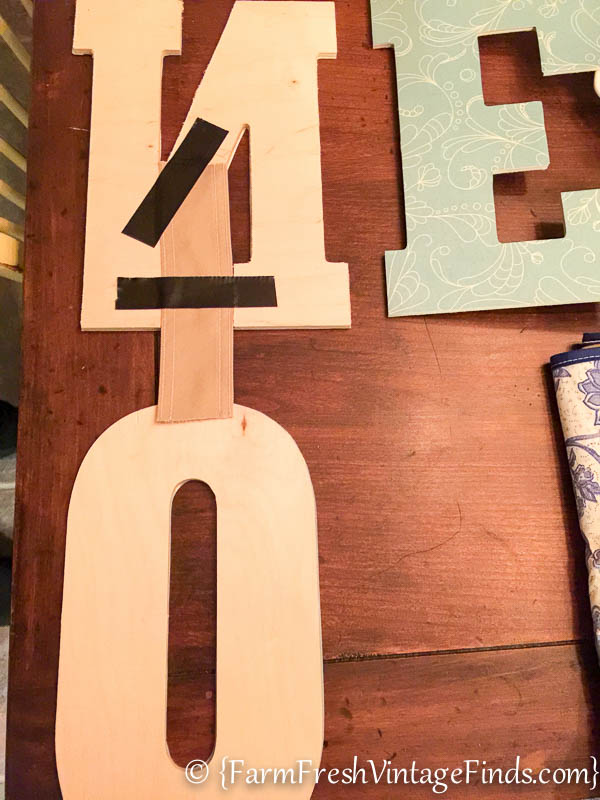
I then taped strips of fabric to the back of the letters so I could hang them vertically on my door. I decided to tape them rather than do something permanent as I change my mind a lot and I wanted to be able to display them differently next year if I so desired.
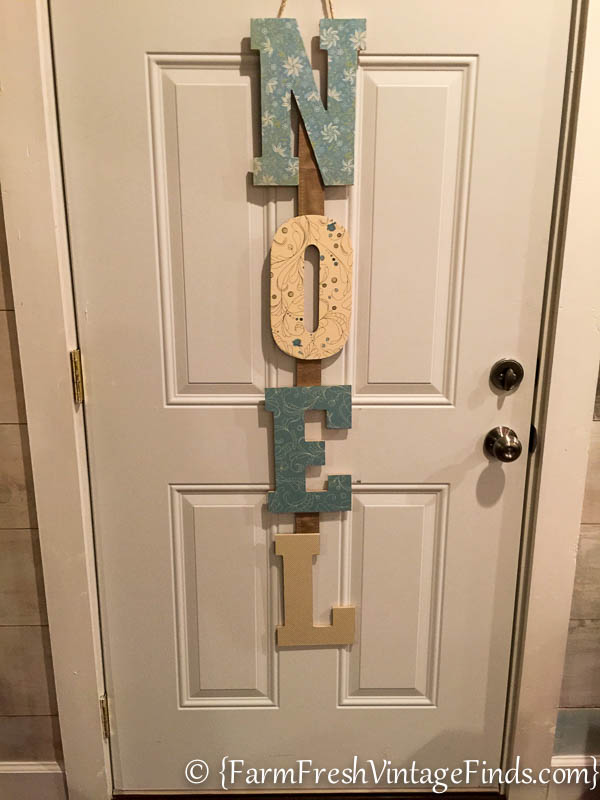
And there you have it! An easy afternoon craft that’s great to hang on the door or many other spots in the house.
Have a great day friends and be sure and come back later this week for the Christmas Tour I’m participating in with lots of my blogging friends, where I’ll be sharing lots of photos of my home all decorated for Christmas.