Empire Buffet Restoration Part 3
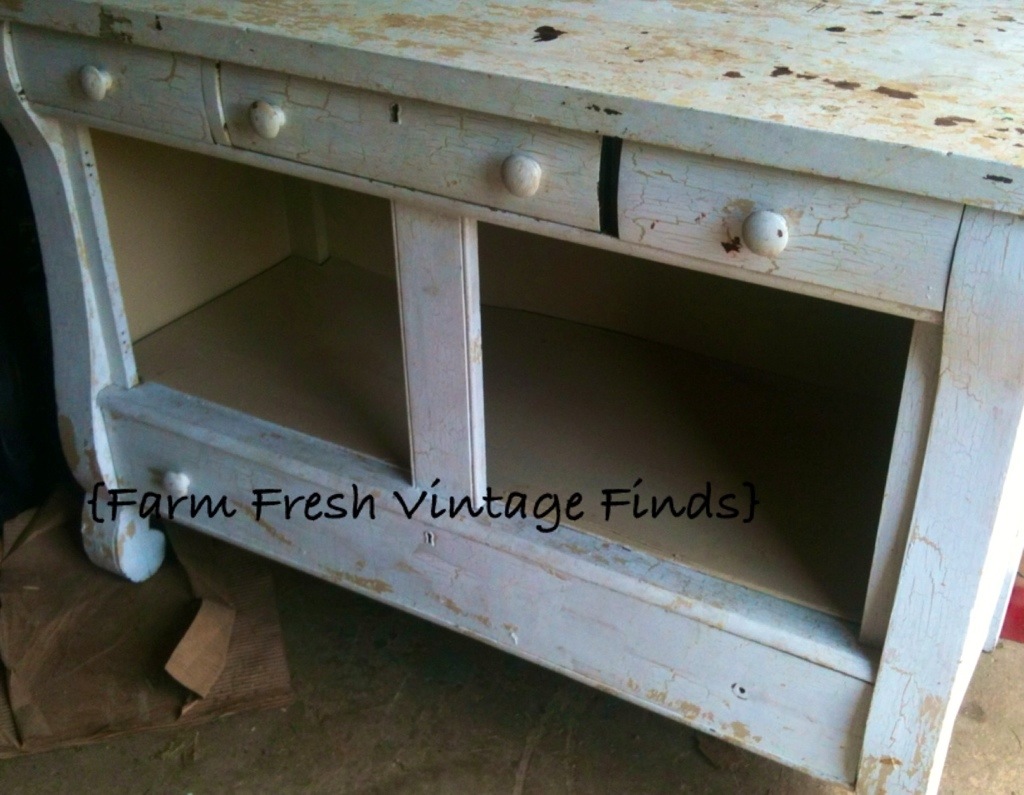
You may remember this Empire buffet I posted about here and here. It’s getting a complete overhaul and will be done in the next couple days. I wanted to share some more progress on it.

I’m not usually a fan of the look of oak. Lately however I’ve discovered that if you stain it a little darker than they typical honey oak from the 70’s and 80’s you can get a really fantastic look.

This is the top of the buffet that as you can see in the first photo and from my other two posts (mentioned above) was previously covered in paint. I couldn’t be more pleased with how it turned out. It is as smooth as silk and looks completely flawless. My dad has been such an incredible help with this entire project. He grew up watching his father and brothers build houses and refinish furniture. I’ve learned almost everything I know about rehabbing from him and I’m so grateful to come from a long line of builders and refinishers.

Ok back to the task at hand….this particular oak is tiger oak. It has such a beautiful grain to it. For all you furniture buffs here’s a little something I learned about tiger oak. Tiger oak is lumber produced by a particular milling process called quarter sawing. The process results in lumber with a distinctive grain that is often used in high-end applications in which the appearance of the wood is an important consideration. The process is not limited to oak, and many other kinds of wood are quarter-sawn.

As well as stripping, staining and re-painting this piece we also had to do quite a bit of rebuilding to it. It always helps to have lots of woodworking tools in your workshop. I think my dad was secretly excited to break out his planer to plane some oak for the bottom drawer we rebuilt.

Here’s a before shot of the wood. This thing is AMAZING!!! You can take a piece of sawmill lumber that some people would throw in a fire pit and turn it into a beautiful smooth board.

The key to this machine is, as with most things, patience. You have to run the board through very slowly and carefully. It’s essentially doing the work of hours of sanding so it’s pretty incredible once you realize the time you are saving.

Here you can see the planed board. We then ran it through the table saw to create the groove that will hold the bottom.

Wonder what I can do with all these cute little shavings???? Well that’s it for this episode of how many post will it take to finish this empire buffet restoration post. Hopefully the next time I post about this you’ll be seeing a BIG reveal!!!!
One Comment