How to Reupholster a Chair
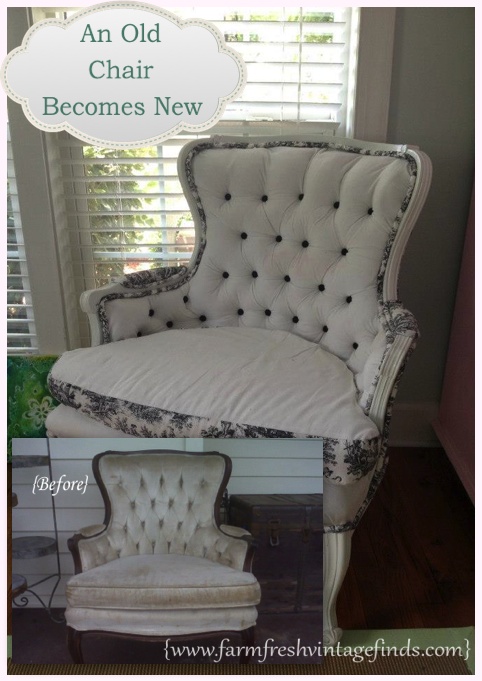
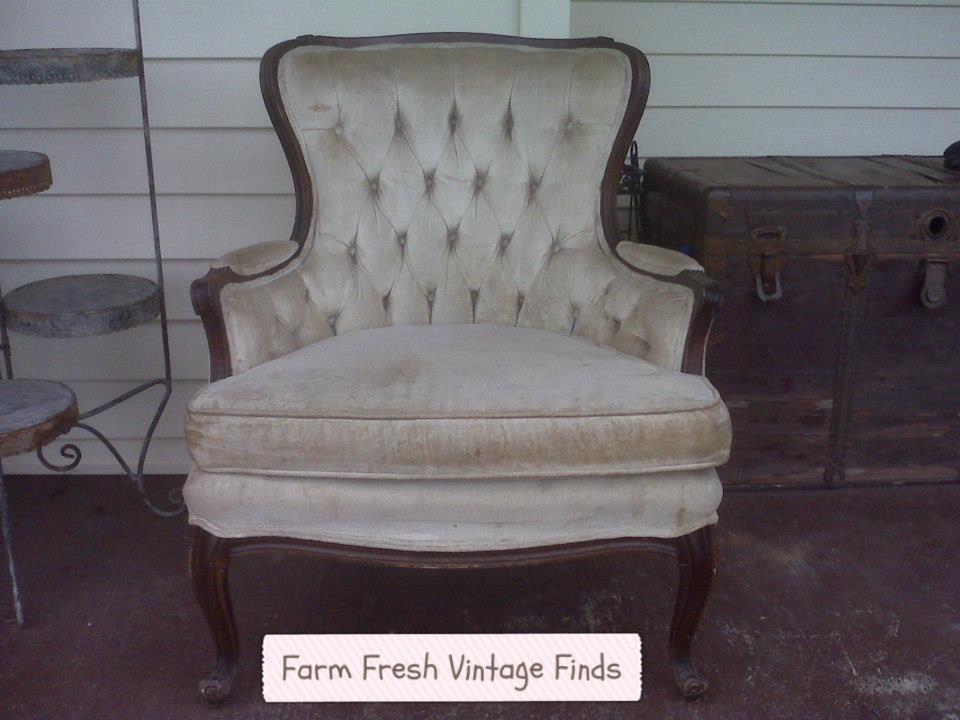
I found this little chair at a thrift store last fall and I instantly fell in love. I had been wanting to try my hand at upholstery and since it looked to be in great shape I figured why not just go for it.
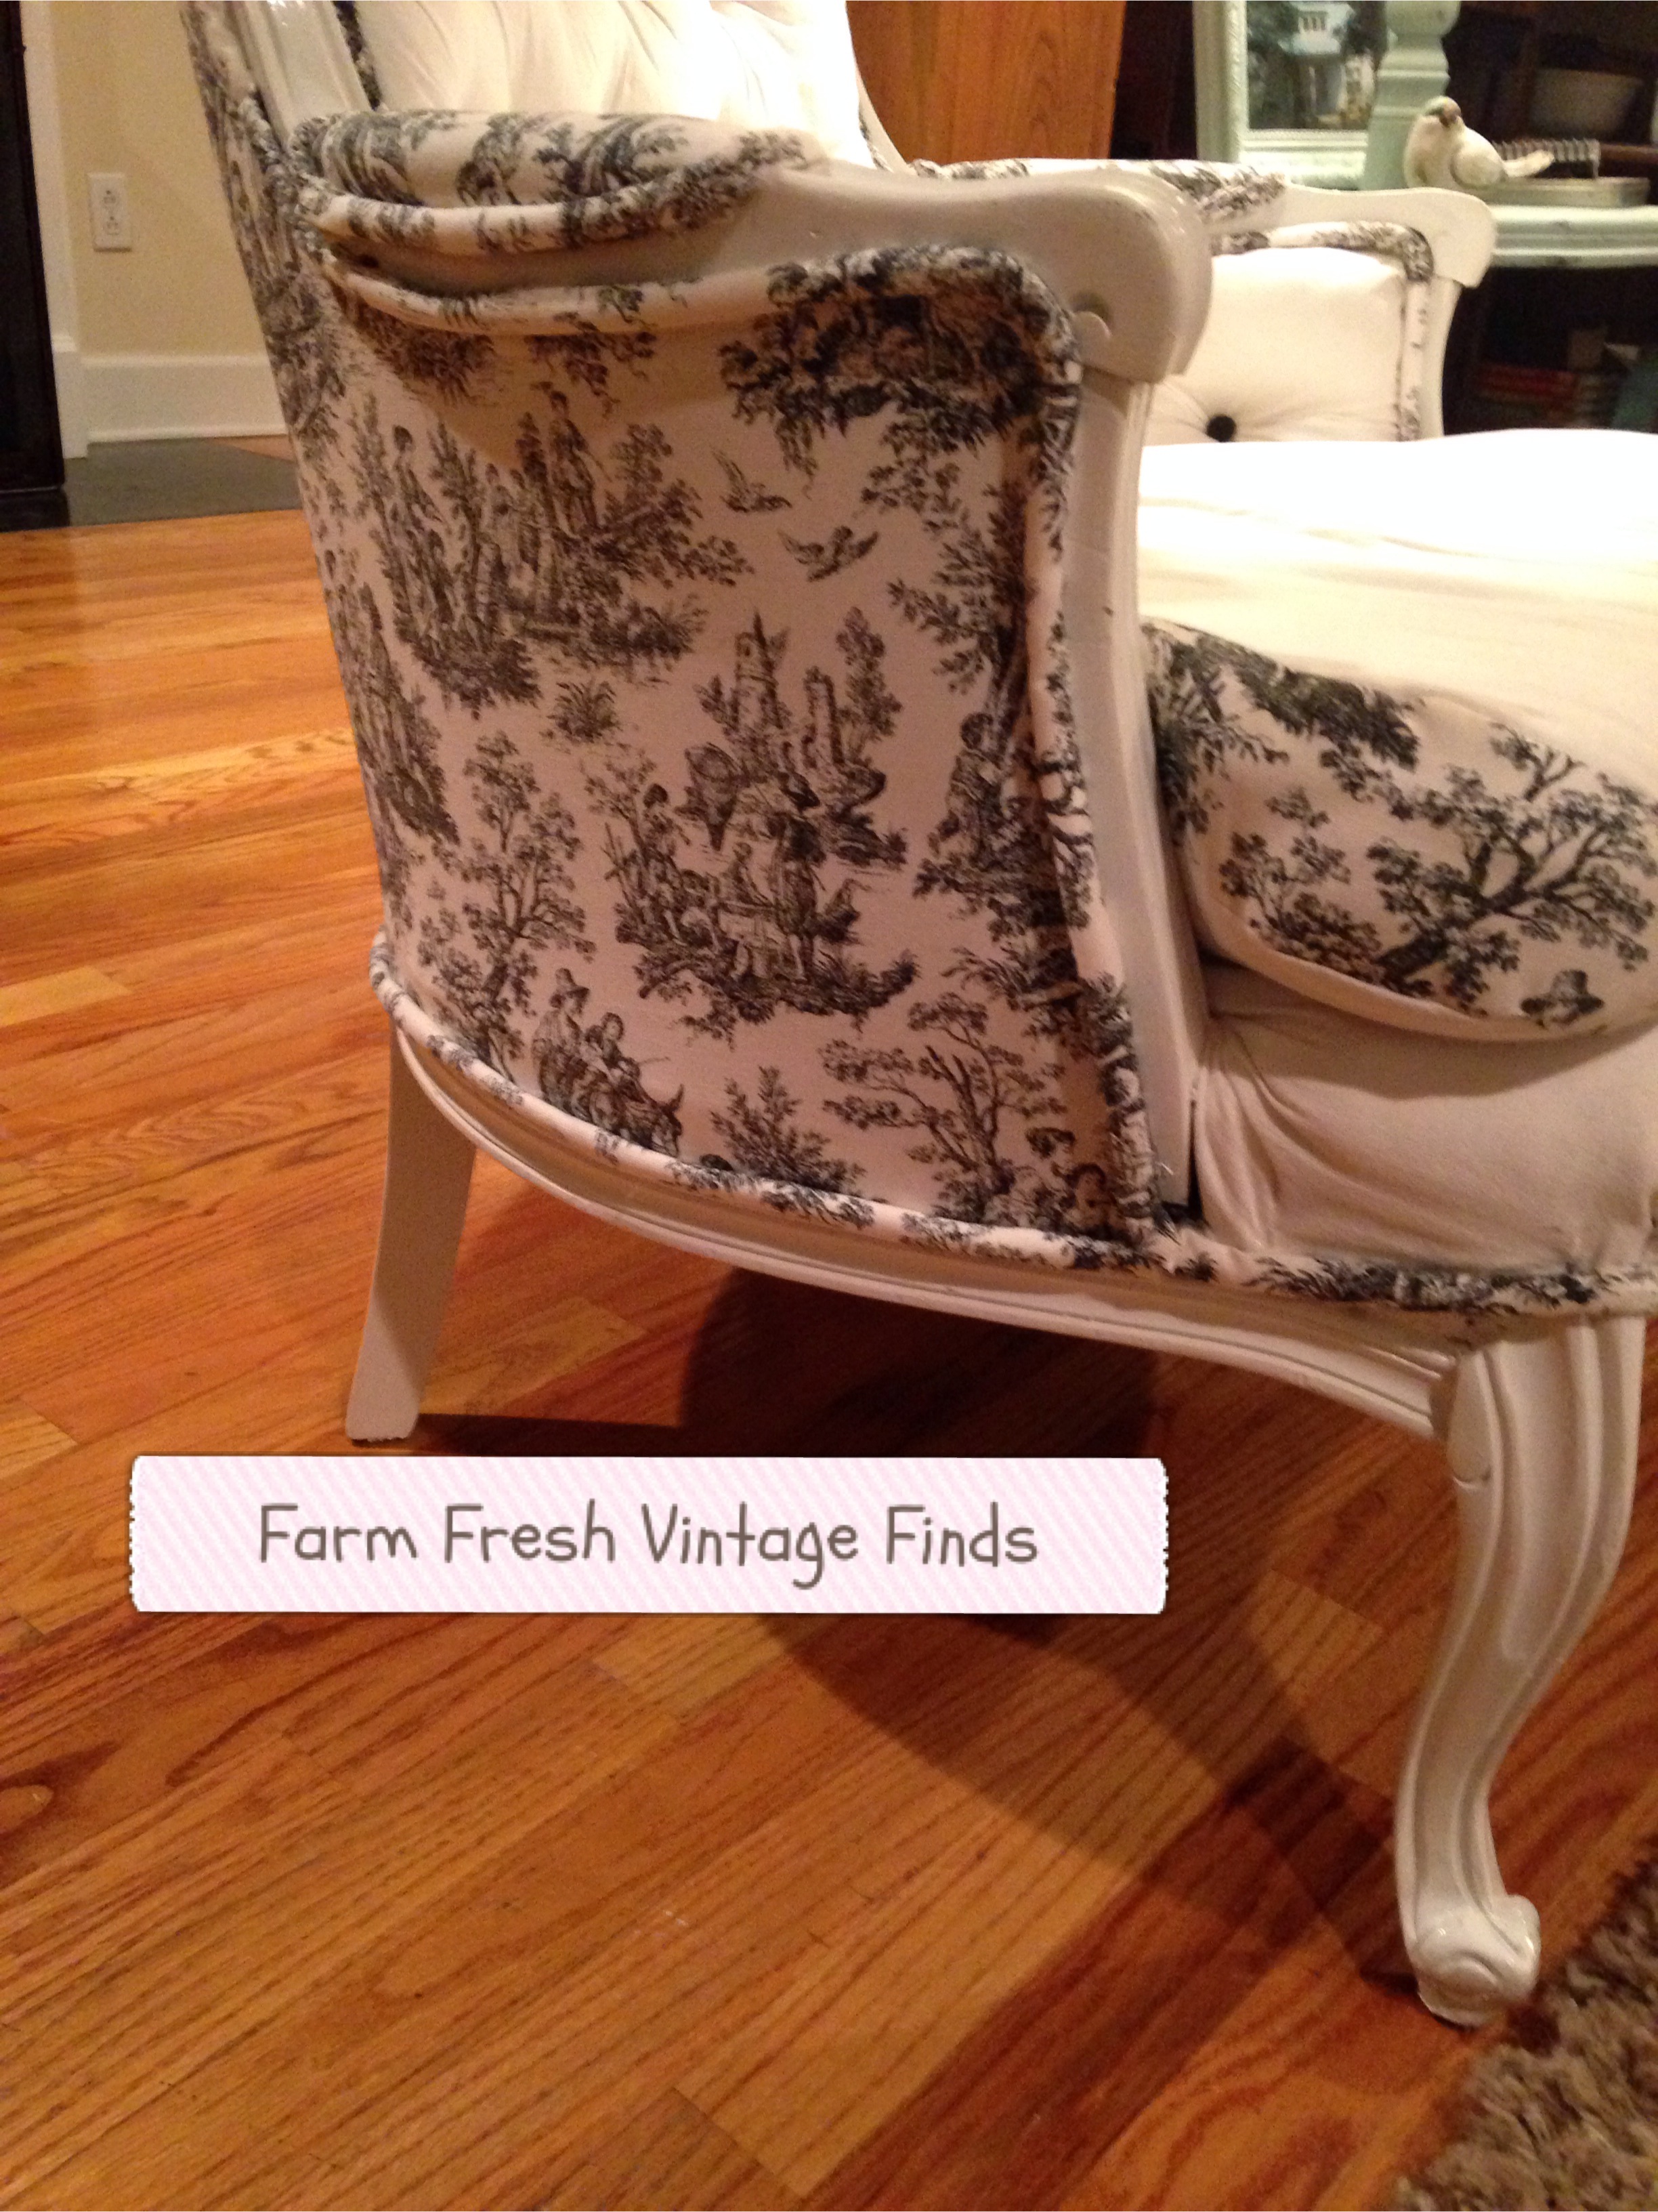
Doesn’t it just have the greatest lines? So feminine.

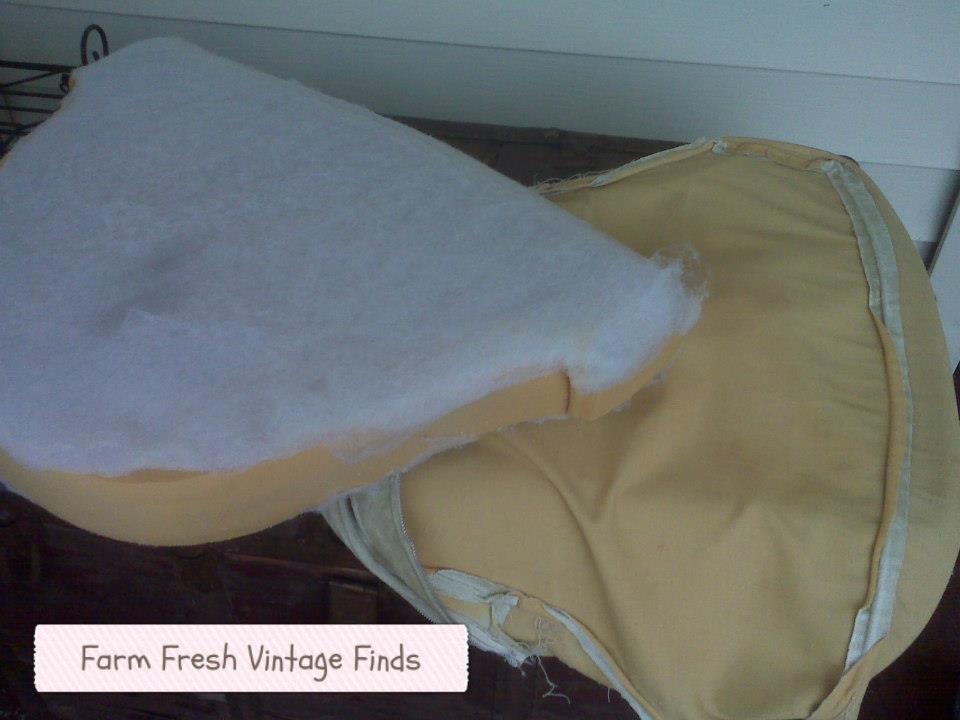
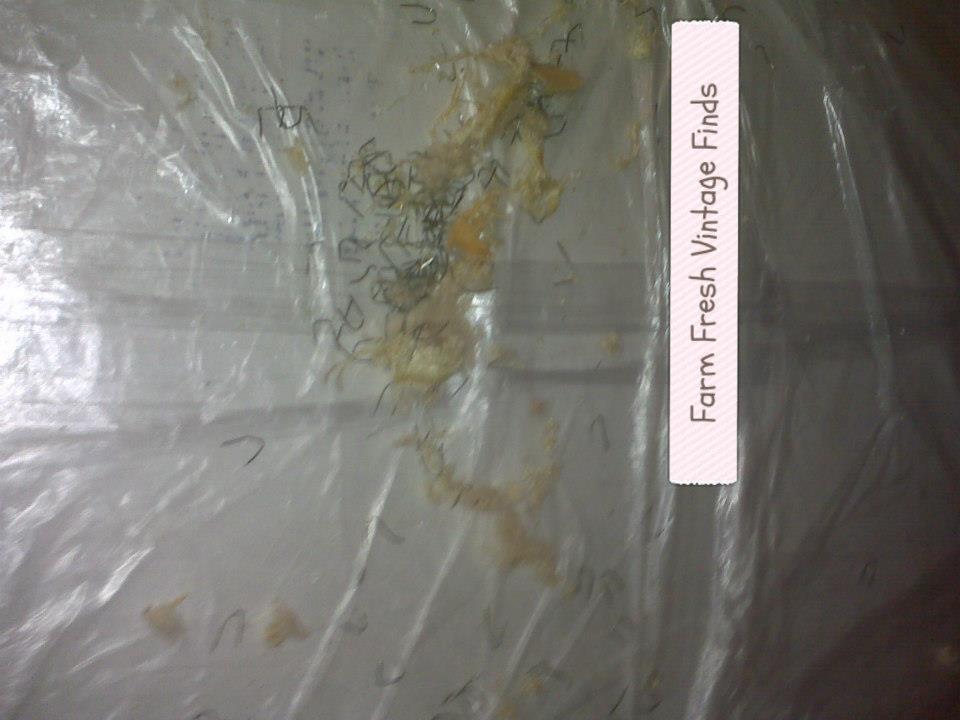
I started by removing everything. This is the cushion without its cover…..
Even my sweet princess helped me.
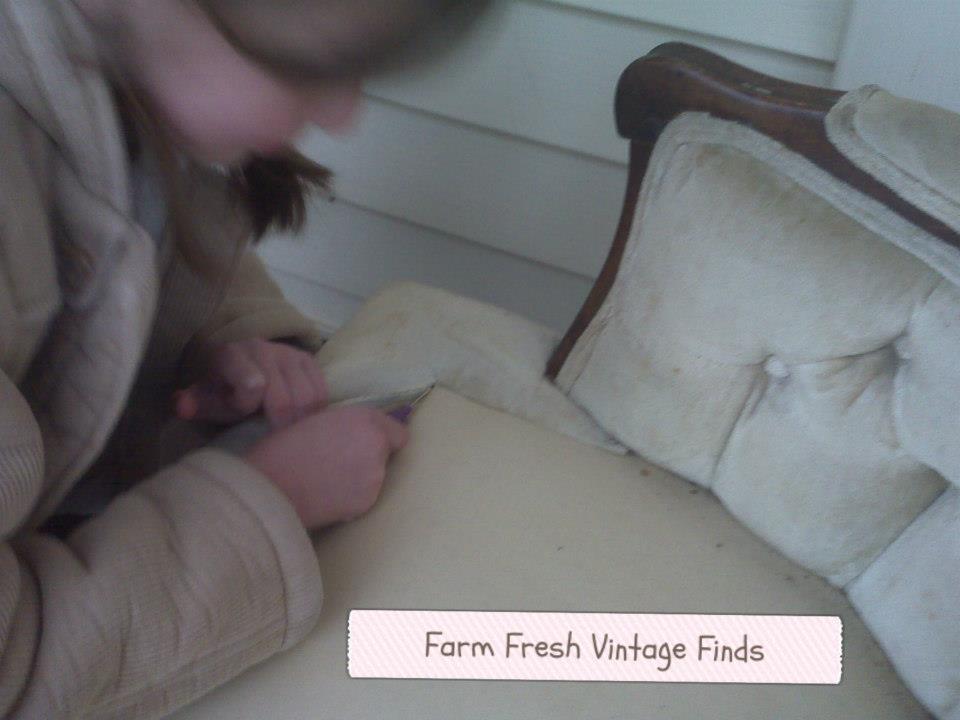
We tore off EVERYTHING. Mind you we did this outside in 20 degree temps. (Yes that’s my daughters knee. She had on shorts and a coat. Silly girl.) Yeah, I’m that nuts about refinishing and I also wanted to check for critters and creepy crawlies. Cause although we live on a farm creepy crawlies aren’t welcome inside.

I decided to spray paint the buttons because I couldn’t find any I liked. That’s what I do. If I can find it I just create it. Hey, don’t knock it till you try it, it worked like a charm!
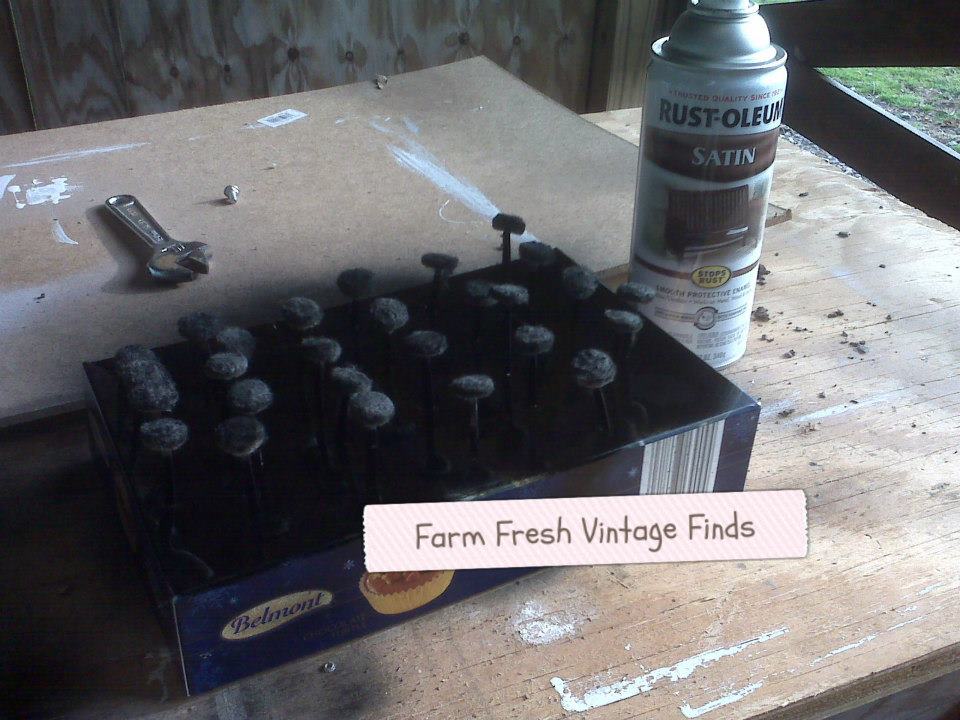
I painted the sexy legs white with some durable latex gloss paint. Then I broke out my sewing machine and made the piping for the trim. During this process my camera went south so I didn’t get any pictures of the reassembly. 🙁 Basically I recovered every area that had had fabric previously with the new fabric. I started in the center by placing the first button making sure I had plenty of fabric on all sides. Then I worked my way from side to side and up and down placing the buttons one at a time. The important thing is to always start from the center and work your way out. This ensures that you have enough fabric to cover the entire area. After I placed all the buttons I stapled the edges of the fabric where it met the wood. Next it was time to add the piping to cover all the new staples.

Then I covered the back with fabric and added piping to it.
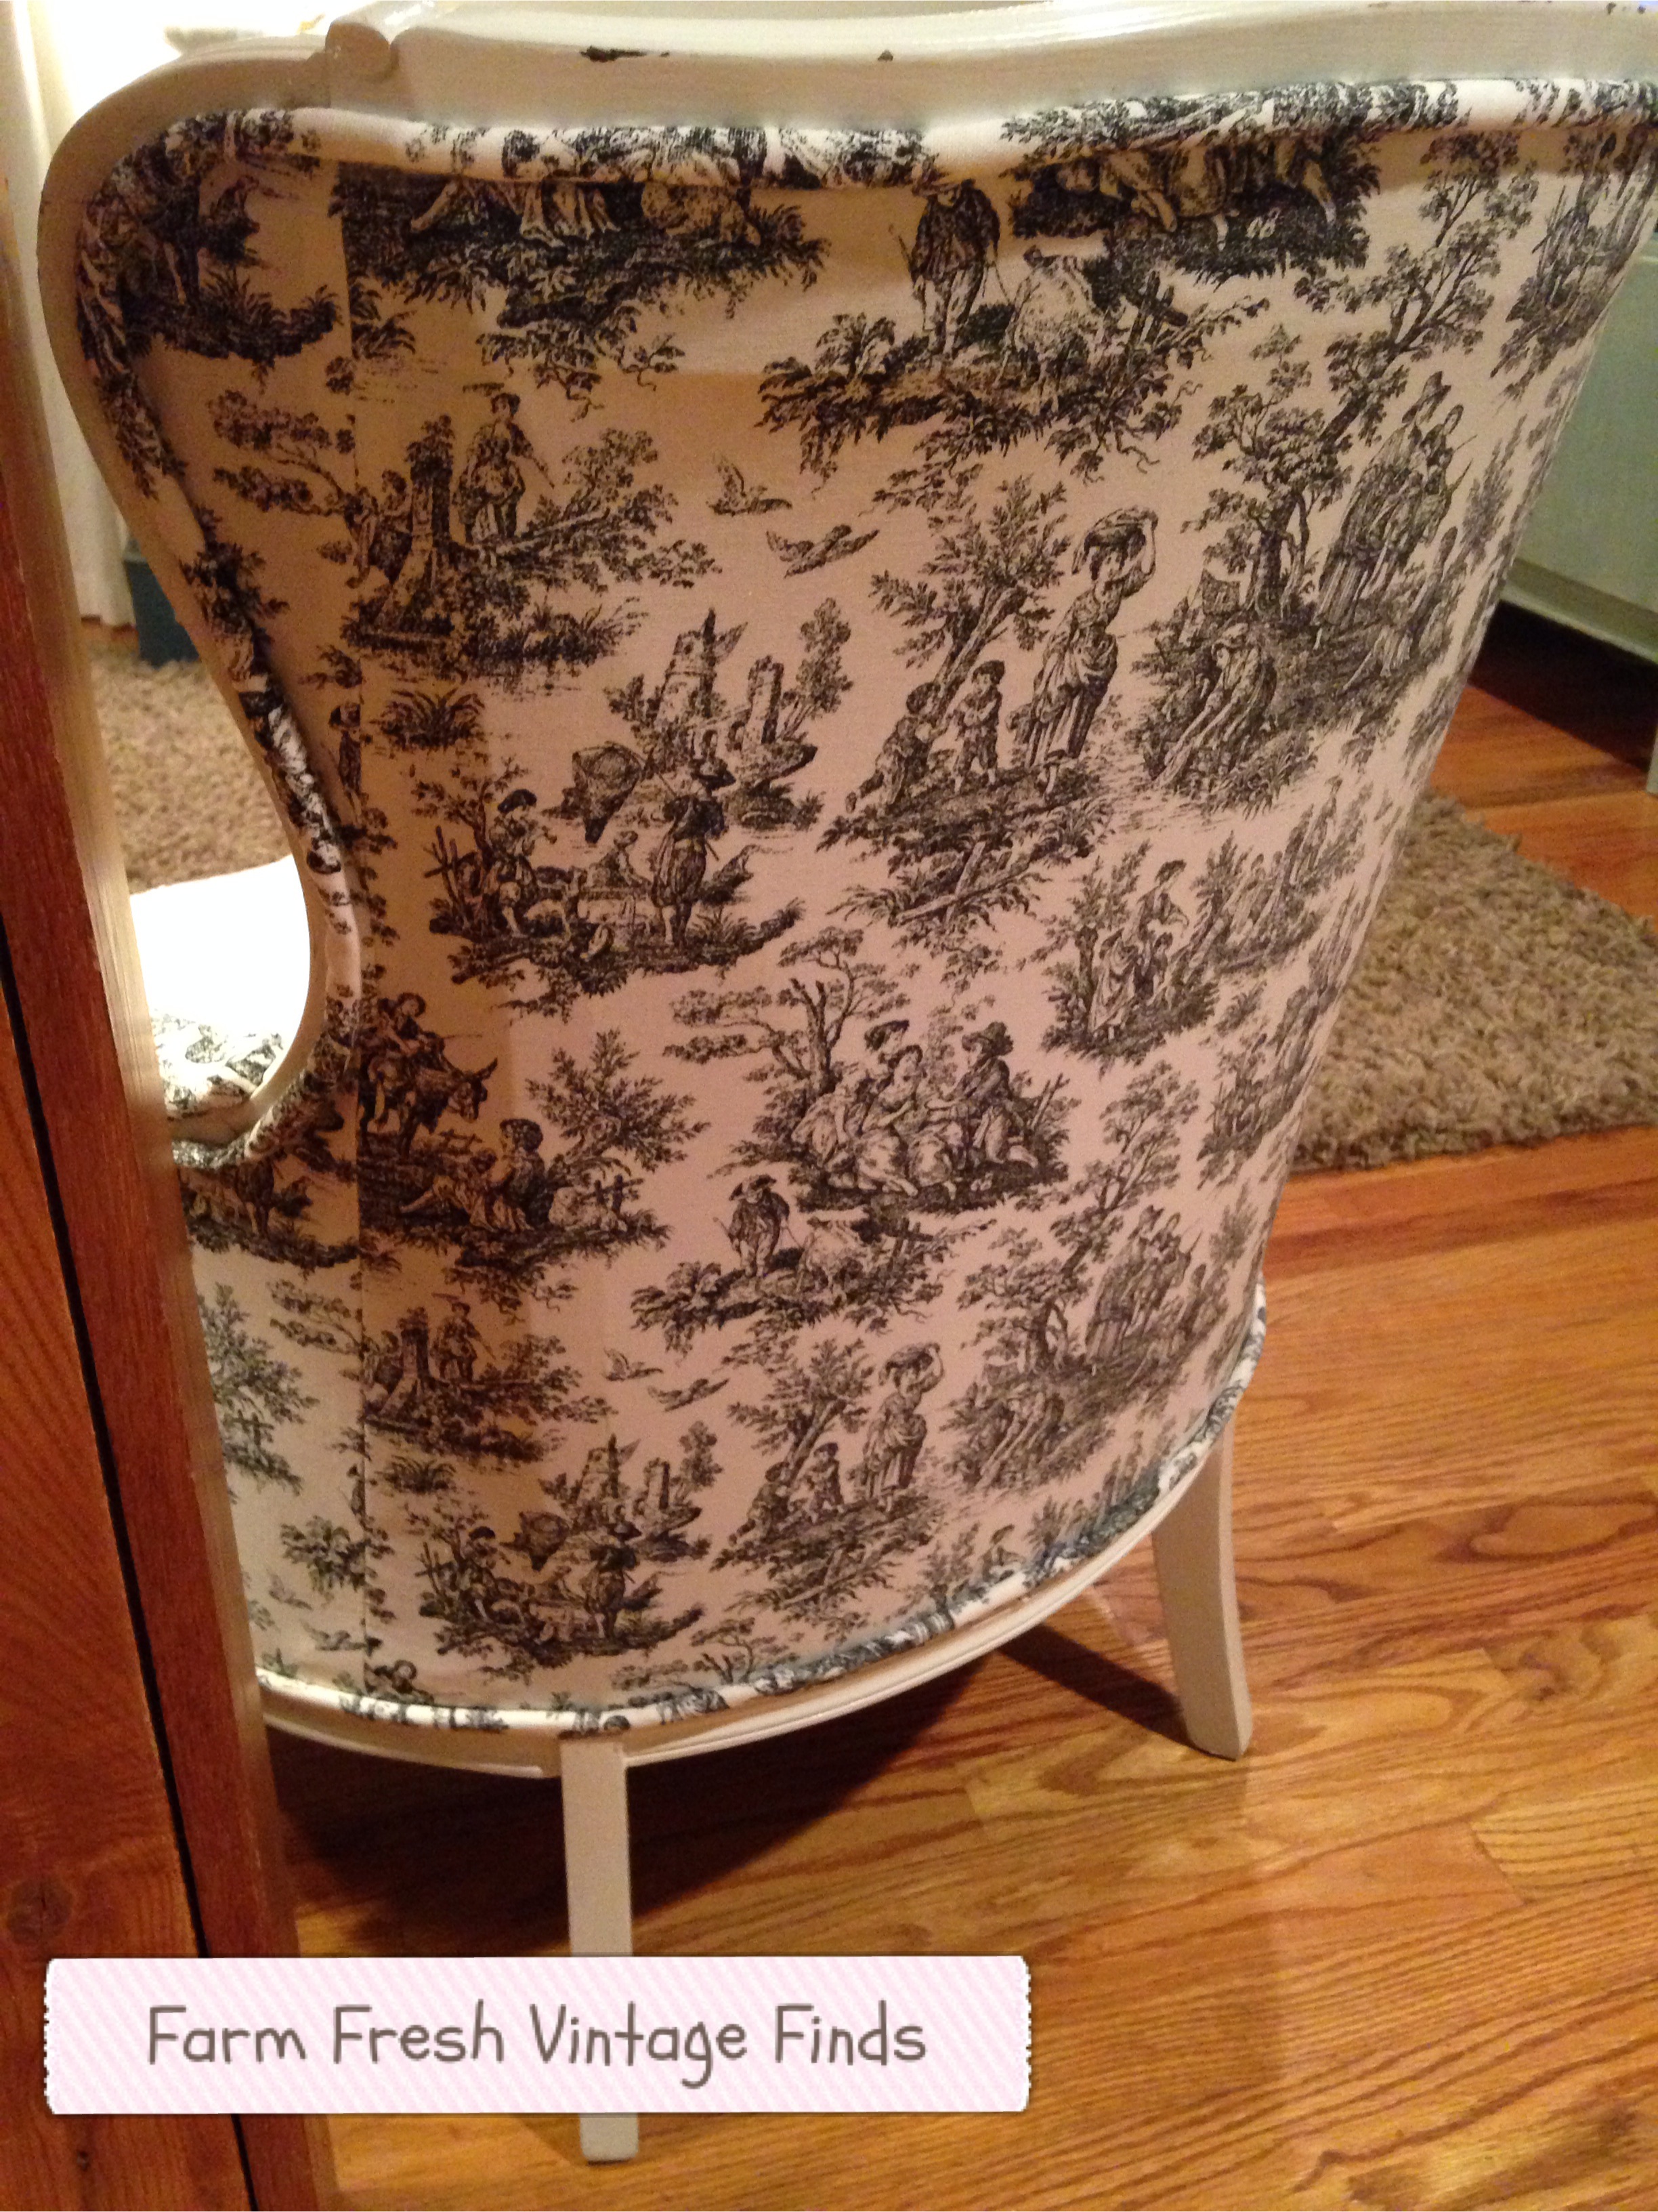
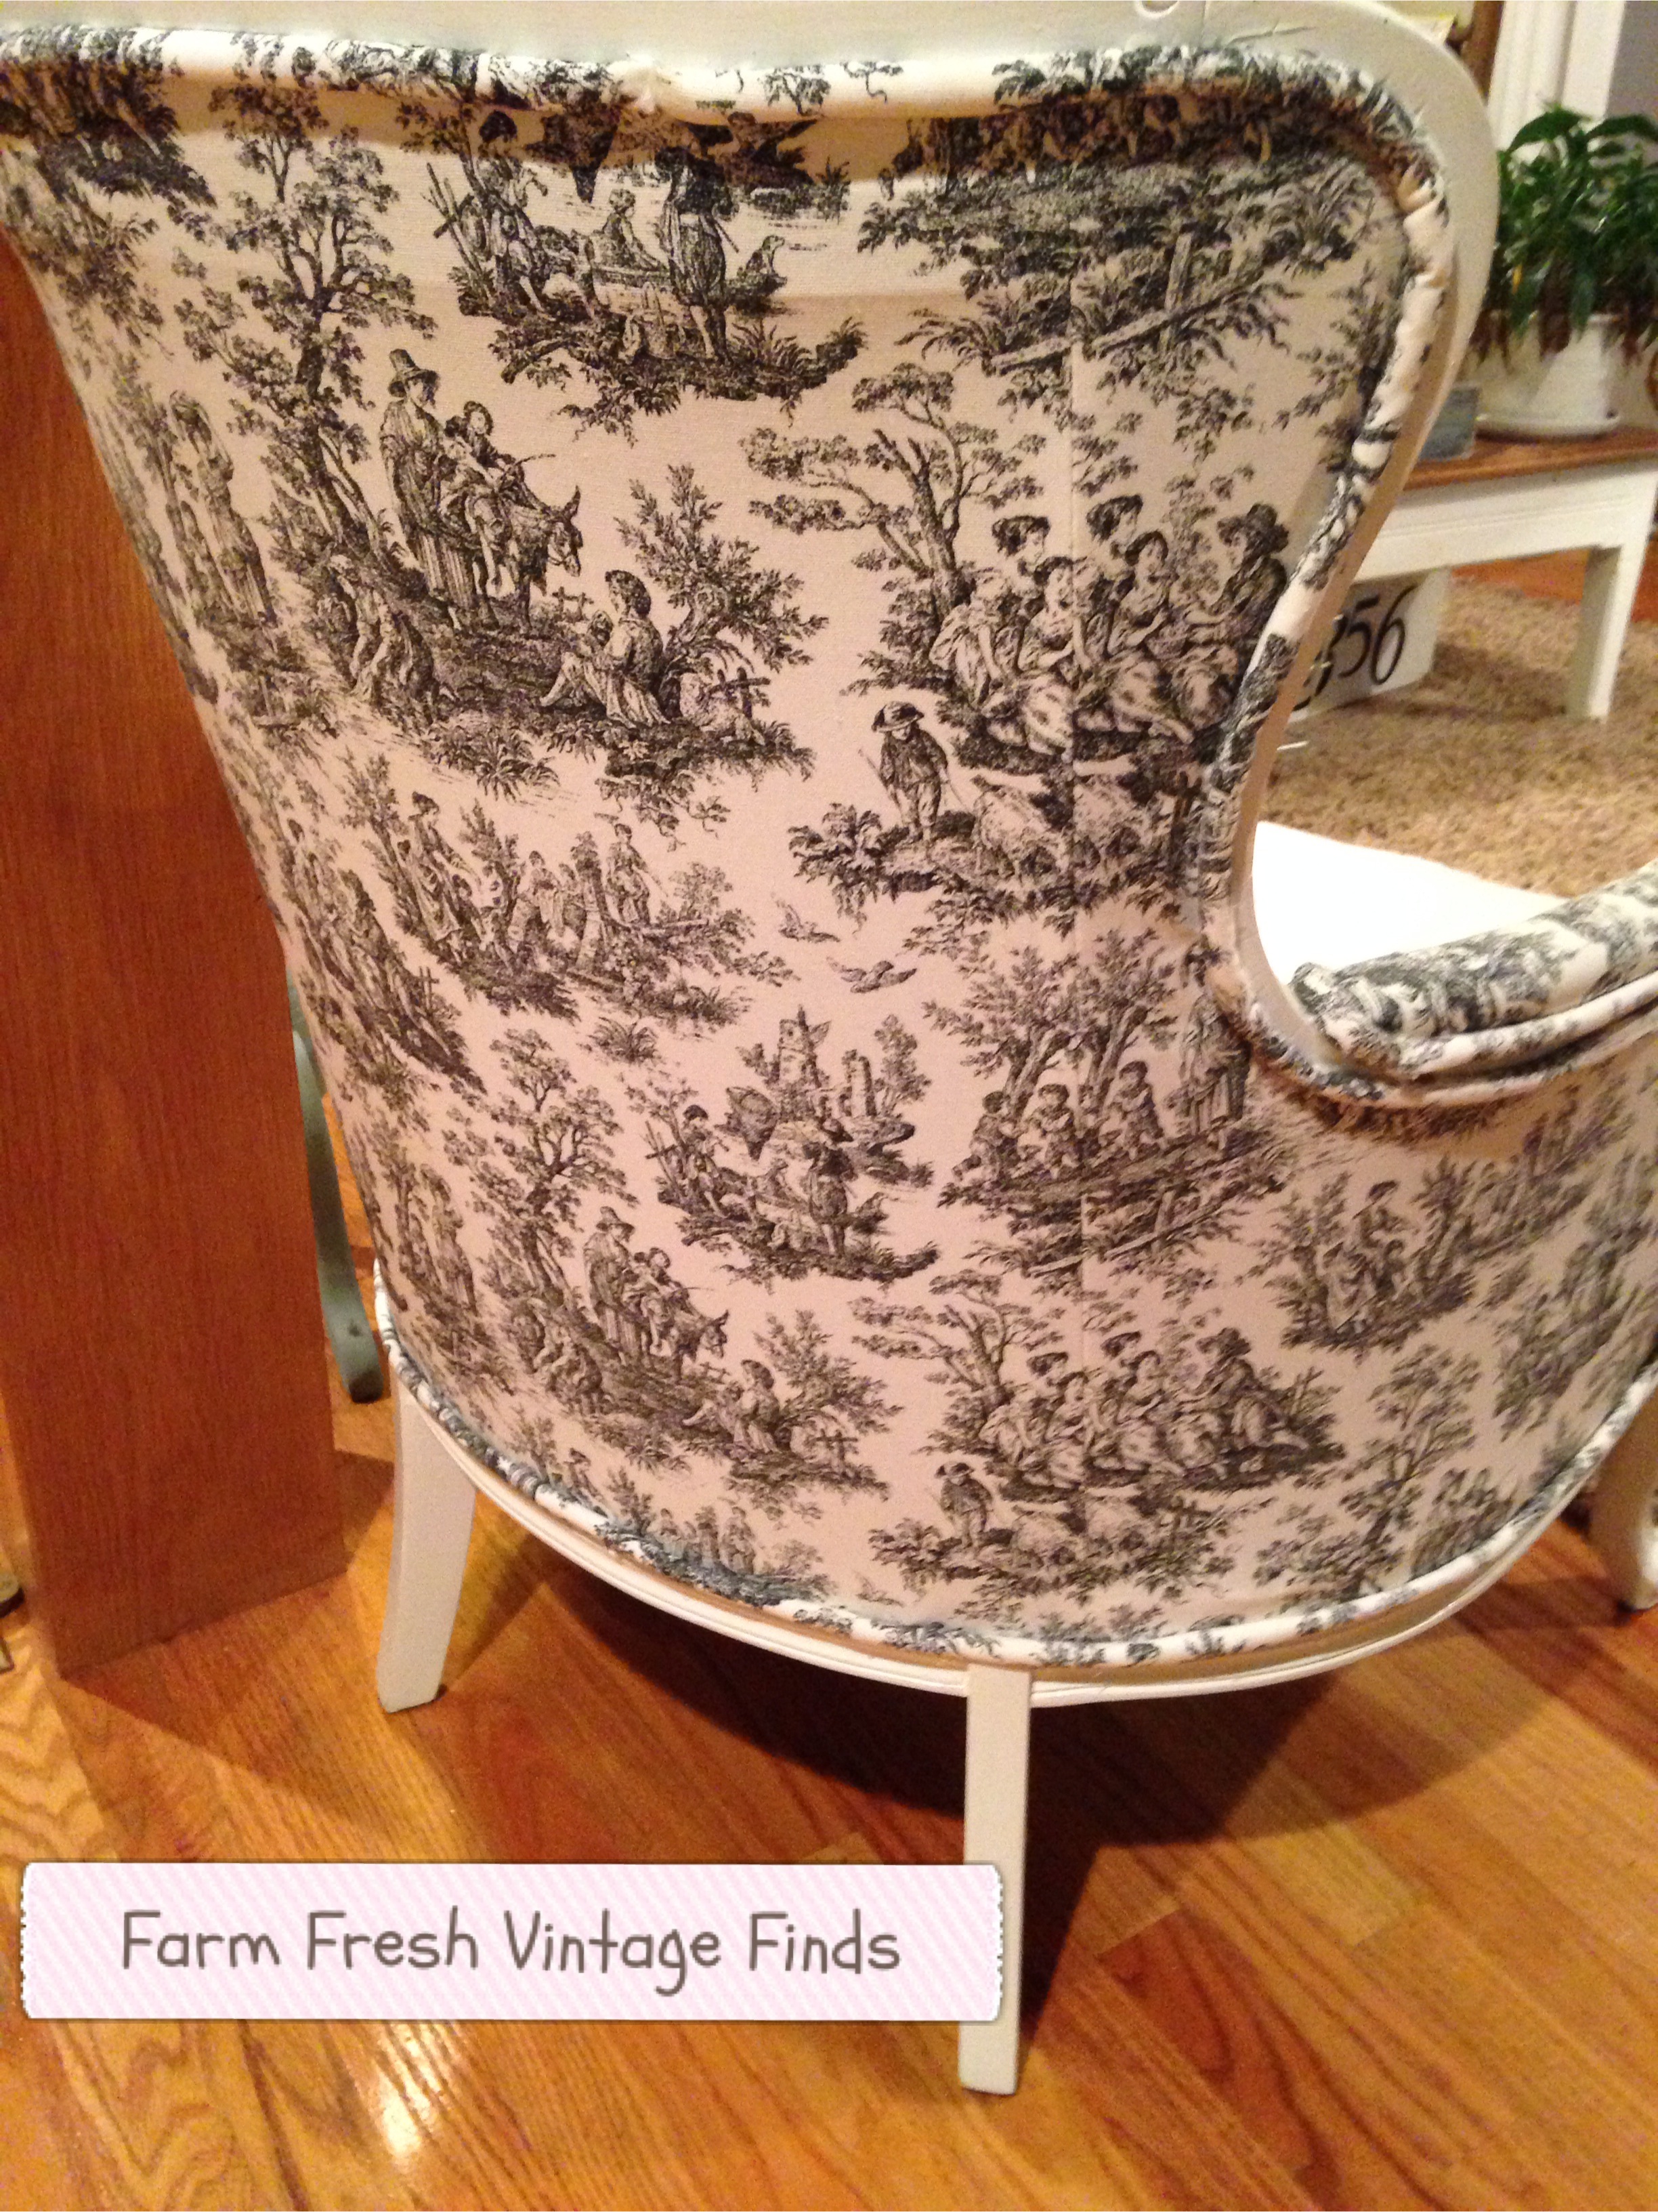
And here she is!
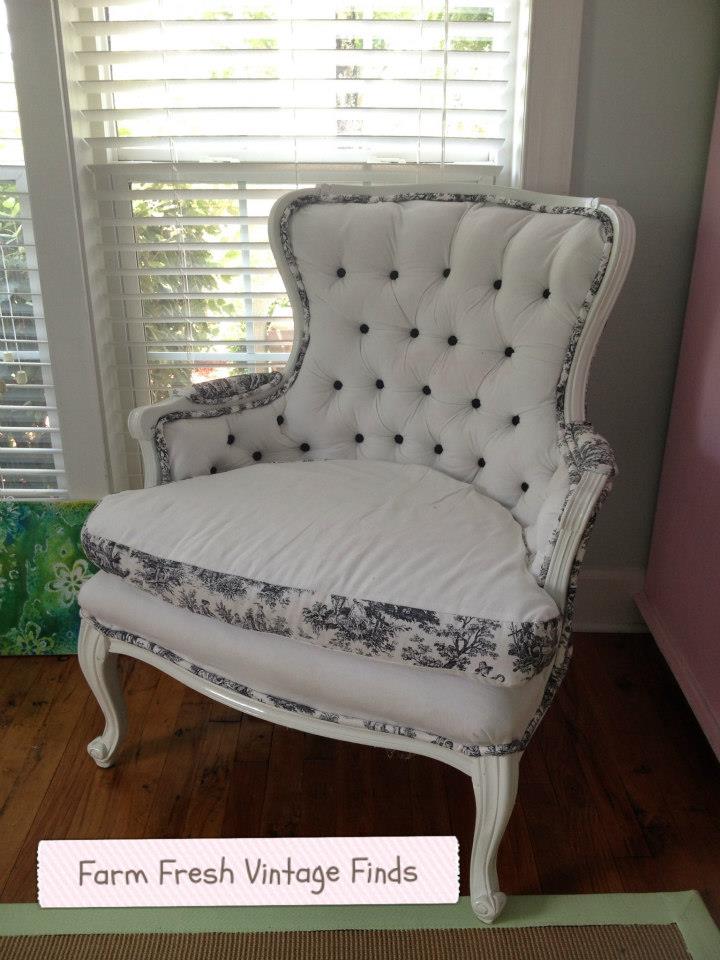
I think it turned out pretty good for a first try. My only regret is that I didn’t have enough fabric to make piping for the seat cushion. Next time I’ll definitely do that.
I would say pretty darn good for your first upholstery job
I love it
Thanks so much! I need to blog about the others I’ve done lately. Can someone give me more time in my day, please.
Very nice! I love your chair! I just tore an antique chair apart and found beautiful wood under all the ugly old leather. I decided to redesign the entire chair to show off the wood. Im only having trouble with the corners of the new seat cushion, with getting the fabric to fold neatly at the corners. I constructed a wooden seat, which I added 2″ of foam, batting and beautiful new fabric. The corners are the worst!
Yes, corners can drive you nuts. Just take your time…it’s worth it in the end.
Thanks,
Beth
How did you attach the piping? I so want to try reupholstery but I havent gotten my nerve up yet…
Susie,
I made the piping more like a cord, in that the salvage edge is very short so I could hot glue it around the sides to cover my staples and raw material edges. I hope that makes sense. 🙂
Blessings,
Beth