Building a Flagstone Sidewalk
We have lived in this house for over 13 years and we’re just now adding a flagstone sidewalk to get to the front door. This, although embarrassing is just par for the course. Built in 1827 this home has been an ongoing work in progress since we bought it in 2001. In fact if you want to see some before, during and after photos of the renovation you can do that here.
Update
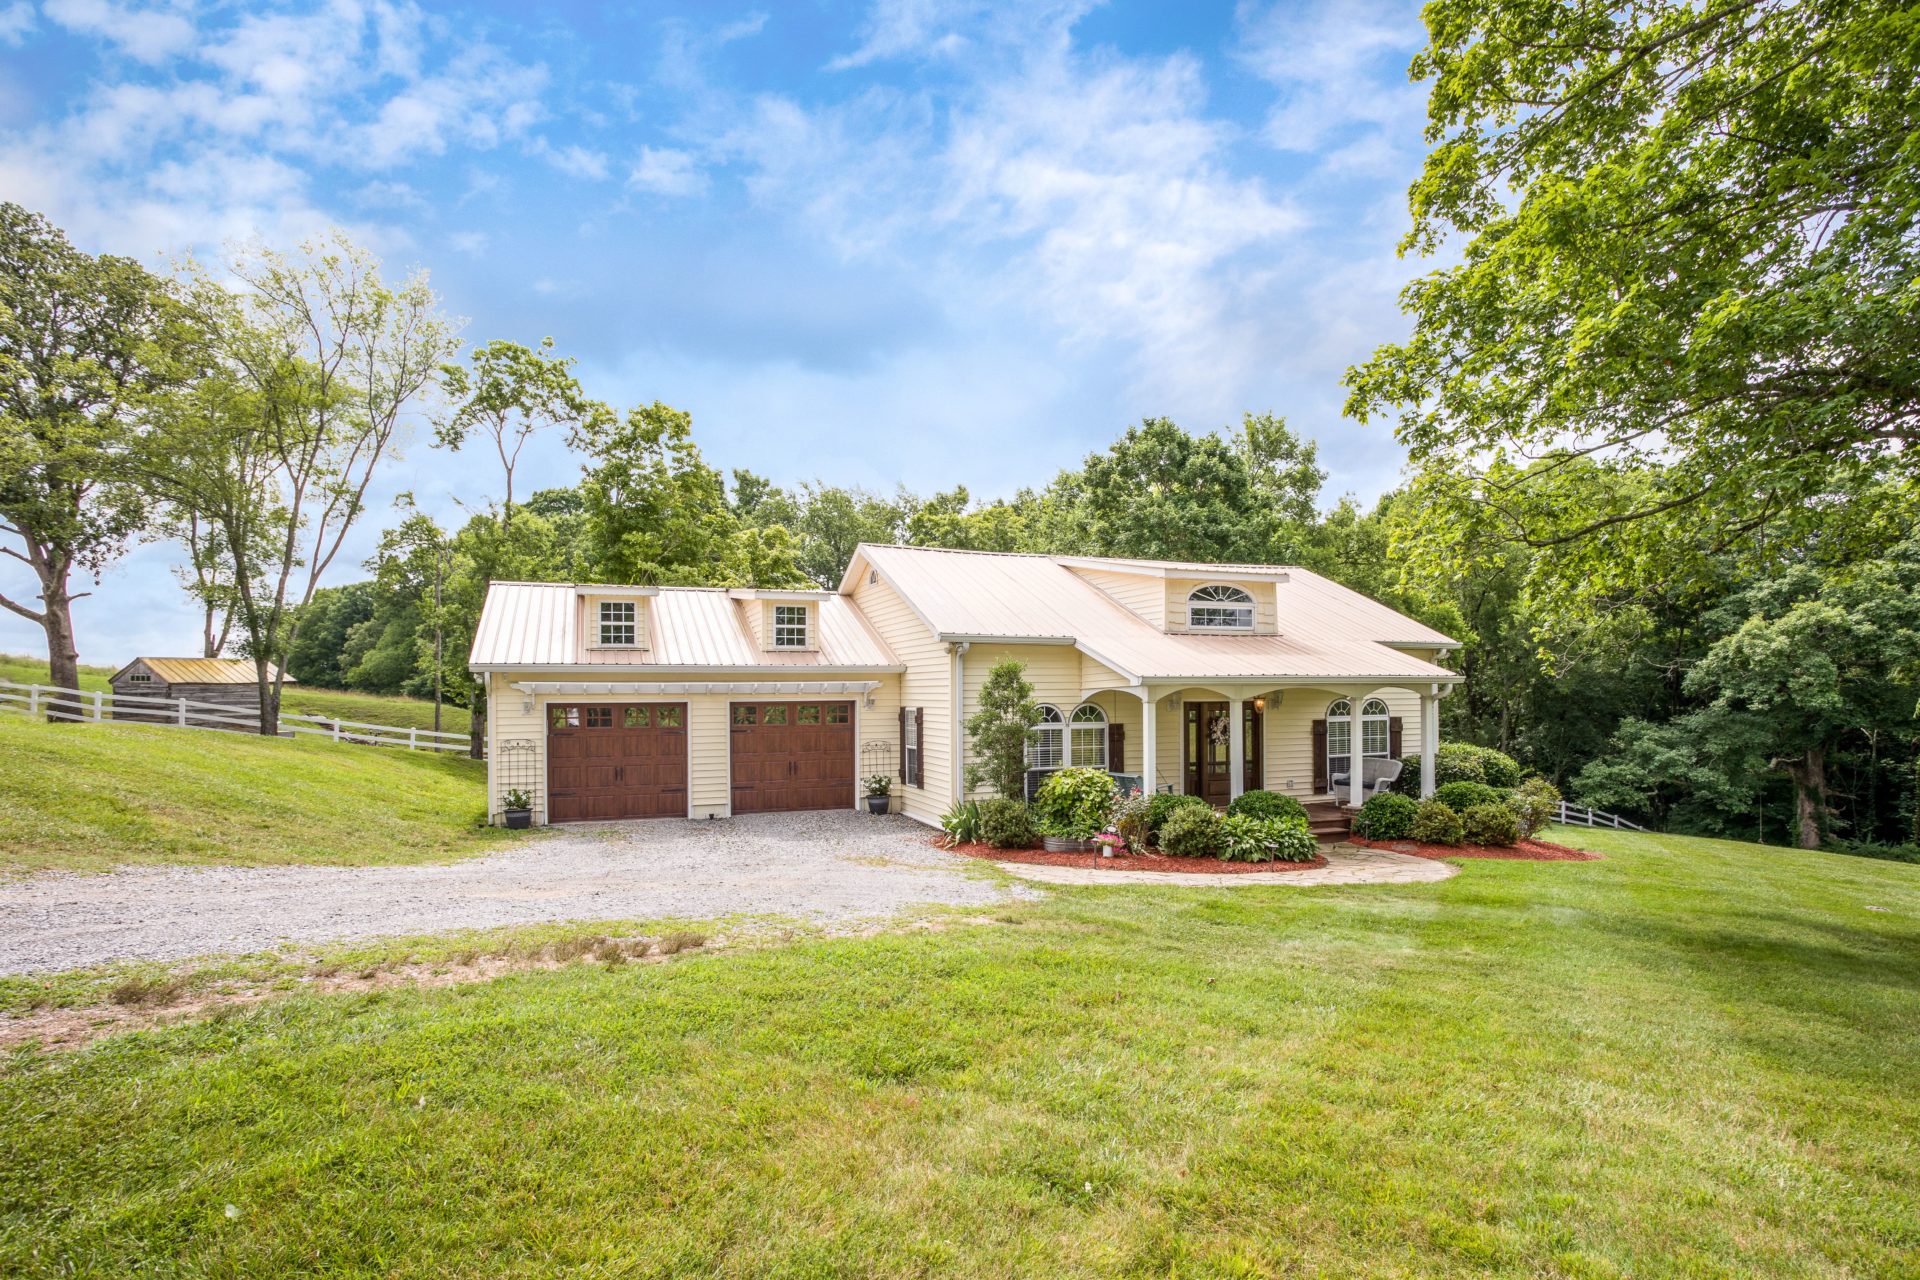
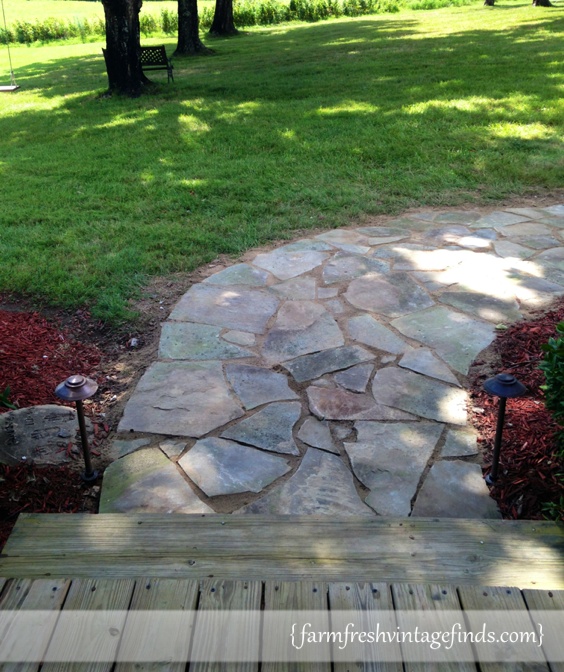
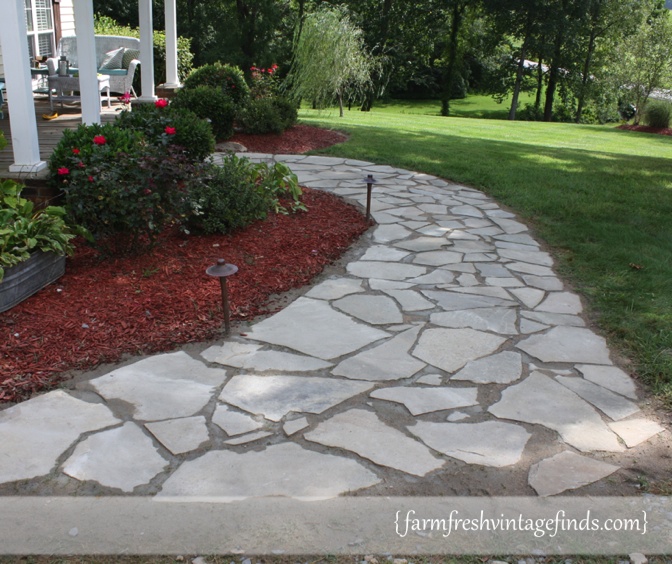
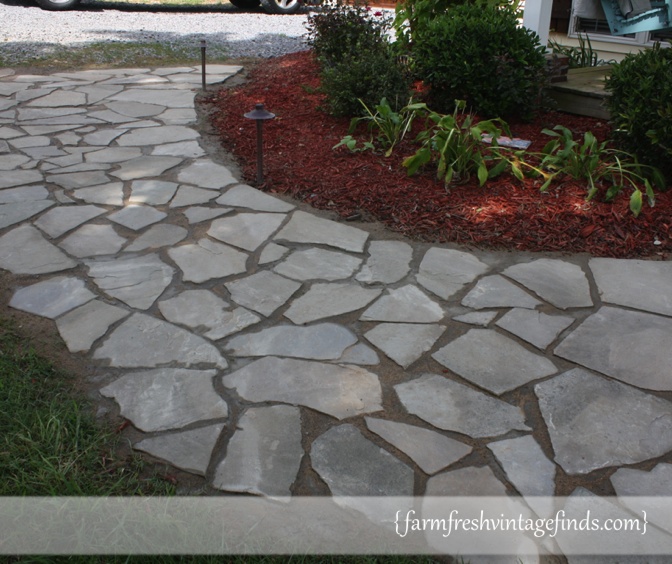
In 2014 we build this sidewalk. Here is an updated photo on how it has held up. We have since sold this house to a wonderful family but get to visit it often which is a huge bonus.
Back to the task at hand. Today I’m going to show you how to build a sidewalk from flagstone. This project has been on the hopper for awhile so I am glad it is finally getting the attention it deserves…

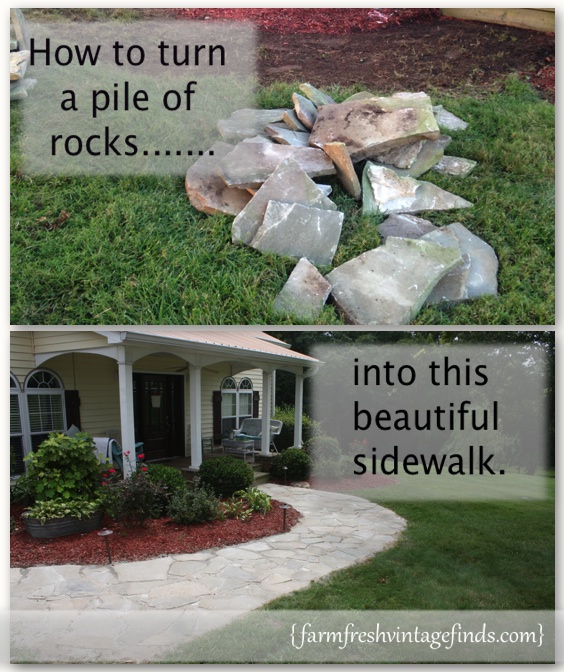
I’ve been looking at this pile of rocks for at least 5 years.

Yes, I said 5 years…..and had every intention of using them right away. But life gets going and before you know it you’ve been staring at a potential project for years.
I’d like to say that Prince Charming and I plan out our projects out very carefully with a timeline but I’d be lying if I did. We usually just look at each other after a long exhausting day and say alright it’s time. That’s how my life is. We work hard and never really know what our schedule is. So when we have an opportunity to start a project we get er done.
First things first…
Coming to an agreement on what the actually sidewalk is going to look like was a must. I’ve always pictured a rolling or curved pathway coming into our house. Remember we’ve lived here for 12 years with nothing so I’ve had lots of time to ponder this.
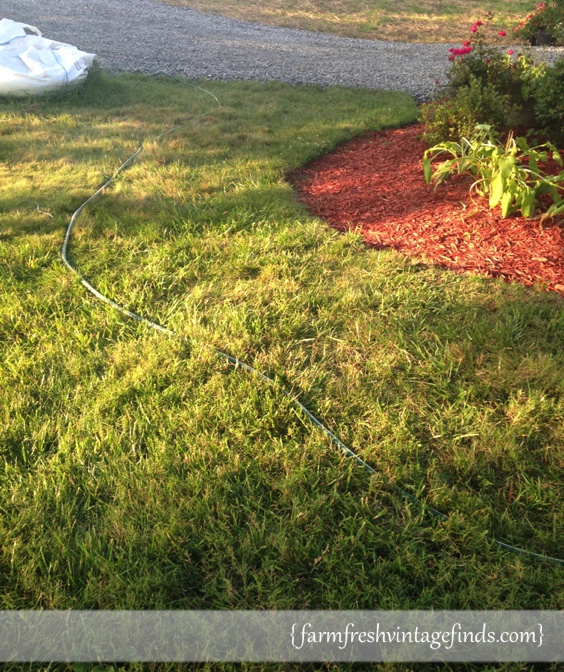
Luckily Prince Charming had been picturing the same. I’m thankful when that happens which is most of the time. We decided to use a garden hose to mark out where we wanted to place it. This worked great because it was flexible and we could curve it in and out just like we pictured in out minds.
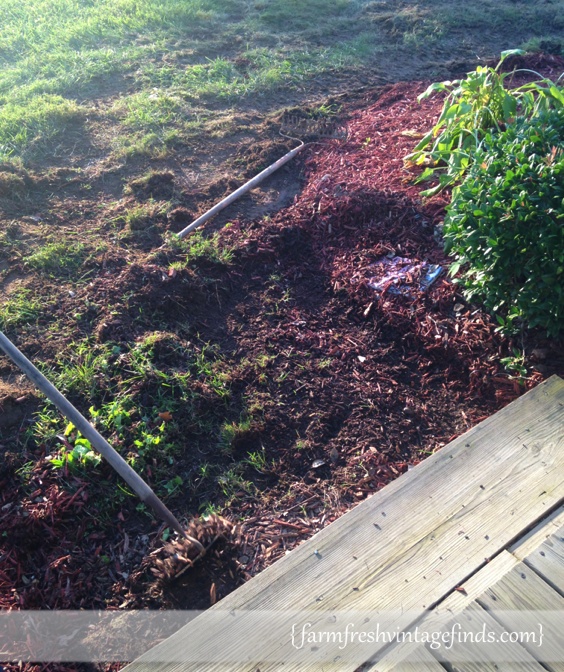
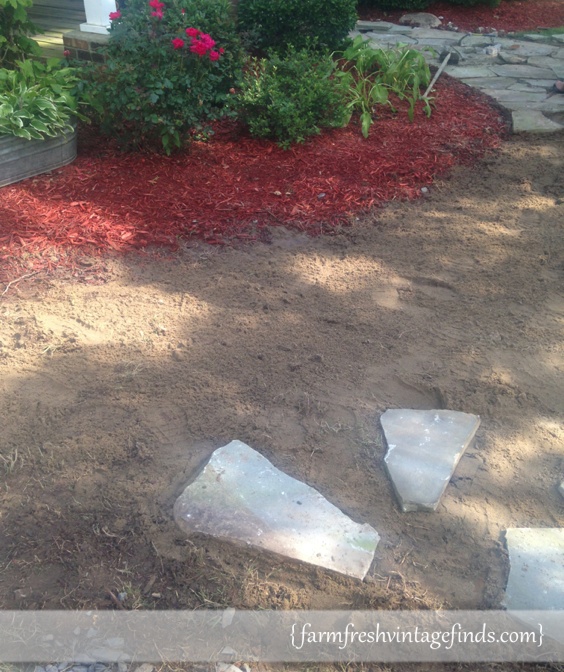
Step one
The next part was to start removing the grass and about 3″ or so of the dirt underneath. This is not my favorite thing and if you take on the project I highly recommend renting or borrowing a tiller to do this.
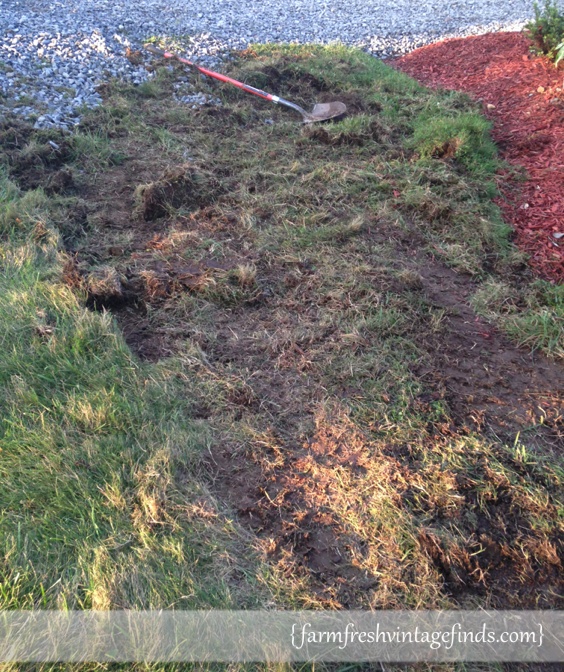
It takes lots of muscle to dig up all that grass. These are the times I’m grateful that Prince Charming is so very strong and determined.
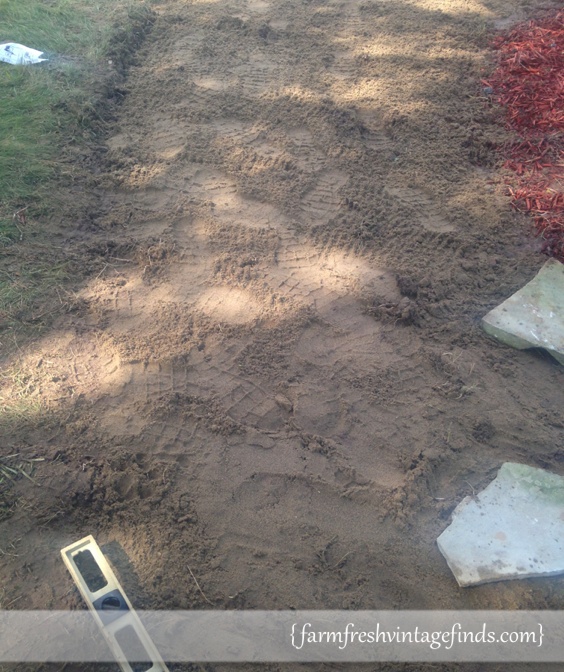
Step Two
Now put a thin layer of sand down. We picked up our sand from a local home supply but you can order it on Amazon here.
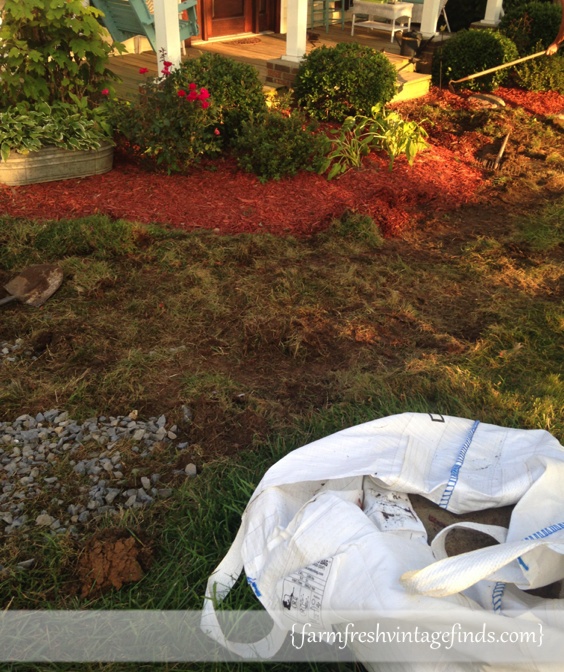
I’ve seen people use gravel under the sand as well. Our sidewalk is sloped just a bit because there’s not a flat spot in this yard ANYWHERE! So for us drainage isn’t a problem. If you have flat land (lucky you) or a drainage issue you’ll want to put a thin layer of gravel down first and then put your sand on top of that.
Step three
Once your sand is down use a level to level it out and a tap bar to pack it down.
step four
Next comes the fun part laying your stones.
This process is very similar to working a puzzle. It’s really handy to have a hammer around to break some of the stones and create the sizes you need as well.
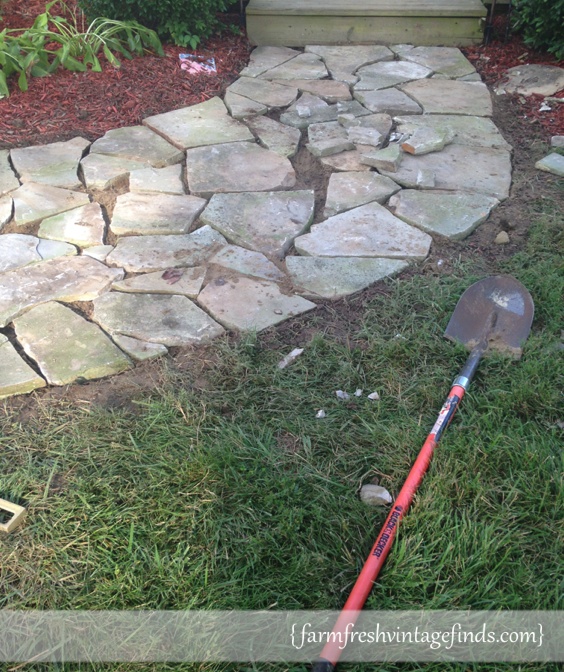
As you lay out your stones you want to have a level handy to make sure they are as flat as possible. You can also use the level to create a bit of a slant, which is what we did to ensure that water will run off. Once we had all our stones laid we let them sit for about a week. During this time we were able to see if any of them needed additional leveling or started to wiggle and correct any of that.
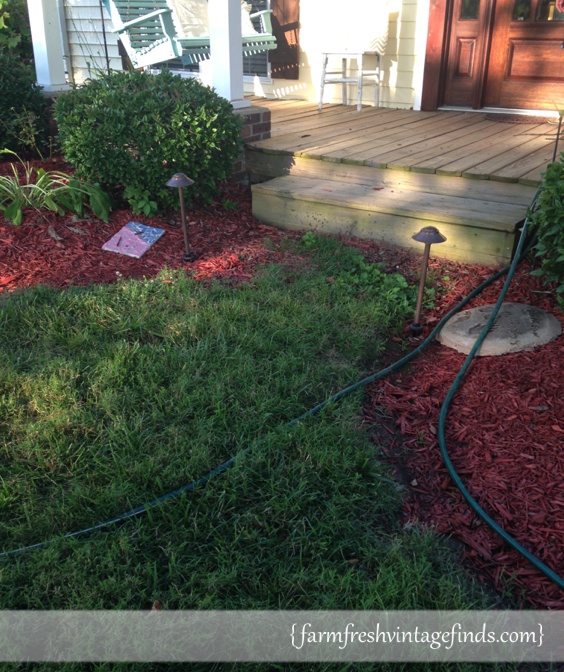
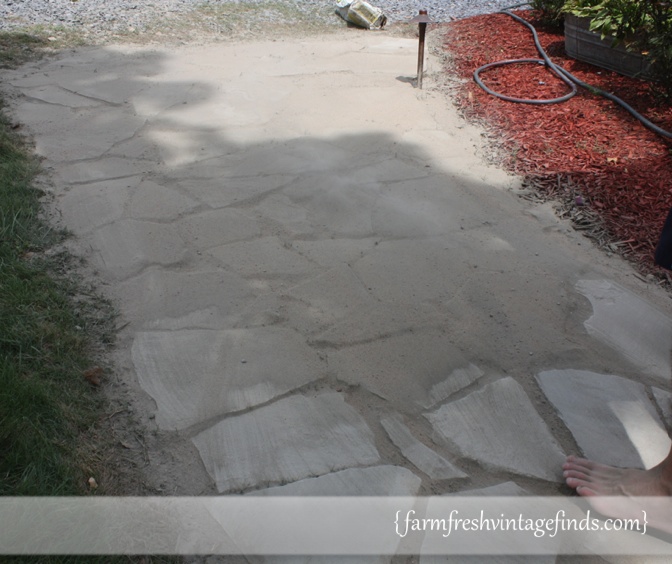
During that time the pathway looked like this.
step five
Once we felt secure that all the stones had settled and evened out we applied this product by Sakcrete. It’s a sand mix that after wetting hardens up to create a mortar between the stones.
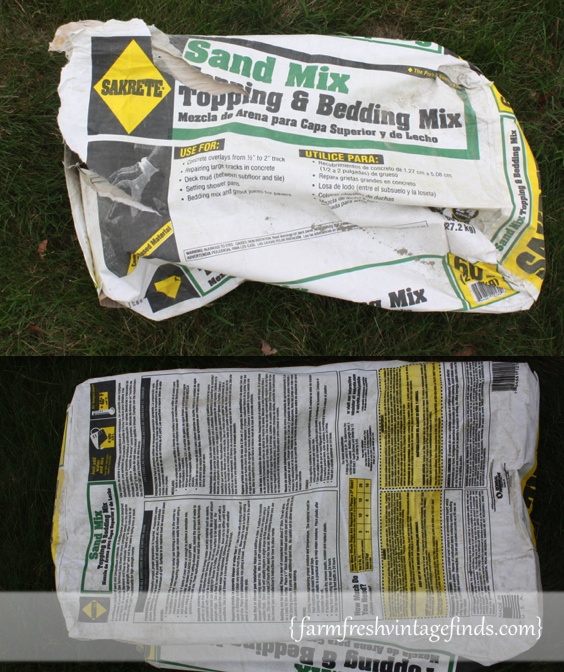
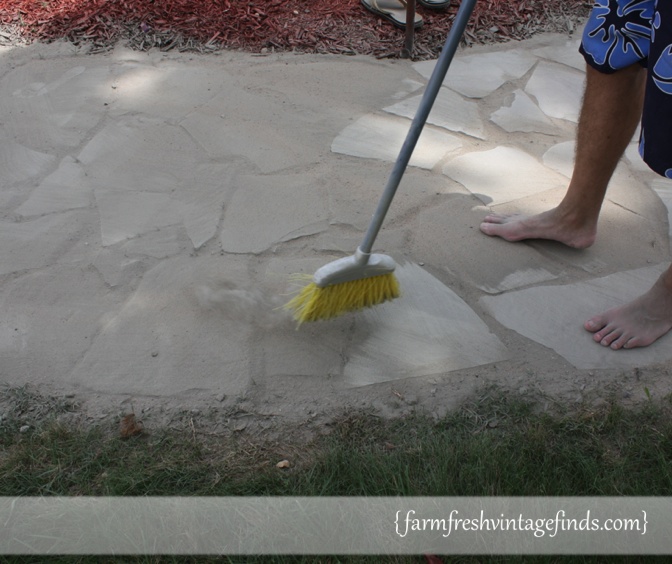
To apply this product carefully pour it out of the bag onto the sidewalk and then use an old broom to evenly distribute the mixture between the stones.
This is a dusty job so be aware and use the proper footwear and clothing. As you can see Prince Charming preferred to forego this advice and work barefoot. Using proper precautions is important. Getting this finished just got in the way.
step six
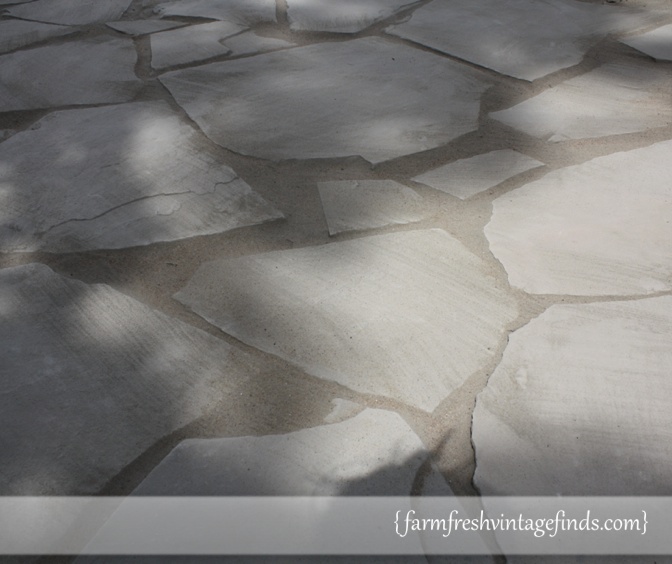
Get as much of the mixture off the stones as you can. Then….
It’s time to wet the mixture to activate the hardening process.
Be sure and use a fine mist from your sprayer so that you aren’t removing any of the mixture rather just wetting it.
Once wet the sidewalk will look something like this. We didn’t walk on the pathway for two days to allow plenty of time for it to harden and set up.
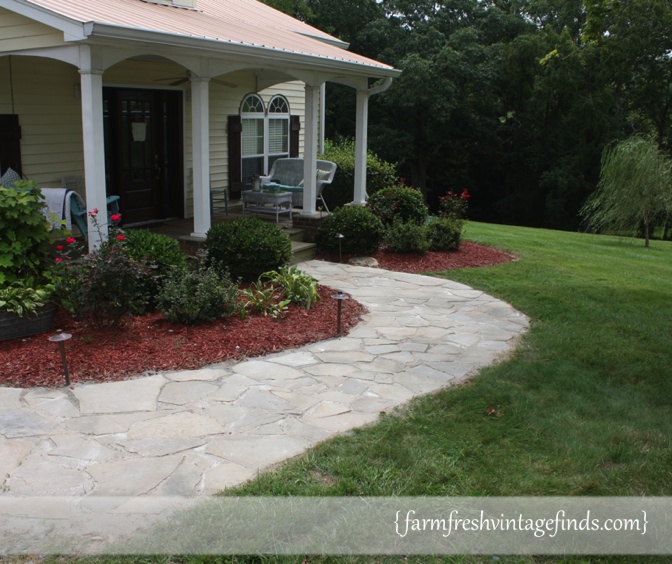
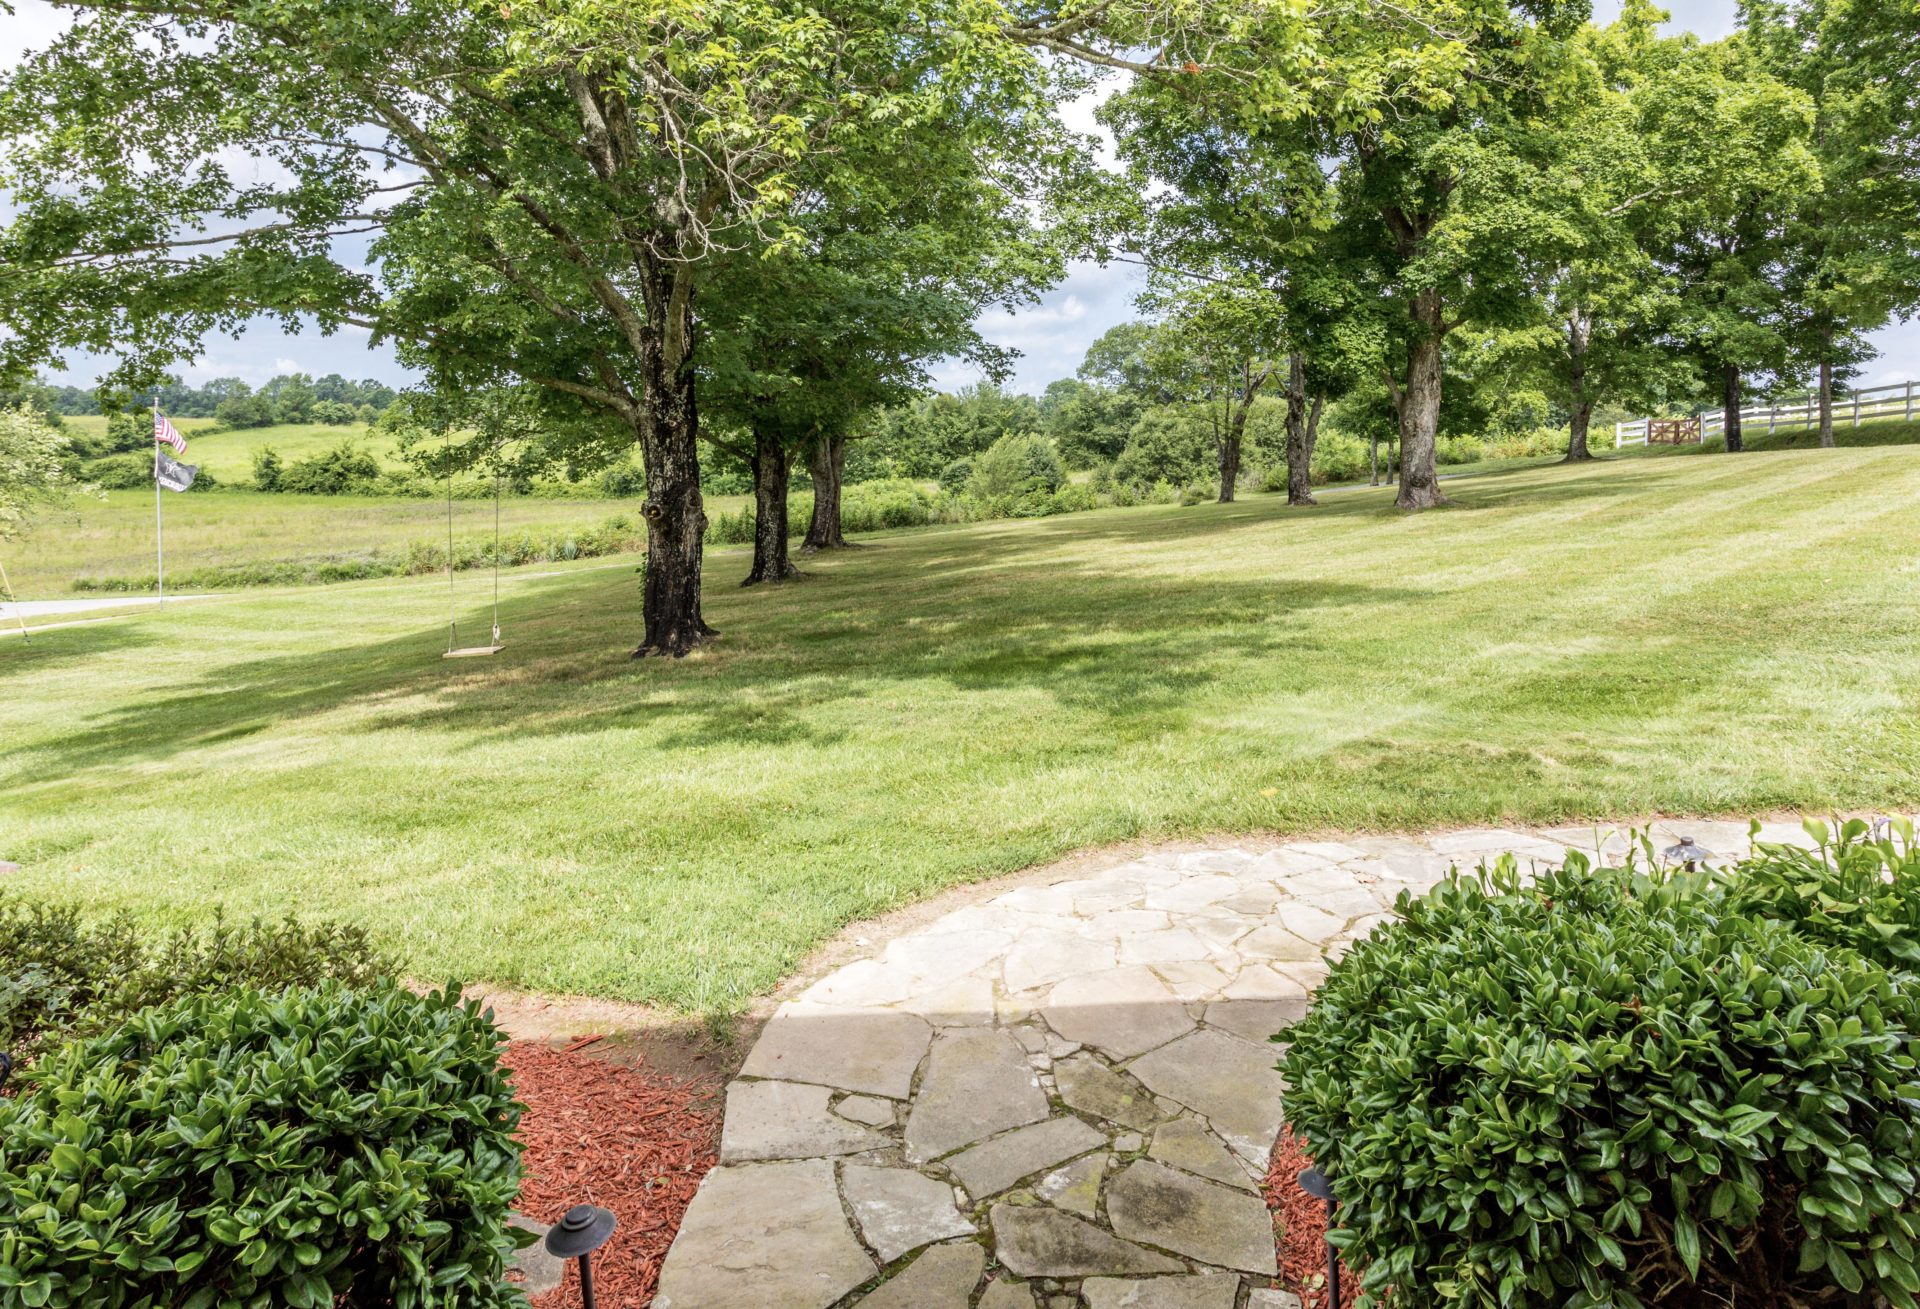
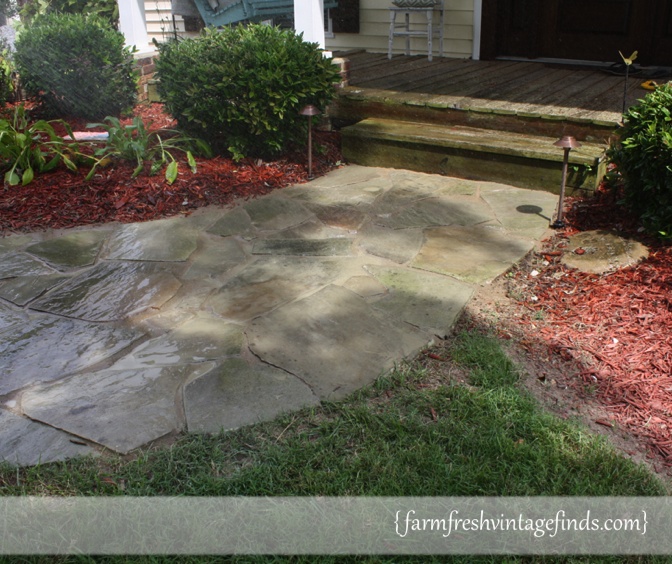
This is what it looks like now!!!!!!!!!!!!!!!!! I absolutely could not be happier. It’s exactly what I wanted and now when I have guests come over they know exactly how to get to the front porch and don’t have to walk through the grass to get into the house.
Have you ever built a sidewalk? I’d love to know how it turned out. Just comment below and tell me all about it!
Beth this looks incredible!! Love love love! Shared on FB and pinned! XO
Thanks so much Christy!!!!
Your stone pathway looks gorgeous! We created one about 4 years ago, but at the time, we were unaware of the Sakcrete product so we just put sand in ours. Consequently, we have to add sand and do a little maintenance each year to keep it looking good. I wonder what would happen if we added just a bit of this product to ours?
Jane if I were you I’d try it in a small area. It would be worth it to see what would happen. It worked wonderfully!
Looks great Beth!!! I would love to rip out our concrete and do this but I don’t know if Hubby would go for it. I just love yours!!!
Sakrete mortar, brilliant! We used stone dust… the weeds keep coming regardless of what we spray in there and the little ones, well they love to dig in there and throw the little stones, I’m going to have to get this product, thanks for sharing.
You’re welcome Laurie!!!! 🙂
Wow! What a gorgeous sidewalk. You did a great job! I’d like to invite you to share it at my Twirl & Take a Bow Party. We’d love to have you and when you link up, it shows up on 6 blogs.
Have a great week!
You’ve done an amazing job. It looks beautiful.
Hi Beth,
Your sidewalk project really turned out great. Such a rewarding output that should last forever. I am amazed.
wow beth i so love this and need it really bad our driveway ends at the carport and the closest door goes thru my daughter and her hubs bedroom lol…. wish we had a pile of rock xx
It looks fantastic! You’re so lucky to have a pile of flagstone just lying around…even if you had to stare at it (and listen to it mock you) for 5 years. Patience pays off! 😉
GREAT project!!! You made it look so easy but I know it must have been soooo labor intensive! And it turned out gorgeous! Thanks for linking at Twirl and Take a Bow! ox
BETH!!! This looks amazing my friend! Great job!
I love the stuff you used to put in between. Looks polished!! I bought my condo 5 years ago and it has a tiny back yard. I wanted to put in a pathway from the back sliding door to my side gate. It was just little ole me but I went and bought flagstone and had it delivered to my home. It took me a couple of days but I did it all myself (at age 5o!). I did it pretty much the same except I laid weed cloth under the sand…and I used pebble rock in between for a more rustic look. I just have to touch up now and again by adding more rock! However after seeing yours, I may just top in with Sakrete for a more polished look. Great job!!
I LOVE it! Like you, “level” is not a word that falls into play on our property. Our concrete walkway does have a slant away from the house, but it was slanted kinda funky. In my dream world, I’d have a walkway similar to yours .. maybe in brick.
Lani,
Thanks friend! I like the idea if brick too. I’m so glad we finally made this happen. Sometimes I just sit on my porch and look at it now. I’m so pleased with how it turned out.
Blessings,
Beth
Hi! I love this idea! Could you tell me how long it’s been in place and how it’s holding up? I am thinking of doing this soon;/
Hi Cassie,
We install the sidewalk 4 years ago and it had held up perfectly.
Thank you for reading!
Beth
How many bags of the sakcrete did you have to use for your pathway?
Hi Morgan,
I’m not positive but I think it was about 4. I would measure out the space and look at the footage coverage on the back of the bag.
Thank you for reading,
Beth
That looks great! We are lucky too as we have flagstone for a walkway and wanted to redo it and took it all out and the hubby wanted a professional to do it as he wants it done right:) We are almost on 5 years of this too lol! Can you please tell me how the weather would act on cold weather if the mortar cracks? Not sure where you live but we would love to use mortar and not sure due to our weather here In Wisconsin is it would hold up. Thank u!
First off I love the Stone sidewalk and the detailed instructions of how y’all went about completing it. How is the sidewalk and the sand mix mortar joints holding up?
Thank you, I’m so glad you found it helpful. We actually built this sidewalk in August of 2014 and it’s still doing great. We did add a little more mortar and wet it down a few years ago but otherwise it has aged beautifully with a few little patches of moss throughout. I just updated the post with a couple new photos which I have been meaning to do for quite some time. 🙂
Thank you for reading!
Beth