How to Strip and Refinish Furniture Part 4

If you’ve been following this series, How to Strip and Refinish Furniture here, here and here then you’ve hopefully learned how to apply stripper, remove the goo from the stripper, clean your wood and sand it smooth. Today we’re going to continue to talk about preparing your wood for stain and the staining and sealing process.
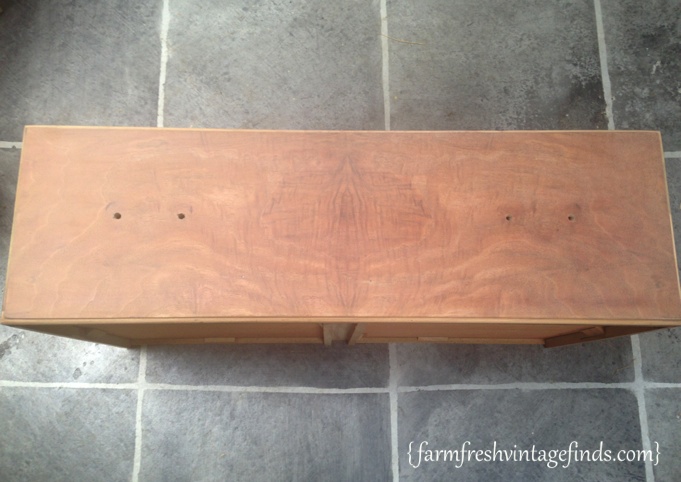
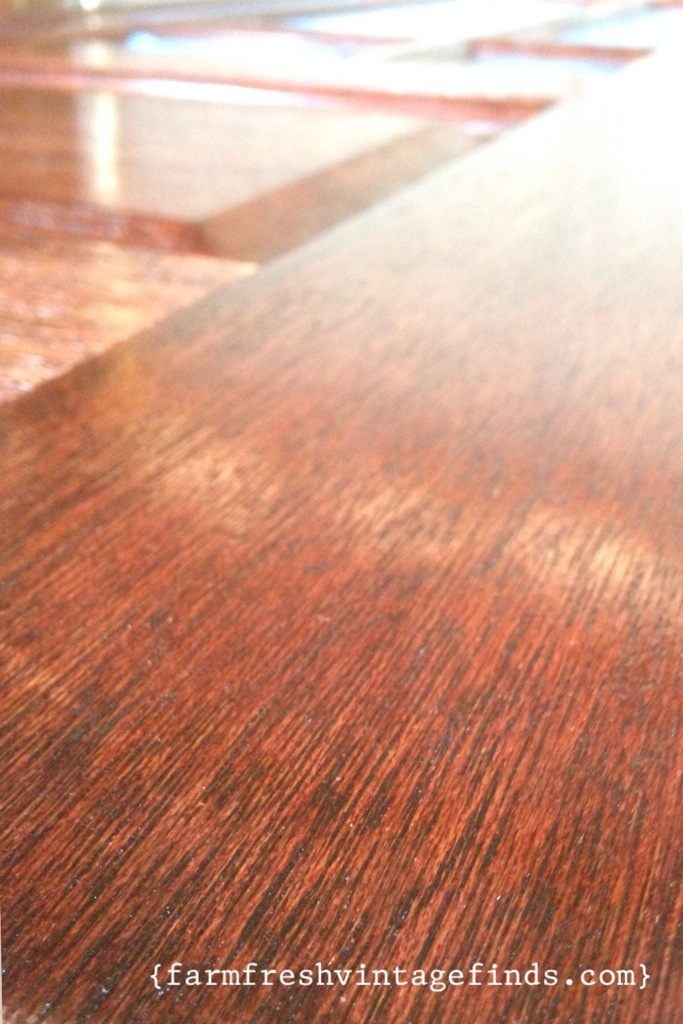
Notice in the photo above, your wood needs to be dust free, smooth and ready for staining. Make sure when you rub your hand across the surface that you don’t feel any bumps or raised areas, especially if you had to do any patching.
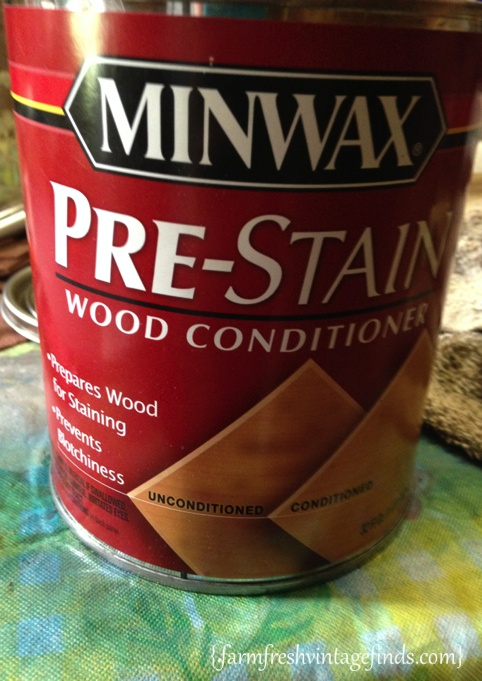
Now is the time that I like to use a wood conditioner before applying stain to my piece. I’ve tried staining in the past without using a wood conditioner and found that areas of my piece looked “blotchy” and uneven. In fact I’ve had to completely start over on a piece after applying stain and waiting for it to dry because the wood wasn’t conditioned properly. You don’t want to get this far into the process and have to start over. Trust me.
This pre-stain product by Minwax is great and fairly inexpensive. I highly recommend using it or something comparable to it BEFORE applying your stain.
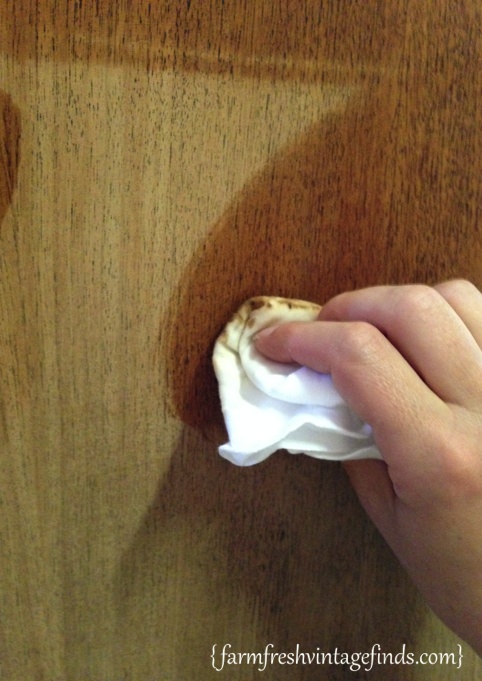
It’s very easy to apply and soaks right into the wood. I used a soft cotton rag to apply mine but follow the instructions on the can and find the method that works for you.
Now you’re ready to apply your stain!!! This is the exciting moment you’ve been waiting for!!!!
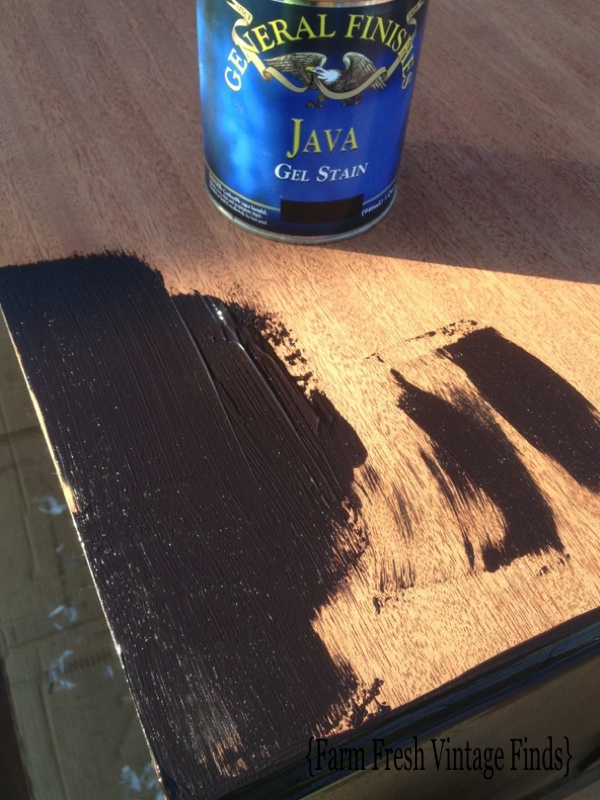
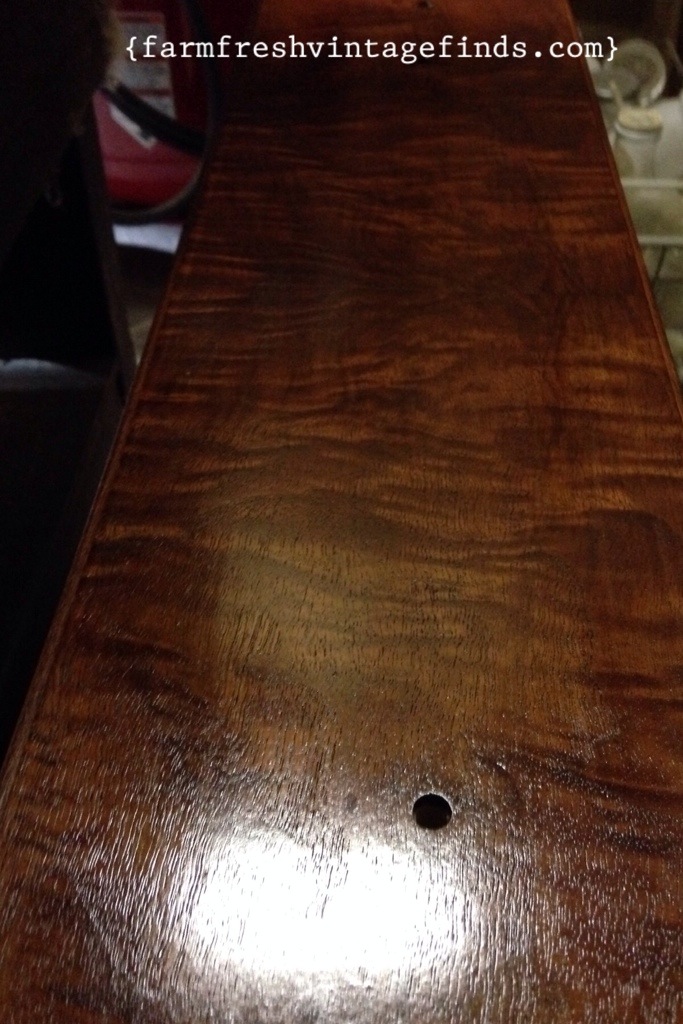
There are so many stains to choose from. I’m going to show you examples of the two that are my favorites. One is a gel stain by General Finishes and the other is by Minwax.
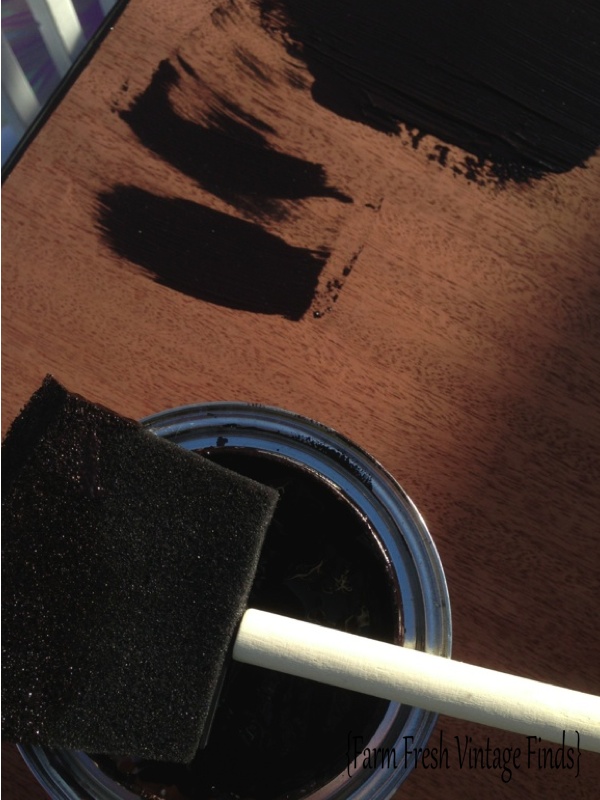
I like to apply my stain with a rag or foam brush. Make sure to use gloves when doing this as stain is oil based and doesn’t come off your hands easily.
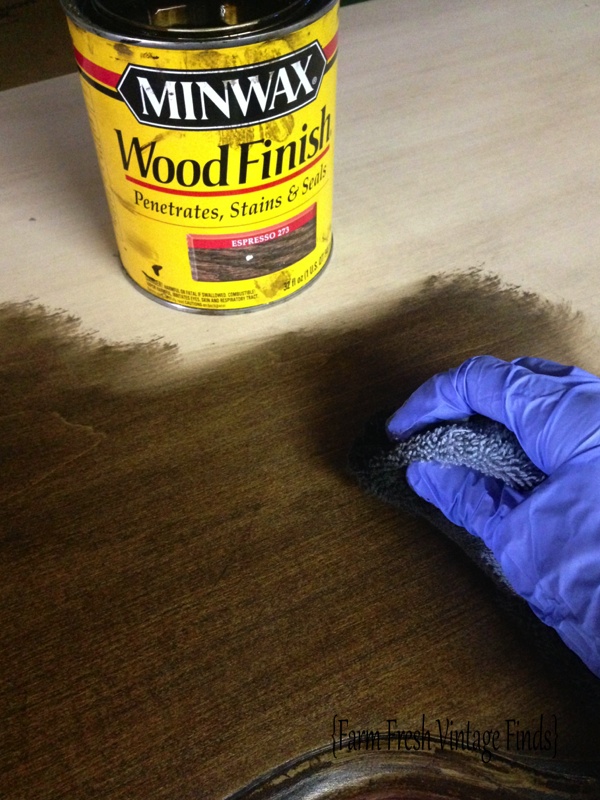
Apply the stain in long even strokes, let it soak in for a minute or so and then rotate your rag and wipe back over the area removing any stain that hasn’t soaked in.

I put one even coat on the entire piece using this process and then let it dry and apply another. The color of stain you choose and the end result you desire will determine how many coats you want to apply but generally I think two coats is sufficient.
Next is your topcoat. Make sure and allow the appropriate drying time, as directed on the can before applying your topcoat.
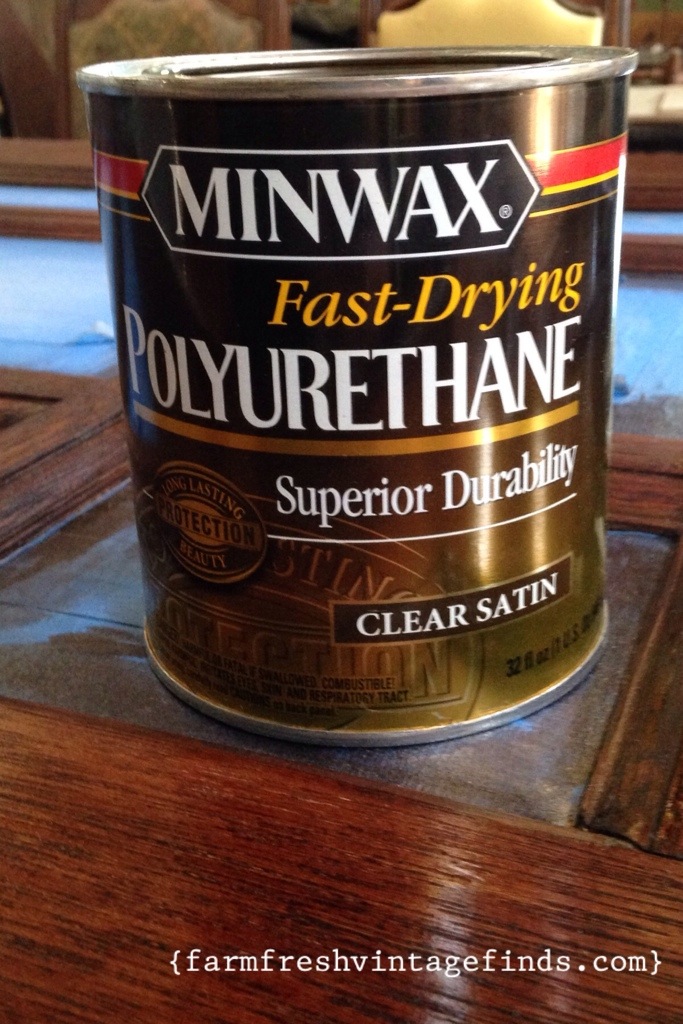
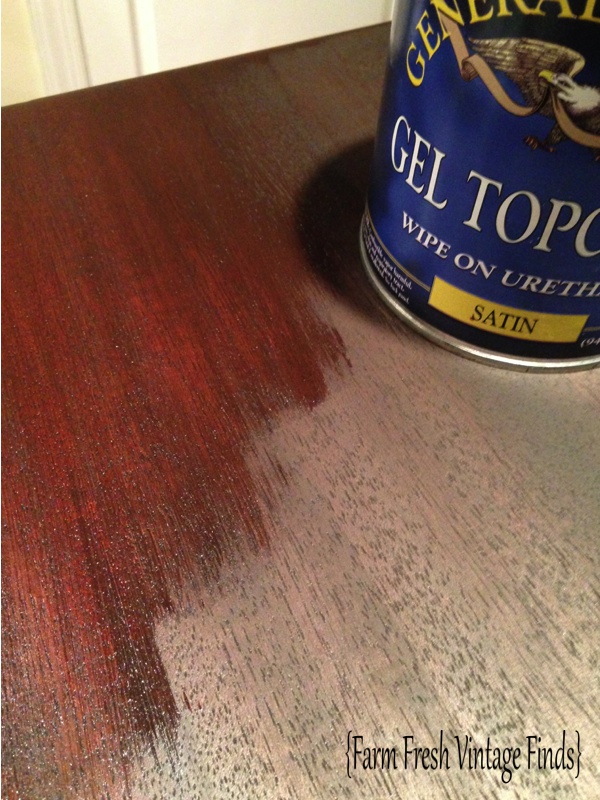
In the above photos you can see the topcoats I prefer. The only exception to these is when I am sealing a piece that I’ve painted. In that case I will generally use wax but that’s another set of posts.
Back to the ranch…..your topcoat is as important as any other step you’ve done, if not more important. You’ve worked hard on this piece and you don’t want to skip this step and have your piece damaged a week later.
Apply your topcoat with a good quality natural bristle brush. Once again you’ll need to follow the manufactures drying time on the can between coats. Make sure your coats are thin and even. I usually apply two top-coats as anything more than that doesn’t look good.
Well there we have it. I really hope this series has inspired you to try something new and that you feel like you’ve learned something. It’s really my heart to share the things that I’ve learned along the way so that others can learn from my successes and failures. I welcome your questions and comments and thank you so much for reading.
Blessings,
Beth
I know that there is a significant amount of skill and experience that you bring to this process but your posts really posts really break this into manageable steps for me. Thanks once again Beth!
You’re welcome MaryAnne!!!!
The wood on that piece looks absolutely gorgeous, really brought out the woods beauty. After seeing many pieces painted but the tops done in original wood I certainly do prefer that look. Some woods are just too beautiful to cover up with paint I think, would have to be the refinishers call on each individual piece considering condition. My son in law hollers at me when I paint some pieces. He’s used the gel stain with much success on an older 40’sdining set our daughter bought at a thrift store for $30 with 6 chairs few years ago. It is so beautiful. Every time I go over to their home I have to look at their dining set. We had given then an antique English commode we bought many years ago in San Diego. It had black paint on it when we bought it, hubs just stripped it and we never did anything else. When we gave it to daughter he SIL stained it to match their set. Wish I had it back again, it looks so pretty.
I’m really enjoying and learning from your wonderful series. Happy summer days to you and yours.
JaneEllen,
That’s a fantastic story. I bet it’s beautiful! Thank you for sharing that with me. 🙂
Blessings,
Beth
Have you ever applied liquid stain using an old rolled up piece of pantyhose or knee high hose socks? Give it a try…. Best way I have found to apply the liquid stain as the hosiery really soaks up the stain and blends it beautifully.
Thanks Heather I’ll have to try that.
🙂 Beth