Painting Thermofoil Kitchen Cabinets Part 2
UPDATE to see the finished kitchen click here….
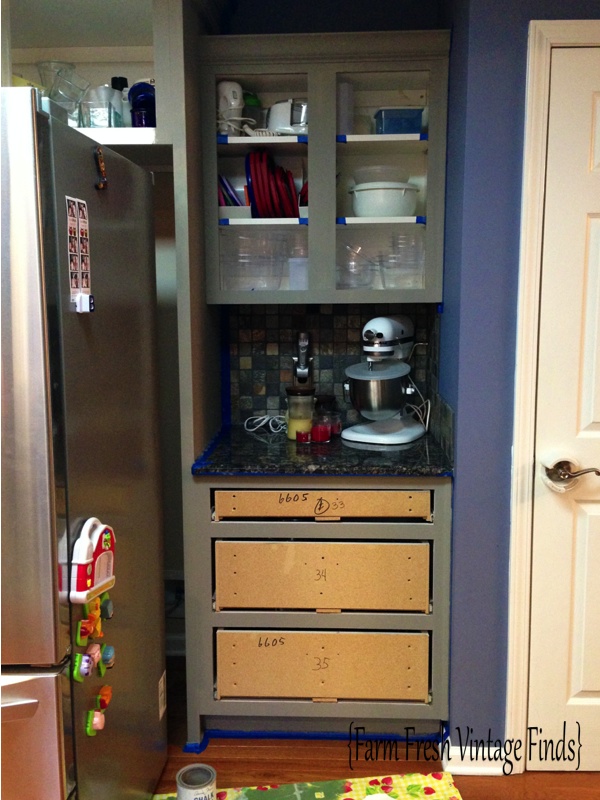
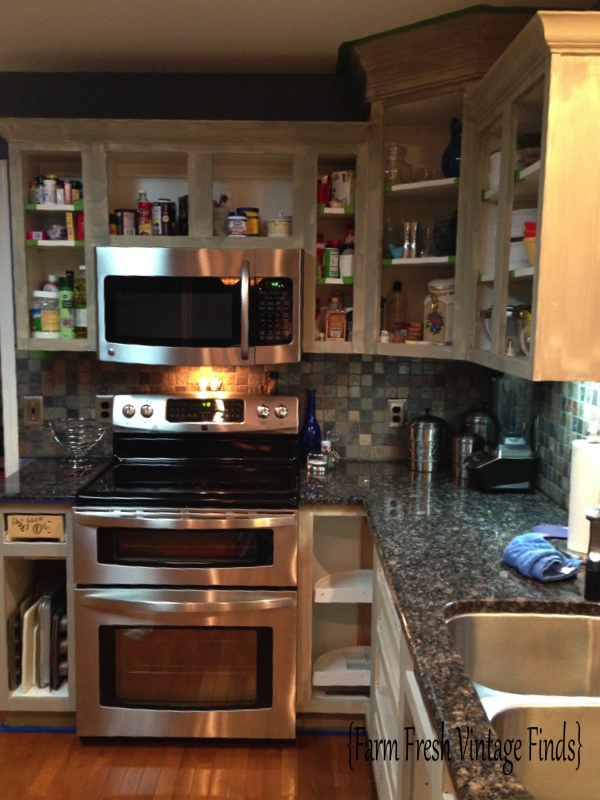
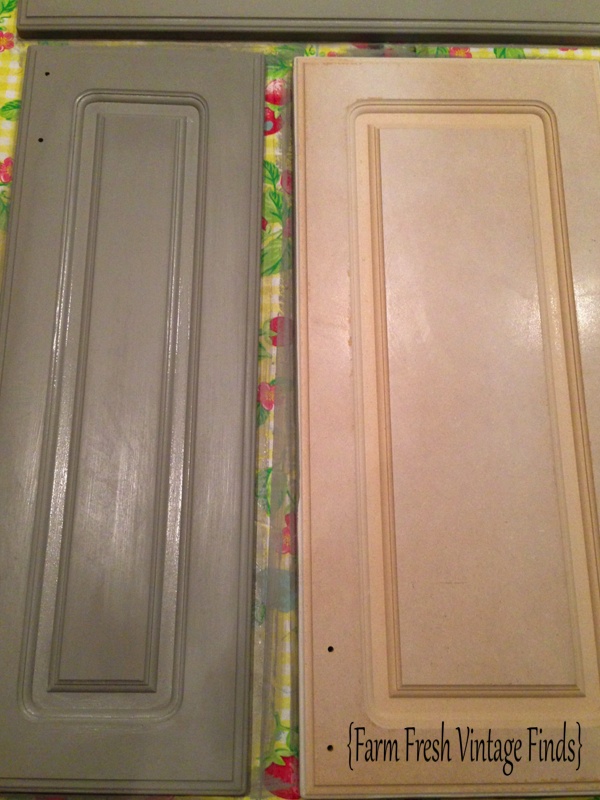
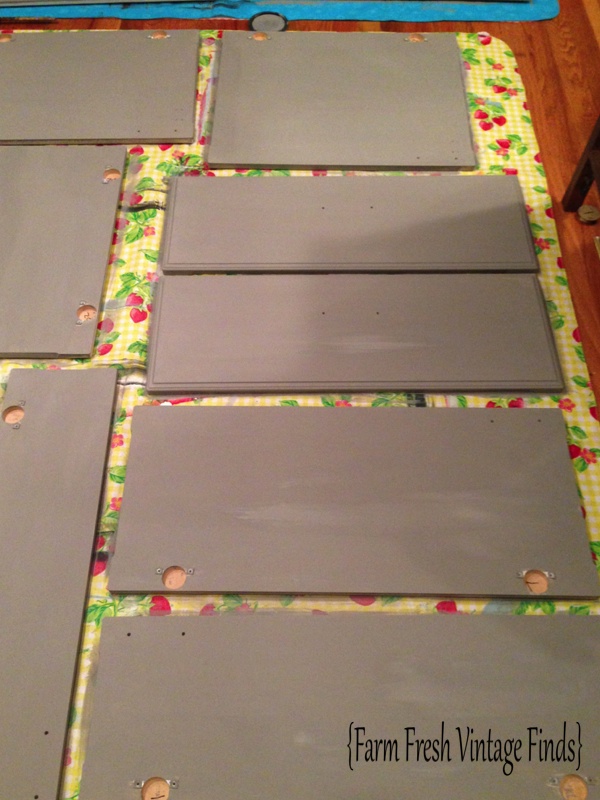
Picking up with part two of with this thermofoil kitchen (you can see part one here). The next step in the process was to paint the skeletons. After taping everything off I applied two to three coats on each of them. Then it was time for the doors. Below is a side by side photo of the French Linen door next to the thermofoil removed MDF door. As you can see the doors are smooth and look just like wood when painted.
Next was my least favorite step…glazing. UGH….this is the part of the process where I start to think I’ve bitten off more than I can chew. You know the moment where you look at all of the work before you and think oh no I’m going to have to finish this and I’ve officially run out of steam. And then I remind myself that things often look worse before they look better. I take a deep breath and I. PRESS. ON!
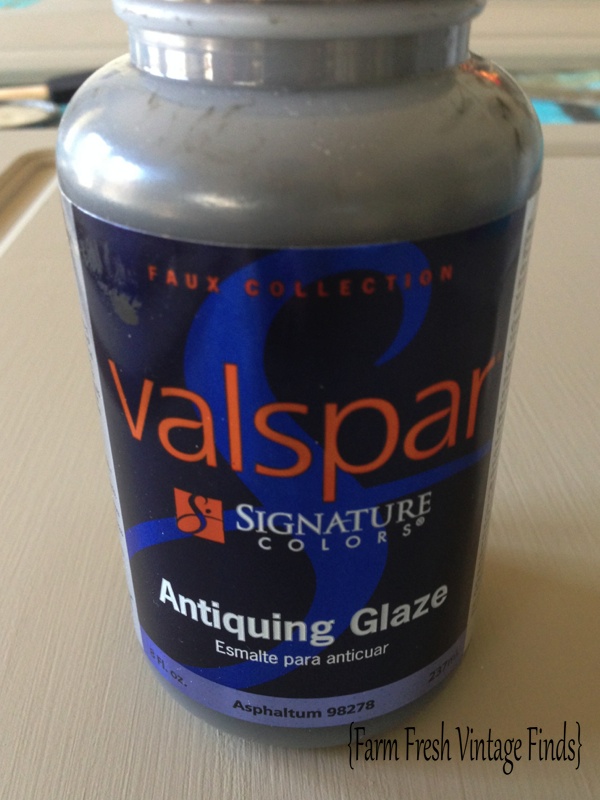
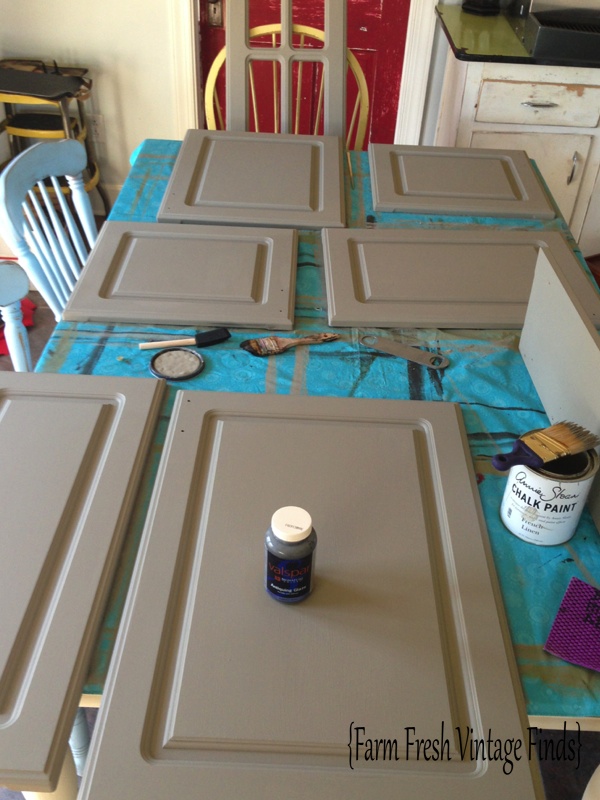
I am using Valspar Antiquing Glaze for these cabinets. I could’ve chosen dark wax but I felt like the glaze was the best way to get the look I wanted. First I applied a generous amount with a foam brush. I did thin it down a bit for several reasons. Primarily because it was too thick but also because I wasn’t going for an antique/aged look but rather a more contemporary almost stainless look.
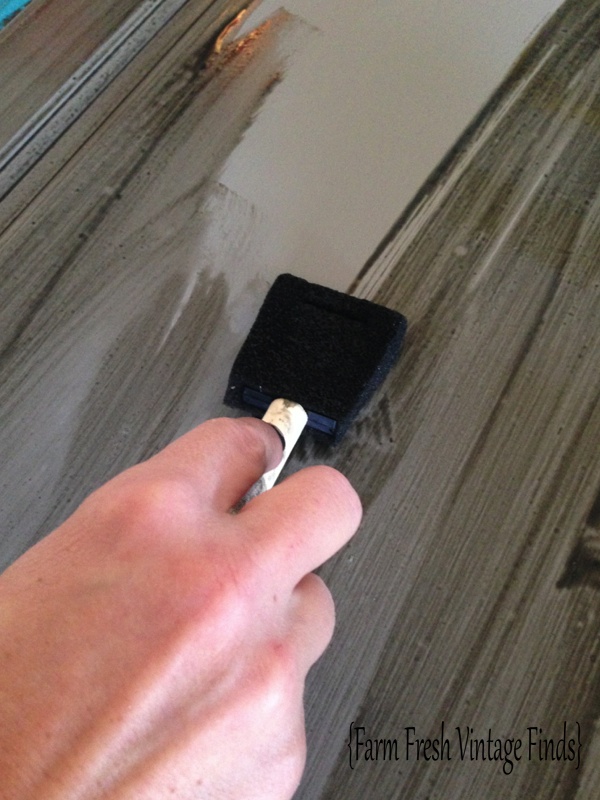
See I told you. This is that moment when you look at the task before you and cry…PRESS ON!
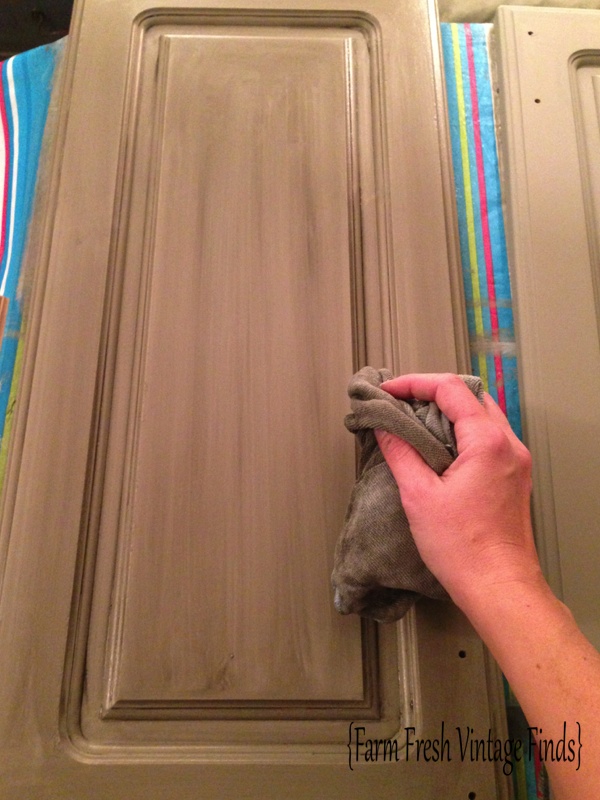
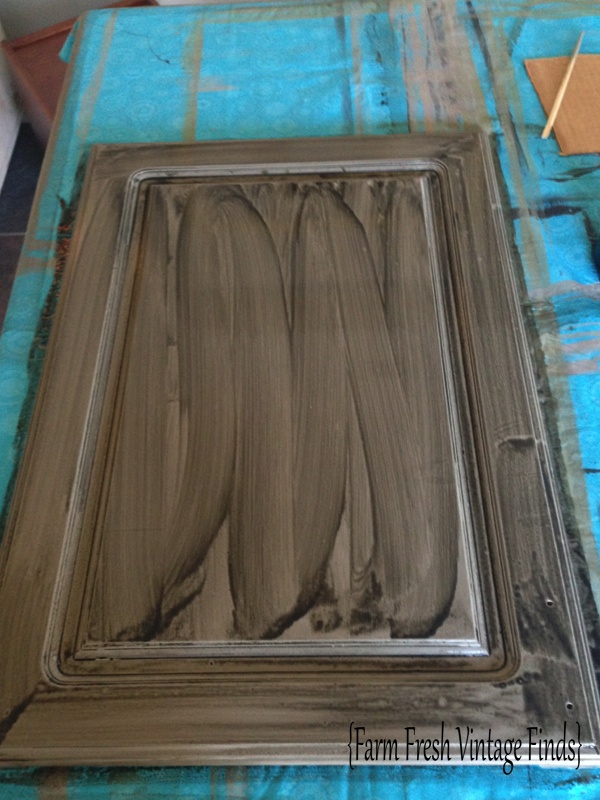
I then wiped the excess glaze off with a soft cloth. Going in the same direction, the direction that would be considered the grain if these were real wood. This part was tricky and EXTREMELY time consuming. It’s important to take your time with this as all of the doors need to be the same hue or else the kitchen will not blend and instead will look like a mismatched mess. Not the look I was going for. It’s also important to leave the glaze on for the same amount of time for each door as the longer it stays on the more it soaks in.
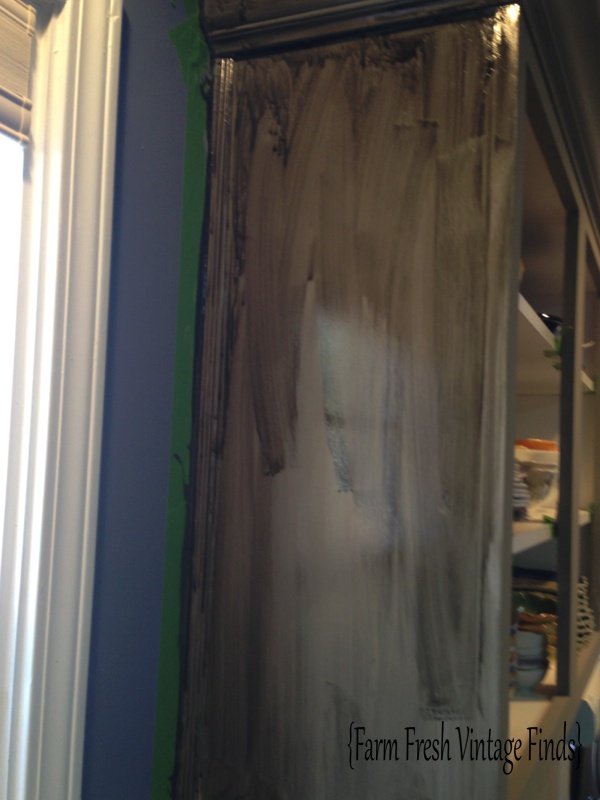
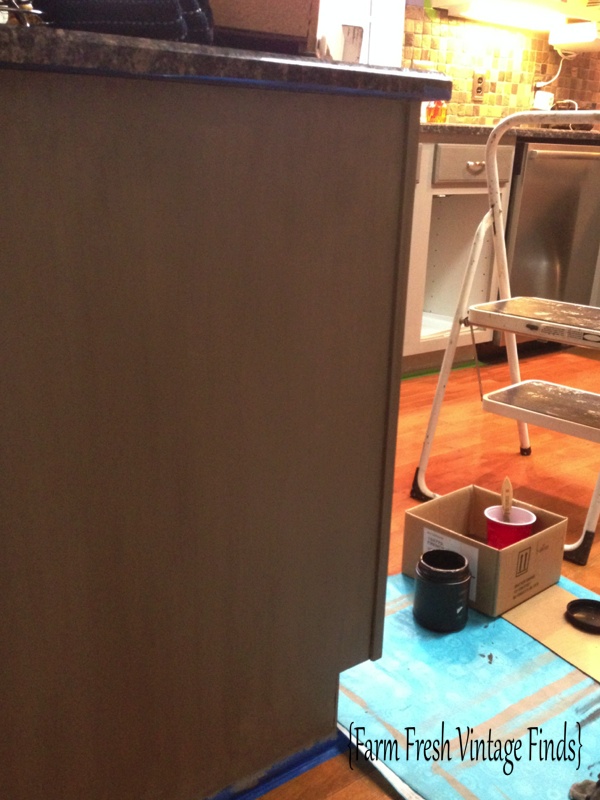
Above is a photo of the skeletons with glaze applied and below is a photo of the skeletons after wiping the excess glaze off.
So that’s it for now. Be sure to come back and check it out the rest of the progress.
Do you have cabinets or furniture you’d like to have painted?
If you are within 1 hour of Fairview TN, email me at farmfreshvintagefinds@gmail.com for pricing and details.
Don’t forget to check out my Facebook page.
Thanks for reading and commenting below.
These cabinets look amazing! About how long did you leave on the glaze?
Thank you Heather! I didn’t leave it on very long, maybe a couple minutes. 🙂
Thanks,
Beth
I like the outcome of your projects but I don’t like your webpage as you have to go back and forth to follow your instructions. Why not go straight thru the entire project till it is complete instead of jumping around?
Hi Anne,
Thanks for the compliment. I’m not sure what you mean about my projects and site as I’ve never had a complaint like that before. I do my best to share all my work with others for free. It’s a quite time consuming/complex job to run a website.
Thanks for reading!
Beth
I am trying to paint my MDF cabinets. The thermofoil has been falling off for months. I have researched to the point I’m really confused. I’ve started with the island to see if I could do this. I have pulled the thermofoil off and sanded to try & make smooth. Trying to avoid anything with water for fear it would cause the MDF to swell & come apart. I put Zinsser Cover stain oil base primer on it being careful to vacuum and wipe down with tacky cloth but could not get it smooth enough for a coat of paint. It is still rough. What is it with this MDF? I want a cream color cabinet with brown pinstripes in the decorative detailing . Should I try some sort of veneer, shellac, water down glue before putting down a primer?
Hi Rachel,
I don’t suggest heavily sanding MDF. It never really gets smooth and will actually start to disintegrate with too much sanding. I primarily use chalk type paint for MDF because it is self leveling and is the only thing I have found that really looks good. Sorry, I’m sure this isn’t what you were hoping to hear. You could use an additive called floetrol in latex paint to help with brushstrokes but as I said I much prefer chalk type paints.
No matter what take your time and be proud of yourself. DIY isn’t learned overnight and often requires lots of trial and error. Good luck with your project!!!!
Blessings,
Beth
Hi Beth,
I love the transformation-great job!!
I’ve been a DIY’er for years so I feel I do have the experience. The cabinets in question (thermofoil/melamine) have been stripped and ready to paint. I have used Annie Sloan on a few other projects. I’m familiar with it and love using it. Here’s my question: as you hate to glaze, I hate to wax. Though I know it’s needed to protect the paint. At this point I’m not looking for the ‘antique’ look as that was the look of the cabinets prior to stripping the melamine. I was thinking of just using the clear wax. Not dark. What’s your thoughts? I’ve always antiqued so I’m looking for the clean, fresh look. My island I used Duck Egg by Annie Sloan and Dark Wax over it (ugh) hated the step from the minute I started to when I finished. Some parts were too dark while others too light. So between reapplying clear wax on darker spots & darker wax on the lighter it’s finally finished and yes I love it. Plenty of compliments but hard work.
I’m just wondering if the wax will be enough for cabinets that can be high traffic?
Thanks for listening and for your great posts & pictures!!
Hi Maria,
Since writing this post years ago I no longer use Annie Sloan products. I now use DIY Chalk and Clay paints and General Finishes. Both of these lines have a liquid topcoat that works well on cabinets. I hope this helps!
Thanks,
Beth
I don’t see a date on your post, but I was wondering the exact same thing. What did you end up doing?
Hi Kim,
These cabinets were painted 4 years ago and have held up GREAT. I am now removing thermofoil when doing these types of cabinets. I hope this helps. Thanks for reading!
Beth
Why do you no longer use Annie Sloan products?
Hi Caroline,
I found a paint that I like far better than the other paints I’ve used. That’s it.
🙂 Beth
So you do not have to seal the mdf before you paint it?
Hi Lucinda,
In my experience sealing the MDF has not been necessary.
Thank you,
Beth
Hi,
I know this is an old post, but I’m hoping you’ll still answer. I love the look you got with the glaze on the AS paint (I too use DIY, now). My question is, did you have to seal the paint with anything before glazing, to prevent it from soaking it all up? That is my fear, that the glaze will soak it all up and I won’t be able to wipe it off for the look I want. Please help! 🙂
Hi Laura,
I did not seal it first. It did soak up the glaze and I had to be careful not to overwork it into the paint so it would look even. You could topcoat the paint first and then add the glaze but I found that I like just adding the glaze alone. I would suggest practicing with some sample doors before starting on your cabinets to get a feel for it and see which look you like best.
Happy painting!
Beth
I have thermofoil cabinets everywhere in my house. Is the skeleton of the cabinets thermofoil or just the doors themselves? If the skeleton is not thermofoil, then I can just use regular cabinet paint to paint them?
Hi Jessica,
Yes, you’re correct. Typically just the doors are thermofoil so you can paint the boxes without removing anything.
Thank you,
Beth