How to Build a Halltree
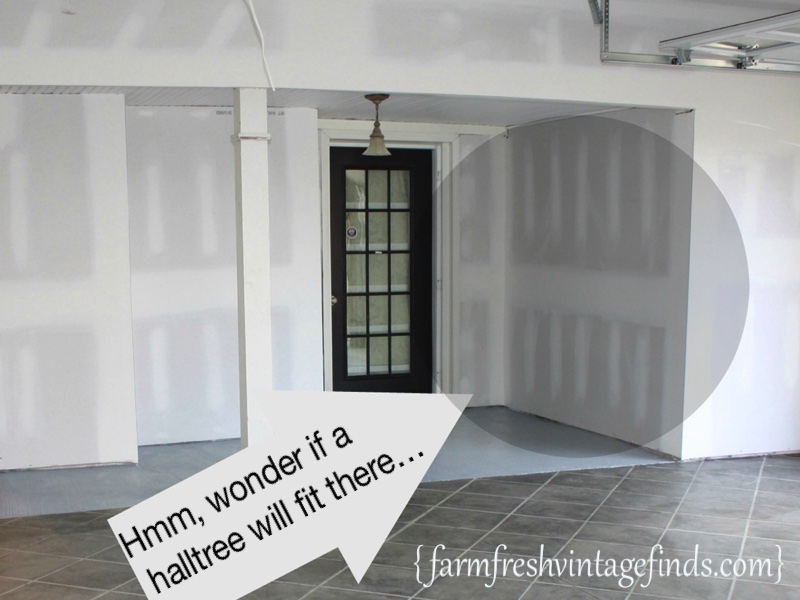 Remember when I showed you how I stenciled part of our garage floor? Well today I wanted to show you how we built a halltree in our garage to hold all our junk.
I’ve told you all many, many times how handy hubby is and this project is no exception. In fact he was as happy about building it as I was because he doesn’t like looking at clutter either.
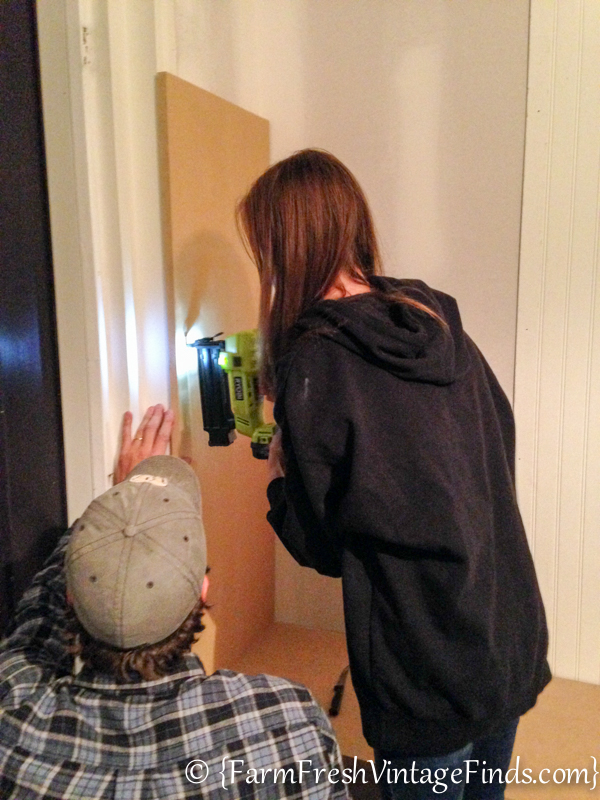
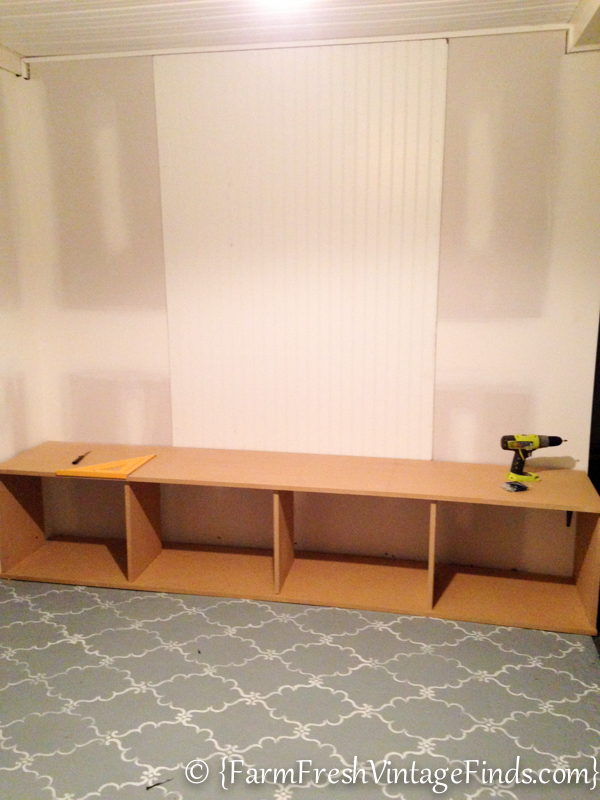
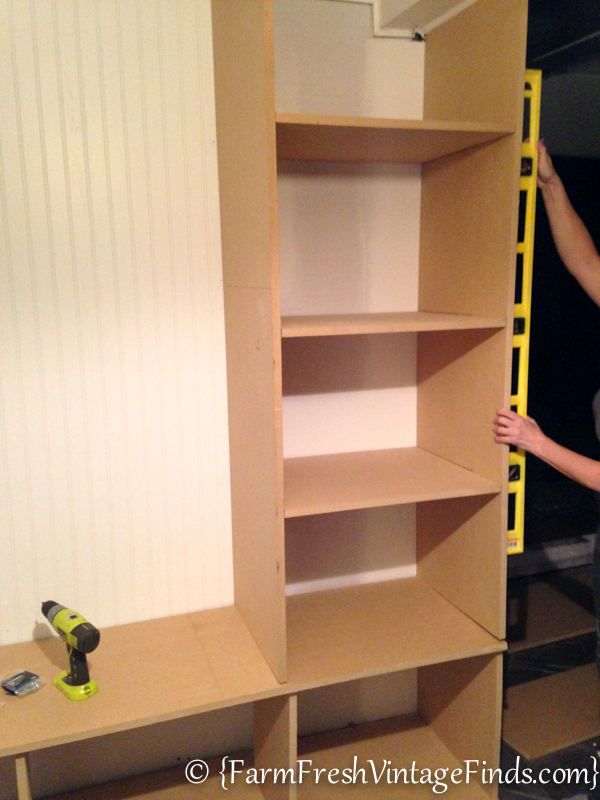
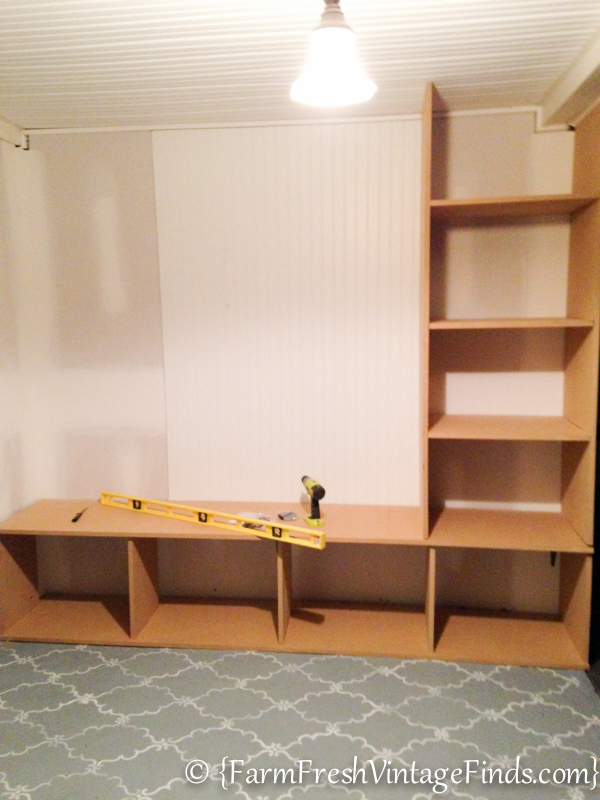
In order to decide what we wanted I looked all over Pinterest. In fact I created an entire board, you can see here with lots of ideas and inspiration. Once we had a plan we measured the space we calculated the amount of MDF we would need. Then we took our measurements to the store to purchase our materials. While we were there we had the store make the larger cuts for us. This made things so much easier! Once we got home we assembled everything and made final cuts/adjustments.
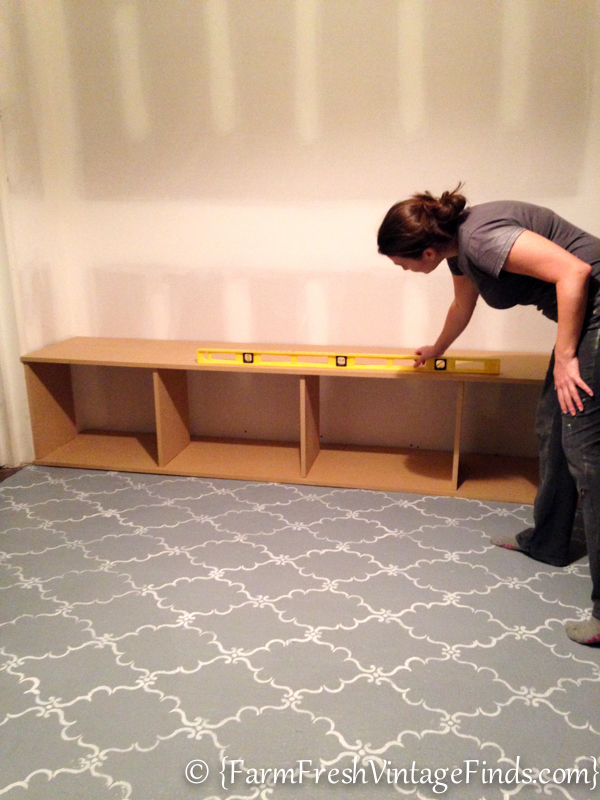
When doing a project like this it is so important to make sure everything is level and square. The area where we put the halltree used to be a porch so it had a slight slant for water run off which made things a little frustrating at times but we did the best we could. Living in and doing improvements on a house as old as ours, you learn to just roll with it. 🙂
One thing we did to add some detail to the halltree was add a couple 4×8 sheets of bead-board to the center. I like the look of bead-board and use it a lot.
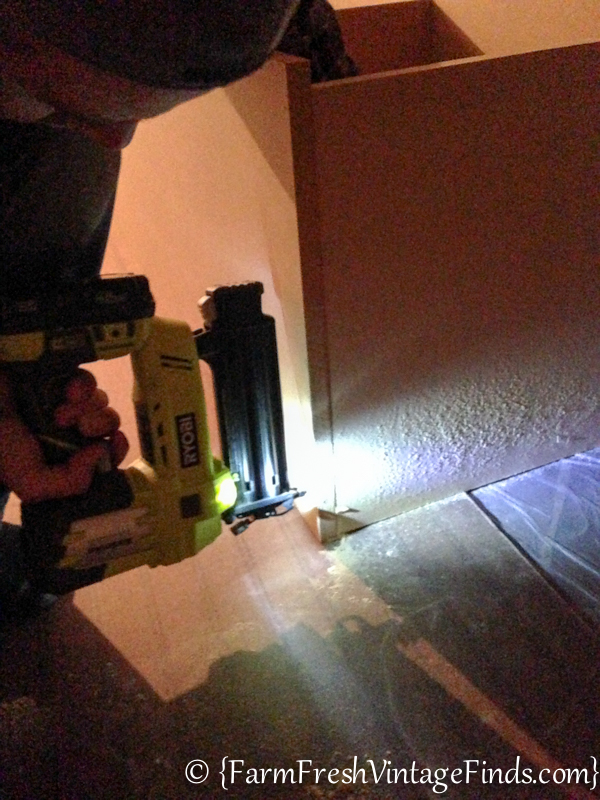
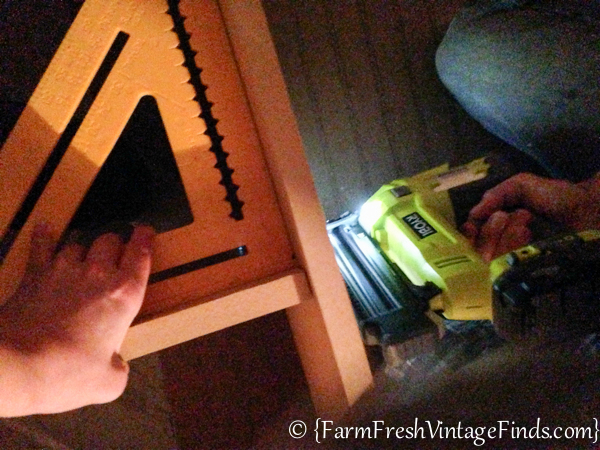
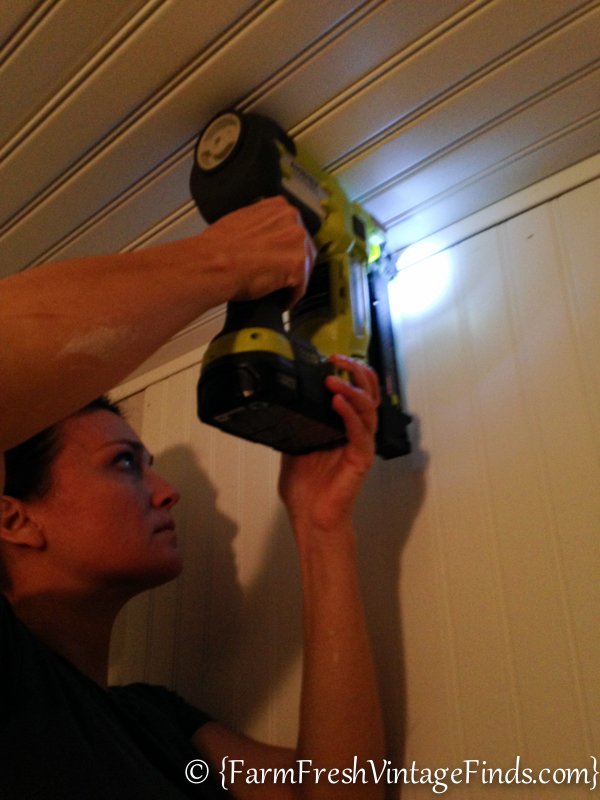
On a sidenote…if you are doing building projects very often I can not stress enough how much this Ryobi brad nailer comes in handy. We use it all the time. Next to my drill it is one of my top 5 most used tools.
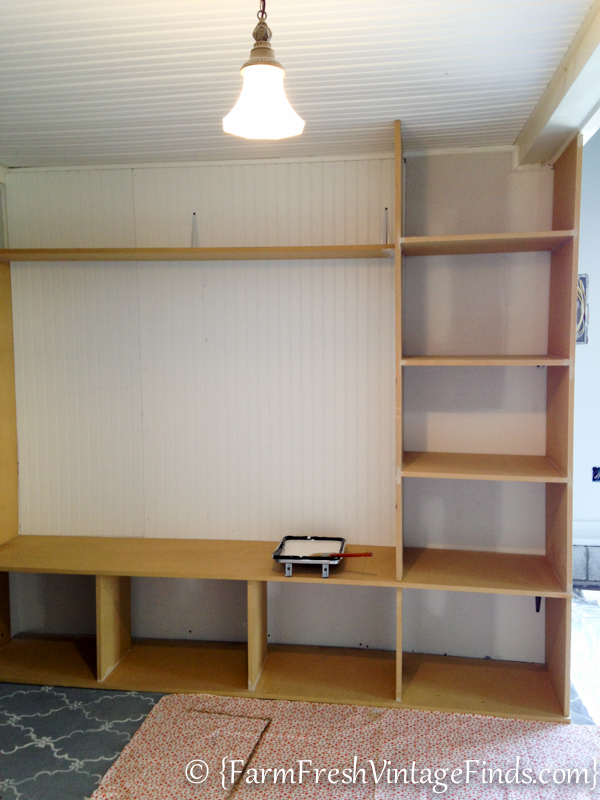
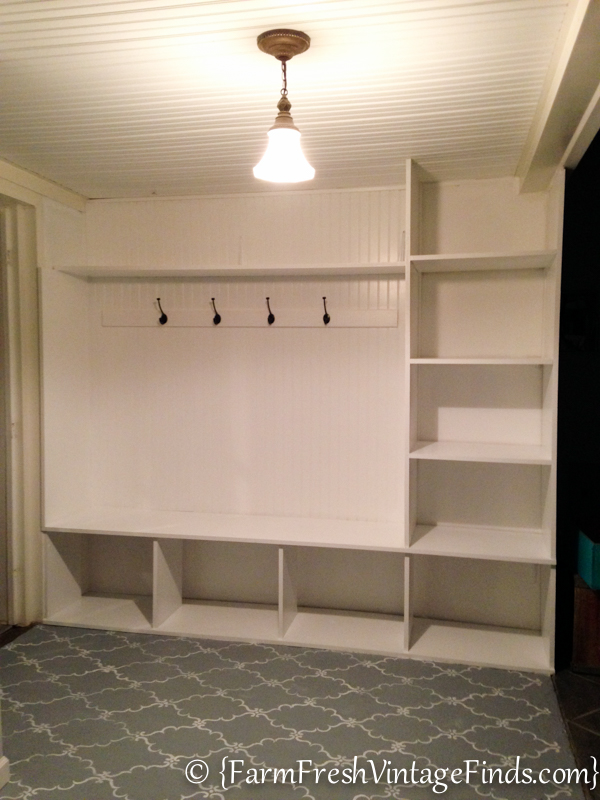
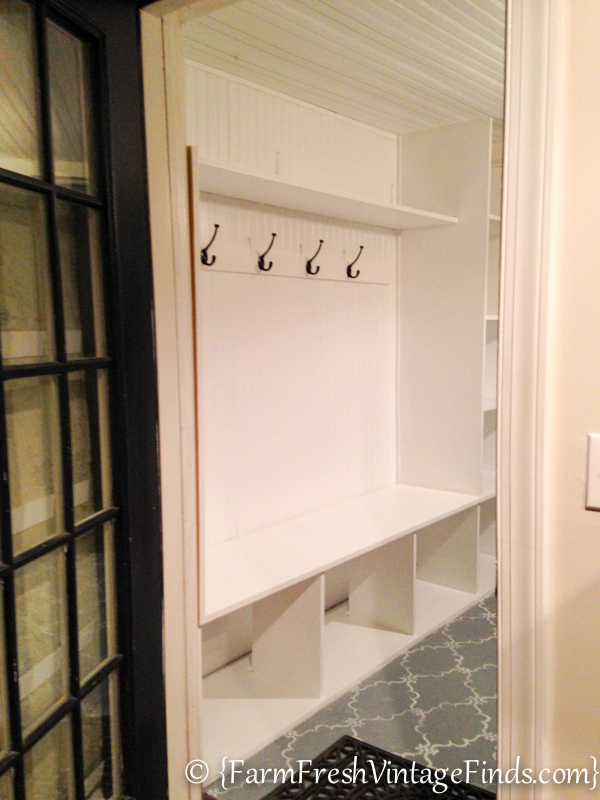
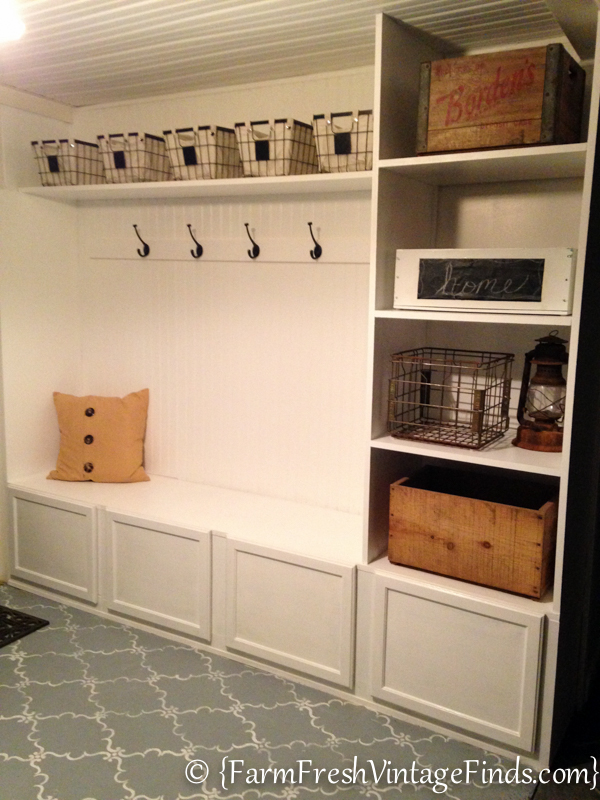
We decided since we had the material and space available that we make cubbies across the bottom and one going up the side. This allows for more storage space and I wanted to be sure and capitalize on the vertical space as well.
My daughter even got in on the action! This girl will either grow up and loathe DIY or end up building her own house from the ground up!
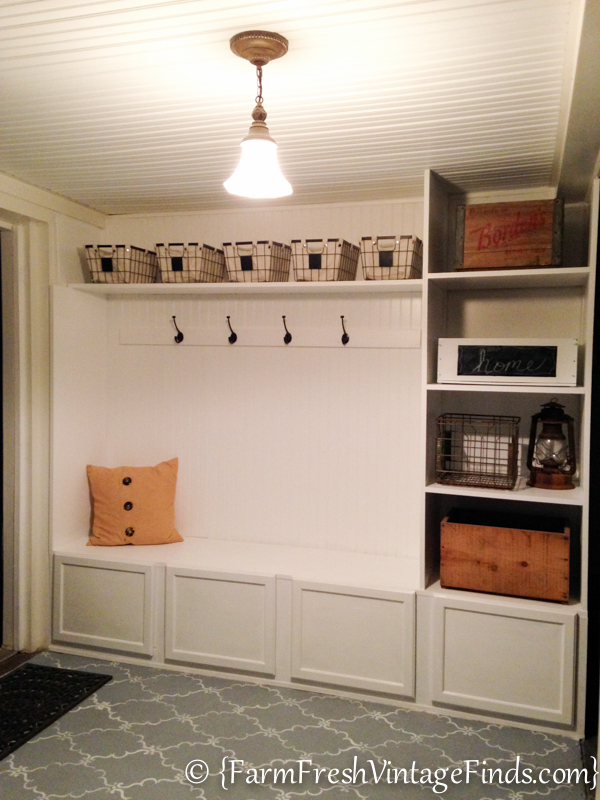
Once everything was build it was time to paint. I have to admit this is my least favorite part of a project like this. There are so many little nooks and crannies. It’s a tedious job but once it’s done it’s so worth all the hard work.
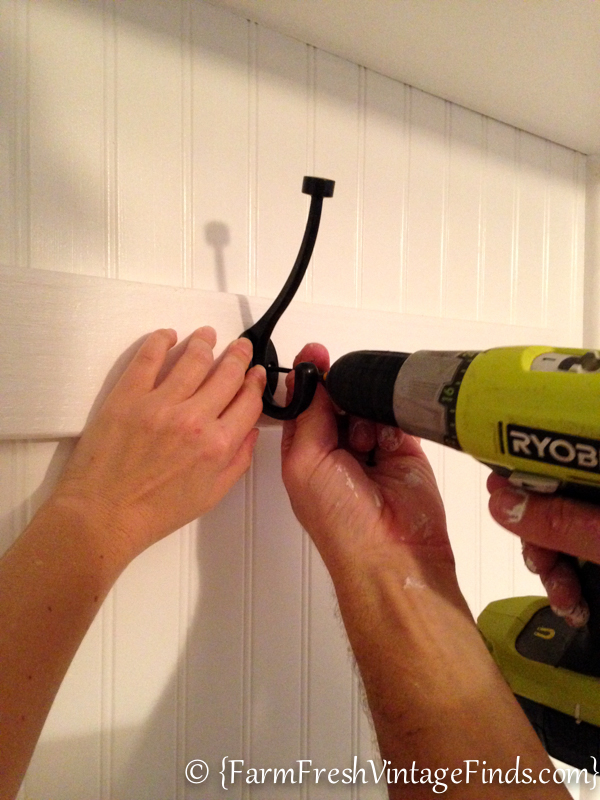
We purchased these hooks at our local home improvement store. They add the perfect touch and break up all the white.
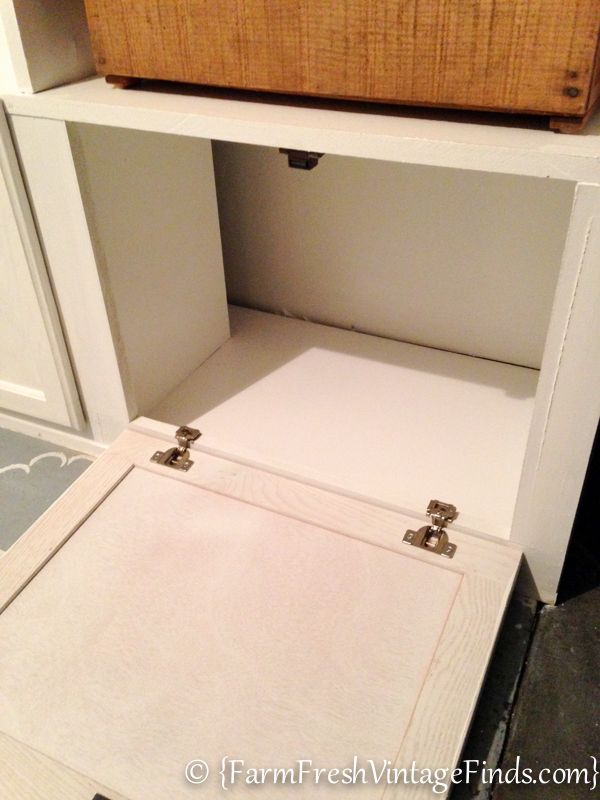
Originally we had planned to leave the bottom cubbies open, like in the photos below. But after looking at them for awhile, searching for baskets and coming up empty handed I opted to cover the bottoms with some cabinet doors I had left over from another job.
This option adds the perfect touch and will hide all the junk that will inevitably end up in them. We secured a magnet to the top and door to keep them shut.
Next it was time to accessorize. Now I realize that this is a garage and it really won’t look like this long. But a girl can dream, right!?
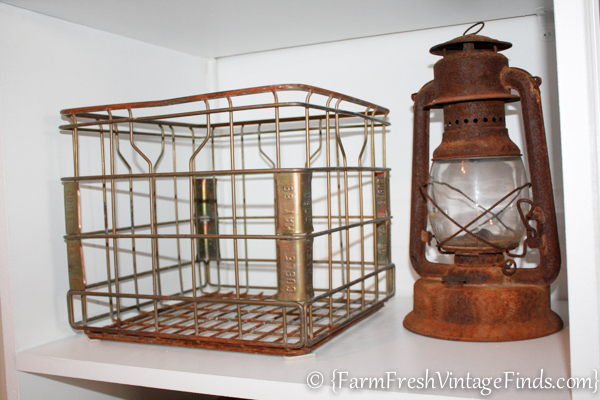
I love metal crates! I snagged this one and the rusty lantern at a yard sale a few summers ago.
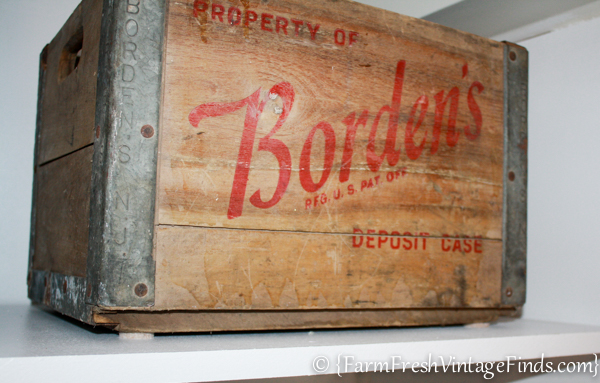
I purchased this Borden’s crate at a flea market years ago. It’s very sturdy and large and will hold lots of stuff and still look pretty.
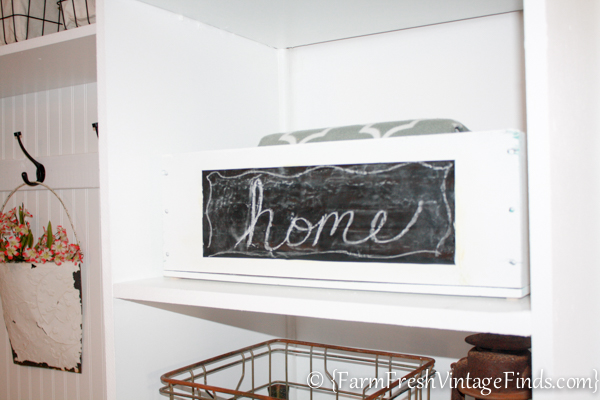
This is a wine box that I painted and then covered in chalkboard contact paper. I’m going to use it to keep beach towels and such in. I never have a place for those kinds of things.
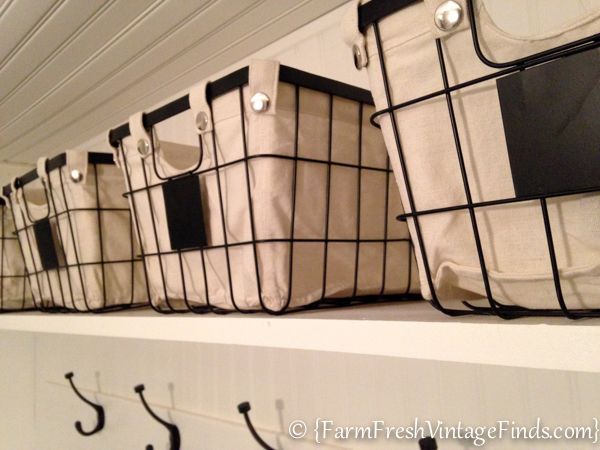
I was able to find these cool wire baskets at Walmart. They are Better Homes and Gardens brand and fit perfectly on the top shelf. I think they’ll make great storage for hats, gloves and scarves. And since I can label them maybe we won’t forget what’s in them!
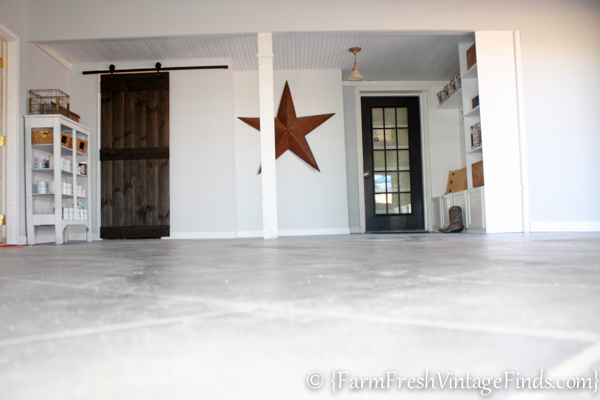
Here’s a photo of the clean garage. If you didn’t get to read about the barn door we built for around $20 you can do that here. I’ll be sharing about how we stained the concrete floor to look like tile next week. It’s a great project that completely changes the look of your concrete!
Now when I come home I don’t feel the stress I used to feel by having stuff randomly here and there. It really makes a difference to designate a place for everything and hopefully it will help everyone keep things neat and tidy.

Thanks for reading. I’d love to hear your thoughts and comments below.


I had sketched some plans for a system very similar to this but with a vertical tower on both ends that hold up a shelf going all the way across the top of whole thing. I found and pinned this because I liked the enclosed bottom (I was originally just going to have an open front and put bins for shoes under, but framing it out looks neater).
My questions are about your hinges and latch (and did you get custom-sized cabinet doors or just make your own?) How are the hidden hinges holding up? Would you have gotten a different kind? I’m thinking of the type where you see the barrel of the hinge on the outside. I noticed there are no pulls- is the catch at the top the spring-loaded touch type? Is it heavy duty enough to keep it closed? Do you find they fall open a lot when people brush past?
Finally- I’m not sure how old this post is, but how has the MDF held up? Ours would be in the laundry room, so I’m wary of water damage if something should go awry with the washer and/or water heater and/or pipes bursting (happened twice last winter), and MDF is so heavy to work with anyway…
Wow, this got long. Thanks for any feedback!
Hi Lynness-As far as the hinges and latch we used the heavy duty hinges that come on the doors and a magnet for each door to hold them closed. They are holding up well and they stay closed with no problems. I didn’t want pulls because I wanted everything to be flush so nothing catches you on the leg as you walk by. The MDF is holding up really well. This is in our garage so there is a fluctuation in temp most of the time and the moisture that goes along with that. On a side note if you have a leak or water issue in your laundry room and it isn’t caught quickly it won’t really matter if you have MDF or real wood it is likely to be ruined. Yes, MDF is heavy but it’s so cost effective that we continue to use it. Thanks for all your comments and questions. Good luck on your project.
Blessings,
Beth
Hi, Beth.
I am so happy to see these tutorials on the hall tree and the stained concrete. Thank you so much!
We JUST bought our dream property and house. We have a nice, large attached garage with concrete floor, a mudroom (with awful pink/beige tile, but there you have it), and a walk-out basement with concrete floor.
I agree with you, I like the low-lustre look, too. Question for you, please. Is the floor stencil at your hall tree on ‘raw’ concrete, or did you paint or stain under it? It’s a great look, congratulations.
All the best, Rebecca.