How to Stencil a Porch Floor
I have a lot of cold floors in this house both ascetically and literally. Inside and out I feel like I’m always looking at plain wood or plain concrete. In fact this back porch that we recently converted into a garage has been on my to do list for some sprucing up for a while now.
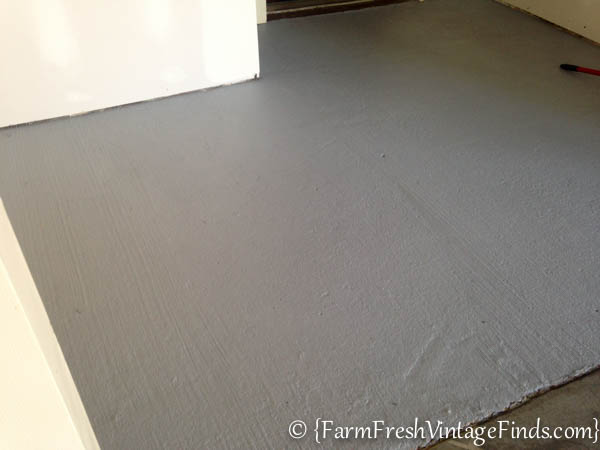
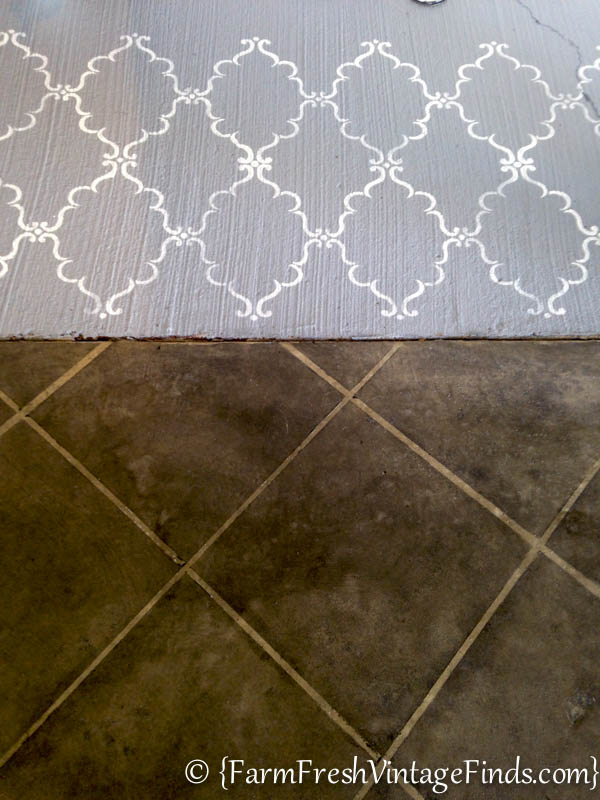
We had painted it years ago dark brown to match the color of our wood decking and to hide dirt as it was the main entrance to our house. But I always hated it. So during our recent garage construction project I started thinking of ways to make it more appealing. I started out by repainting it gray with some latex porch floor paint. This helps a tremendous amount! But it was still plain and I felt like it just needed a little something. Remember this is the first thing I see when I come home so I want it to make me happy.
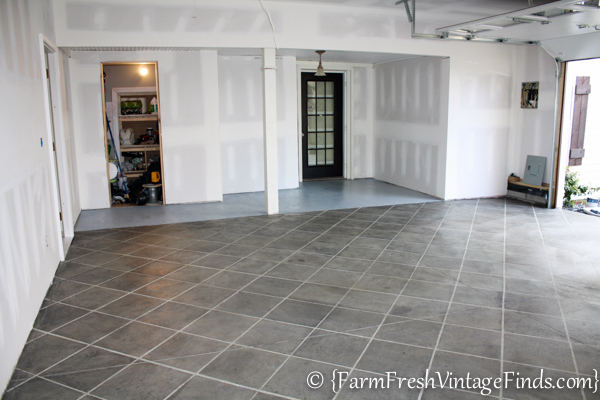
The rest of the garage was looking awesome because we had just finished staining the concrete to look like tile. More on the garage floor in an upcoming post. (You can see a previous tutorial of where I stained concrete in our barn here.)
So I wanted to continue the trend right to the door. We couldn’t stain this part of the porch because of the previous brown paint job. I mean I guess we could have stripped all the brown paint off but who in the world wants to do that?!?!?! Not this girl!
I had received two beautiful stencils from Royal Design Studio several weeks ago. One of them I used for a chest of drawers, you can read about it here and the other I had intended to use on a wall for a client. The client project got put on hold but I still really loved the stencil and wanted to show it off. Enter the “lightbulb” moment….yep you guessed it I decide to stencil the porch floor!
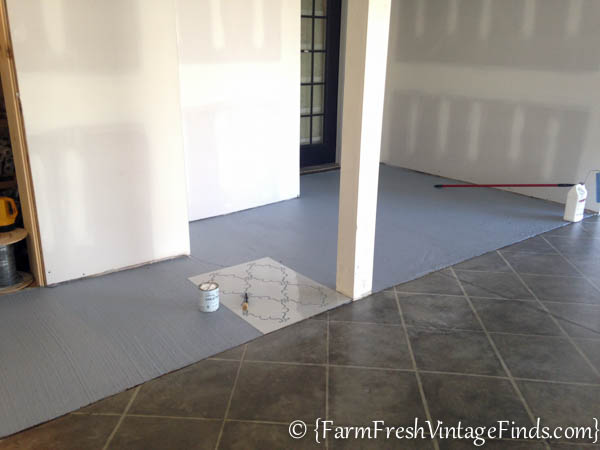
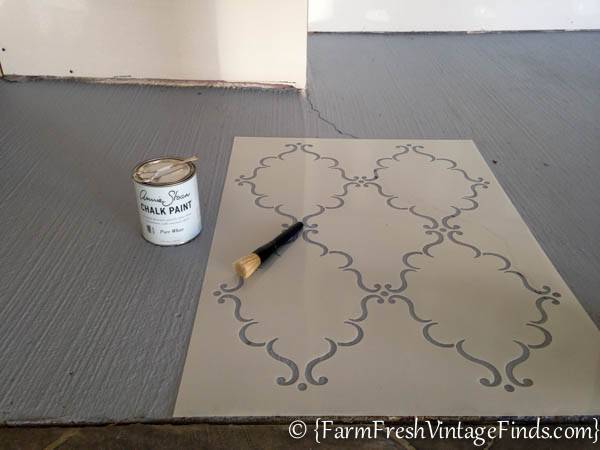
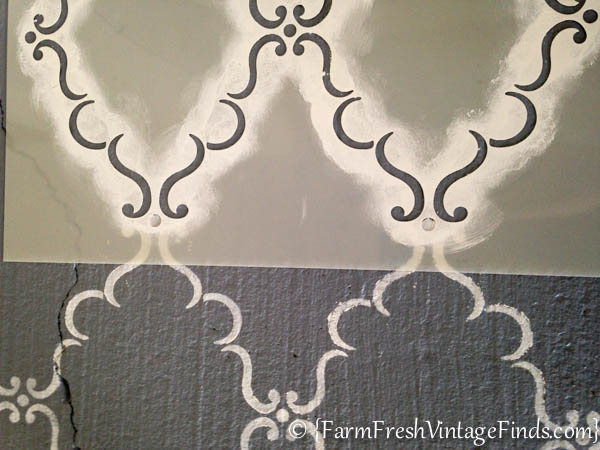
I started out by laying the stencil in what was as close to center as possible. I did this because this porch is not square AT ALL (remember our house was built in 1827) and I wanted to have as square a starting point as I could find.
I used Annie Sloan in Pure White because that’s the paint I had handy and I really wanted it white so it would pop against the gray.
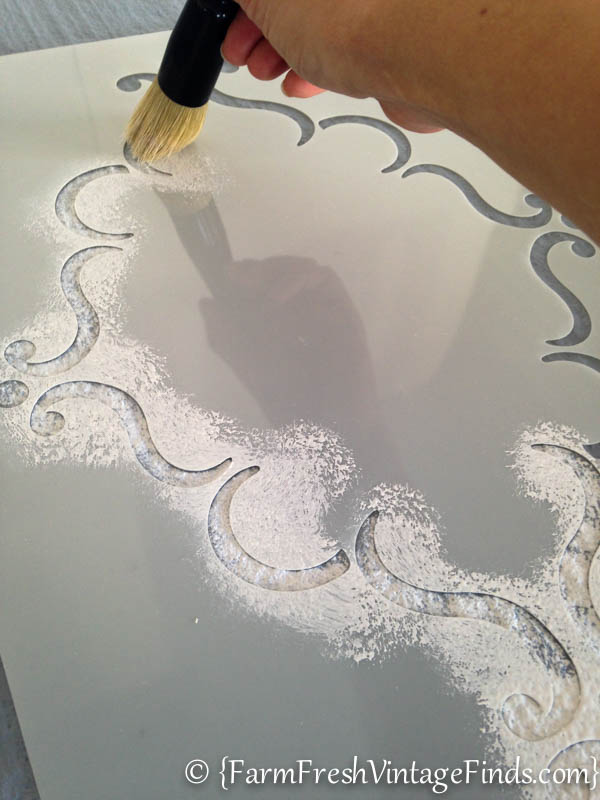
I carefully applied the paint in a circular motion.
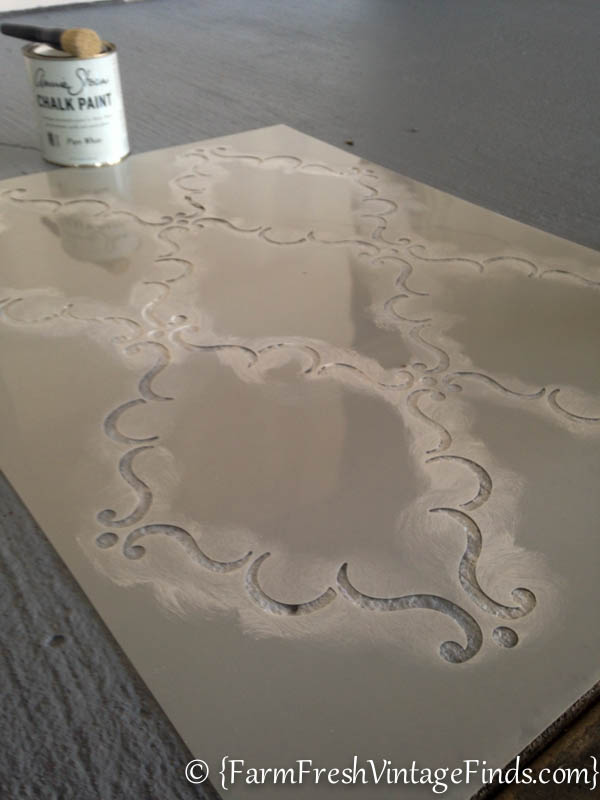
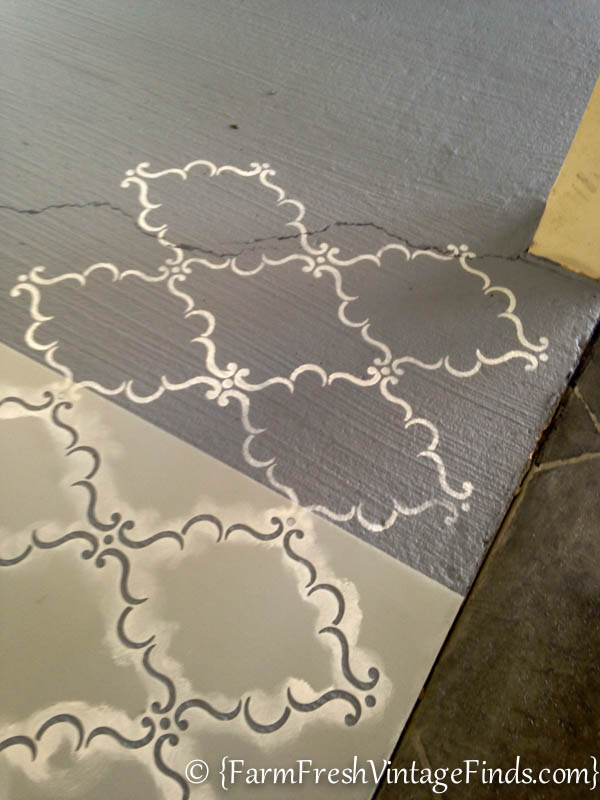
And then I held my breath and lifted the stencil……
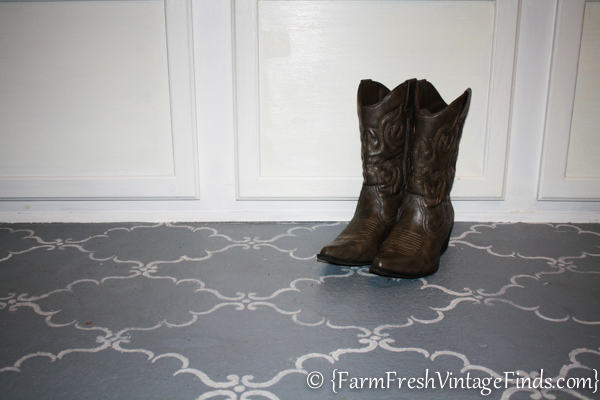
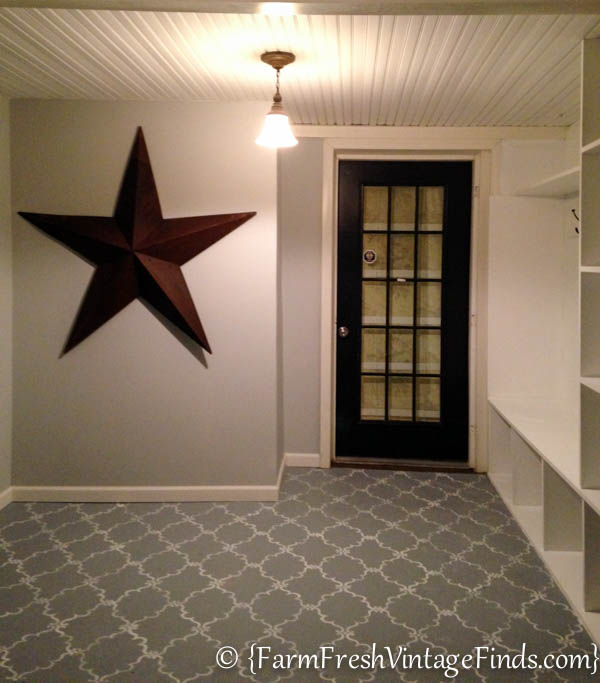
And oh my goodness I was in LURVE!!!!!! It was fantastic. Exactly what I wanted!!! I literally just sat there in the garage all alone, happy as ever that this was coming together so well. You see I think sometimes it looks like I have a plan. But honestly I rarely ever do. So when things come together during my projects it’s this whew, exhale kinda moment that get’s me through the project.
A few tips on using the stencil for you…
1. Make sure you line up your stencil each time. In this case I had the little circles to line up on the sides or top each time.
2. Make sure not to put too much paint on your brush. If you do your paint can seep through to the bottom and mess up your entire project.
3. Don’t stress about getting an even layer of paint all over. It’s nice to have some variation, this makes it look more hand done and authentic.
All total the stenciling process took me less than an hour.
I love the way the two grays compliment each other. It’s like a his and hers mesh of styles and colors.
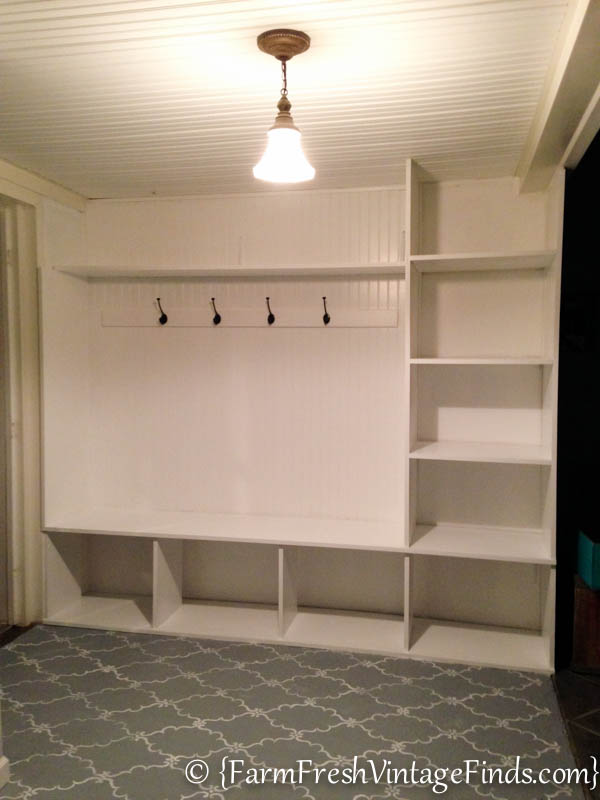
Now I’m off to style the built in that Prince Charming and I constructed next. I can’t wait to reveal the whole space to you. I hope you’ll come back over the next few weeks and see all the work we’ve done.
In this project I used the Raj Trellis Indian Wall stencil and Stencil Brush from Royal Design Studio. Their products are fantastic and I’ll use them again for my next stenciling project.
linking up with Savvy Southern Style and Miss Mustard Seed




Beth, this is so cute! I love the way stencils totally transform anything and everything! Funny enough–I have never stenciled a wall in my house (GASP!!). But yet, I will stencil a table, a jewelry box…you name it. HA! 🙂 The backwards mine of a DIYer…. Anyhow, great job! I’ll share on Pinterest 🙂
Serena @ Thrift Diving
Thanks Serena! Same here. I haven’t done a wall either. However after using this stencil I think that’ll be my next project. 🙂
You did such a great job, Beth! Love how your floor turned out!
Awesome job Beth. I love the stencil and it looks great on the floor.
Thanks so much Vanessa!
Love the stencil! Such a soft and elegant pattern. I haven’t seen one like it before, can you tell us where you got it?
This would be so great in my bedroom! Thanks
Niiiiice and great job
Thank you!
Wow! I think I just found what I want to use as the middle of my painted rug that will showcase my new painted porch floor. It will look great as we have just made our back porch into a beautiful screened in outdoor getaway.
Oh please send me pictures if you do!!!
🙂 Beth
I am wondering if you sealed the porch after the stenciling? If you did what did you use?
Hi Pludie,
I did not. The concrete was so porous that the paint just soaked right in and it wasn’t necessary.
Thanks for reading!
Beth
Loved your project. Could you please tell me the name of the stancil you used?
Thanks
Thank you! I’m so sorry but I don’t remember the name of it. You could contact Royal Design Stencils and send them a photo and I’m sure they could tell you.
Thank you for reading!
Beth
The name of the stencil is Raj Trellis Indian Wall Stencil- $46.99.
Thank you so much for sharing this beautiful project.
I have been wanting to stencil my porch but couldn’t find just the right one- most were just to busy.
Thank you Laura!