Ikea Billy Bookcase Transformation
Hey everybody!
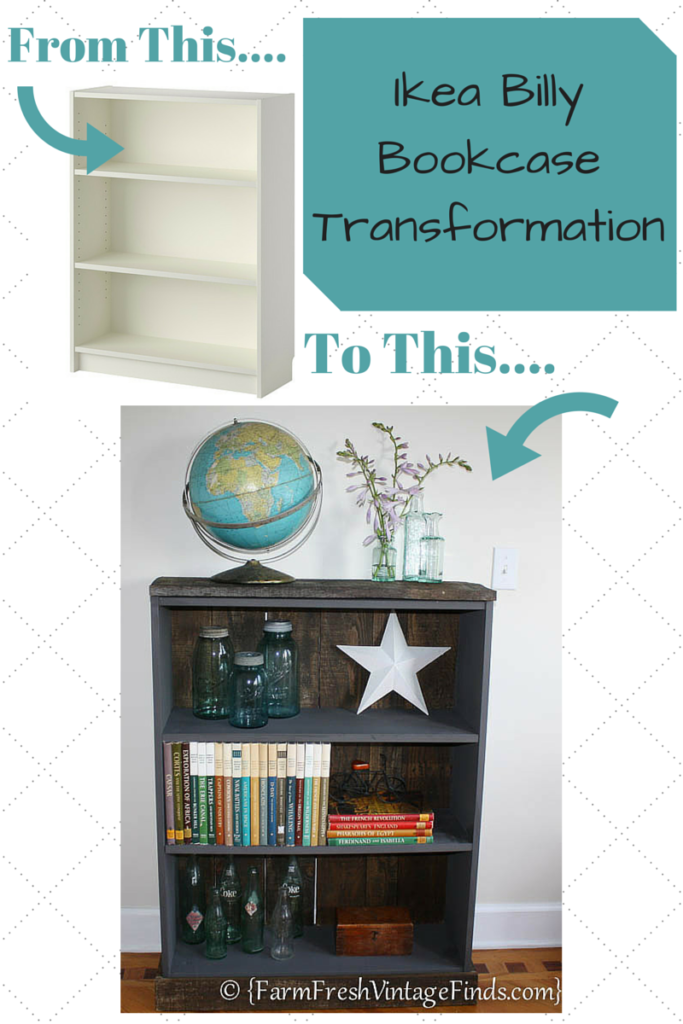
I was challenged by the fabulous friends over at HomeRight to take a “Billy” Bookcase from Ikea and transform it however I liked. So today I’m going to show you how Prince Charming and I took an ordinary bookcase and made it our very own unique one of a kind bookcase.
This is a great project for anyone that wants to try their hand at DIY but isn’t quite ready to start from scratch or feels like they need a little help along the way. Taking something with good “bones” and tweaking it a little is how I’ve taught myself to build things and it’s the perfect way to get your feet wet in the area of building furniture.
I’m also excited because this transformation is going to be my entry into a contest among myself and several other HomeRight Ambassadors that will take place next month. Stay tuned for details on that coming soon. YOU will be able to participate by casting your vote for your favorite bookcase up-cycle. And last but certainly not least I have a GIVEAWAY at the bottom of this post that you don’t want to miss!
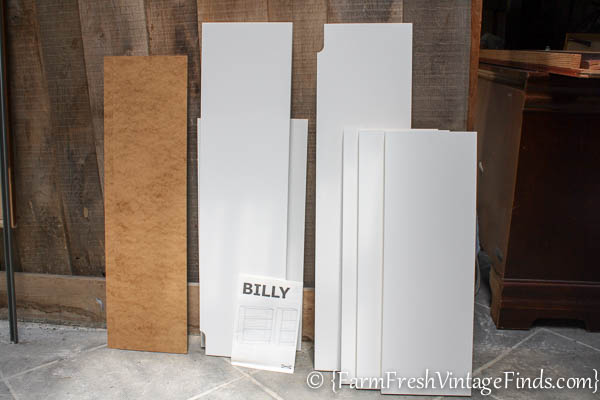
I’m sure more one of you has this bookcase in your home or at least one similar. It comes in a box, requires a little bit of assembly and can be purchased fairly inexpensively from most big box stores.
During my last 11 years of homeschooling I’ve filled several of these with a book or two, that’s for sure.
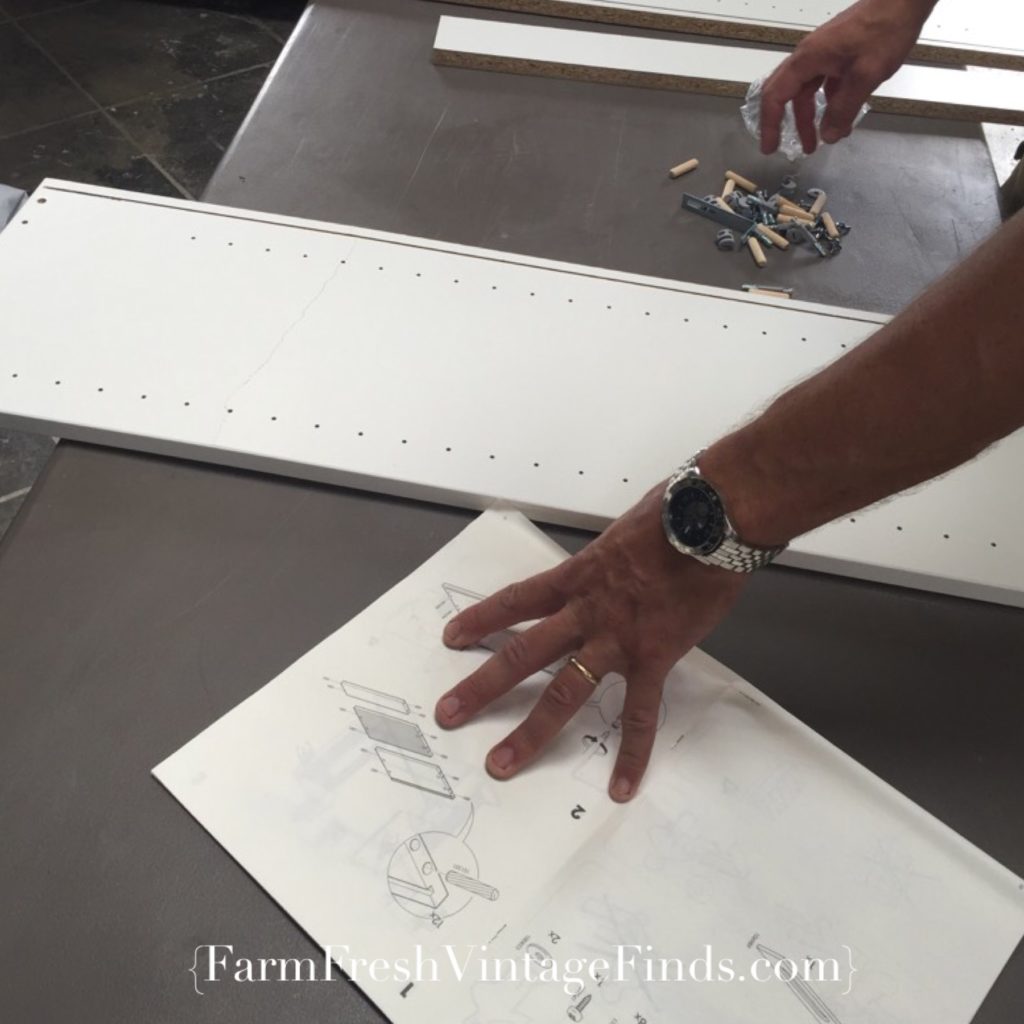
Hubby and I have enjoyed more that one round of “extreme fellowship” during assembly of said shelves and other forms of build it yourself furniture…..you know “insert cam and then locking nut and twist” and so on and so on….. If you’ve put one of these together then you know exactly what I’m talking about! Extreme fellowship I tell ya! Furniture assembly can make for real good times! I’m joking…well kinda. Actually in all honesty this one was pretty simple to put together.
Back to the challenge….for my bookcase I wanted to add a little rustic touch farm fresh style. So……
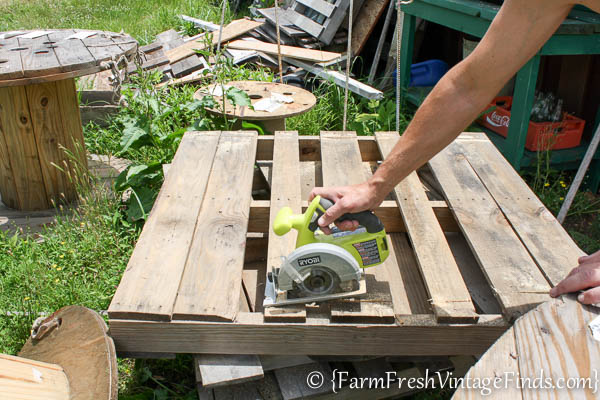
I decide to add some pallet wood. Pallets are fantastic for repurposing.
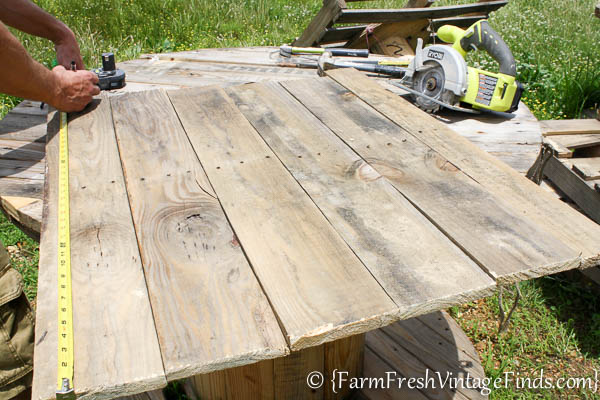
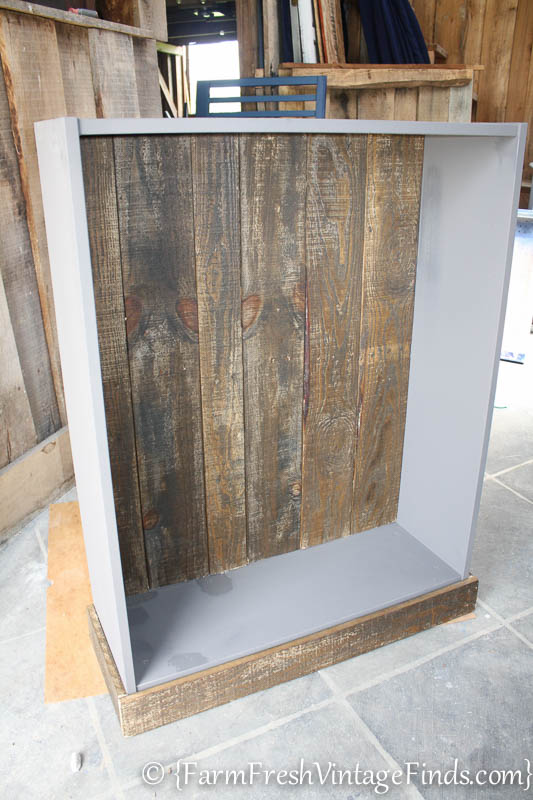
First hubby cut the planks off the pallet and measured them to fit the back.
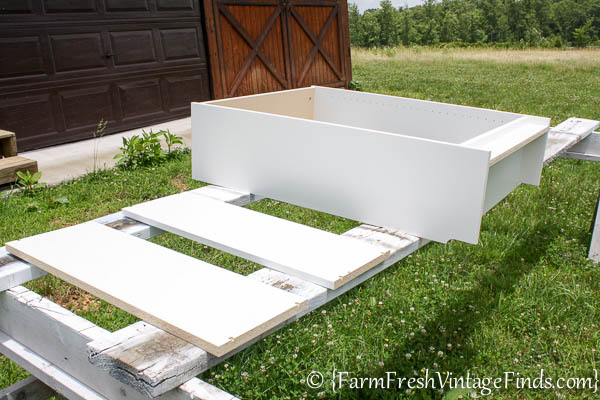
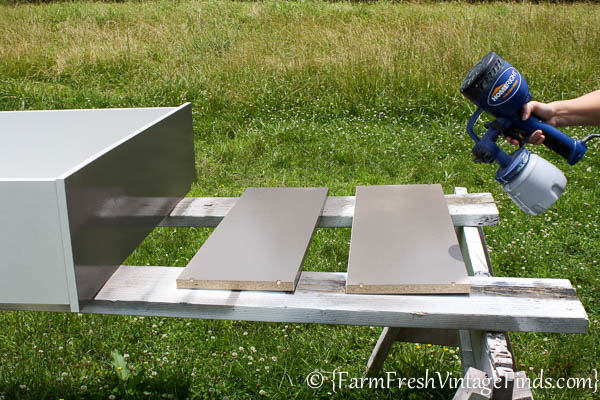
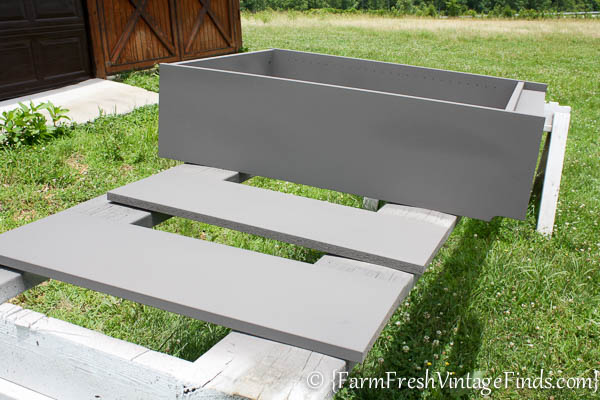
While he was working on that I started painting the base and shelves of the bookcase.
Using my HomeRight Finish Max Sprayer I sprayed them with Debi’s DIY Paint in “Weathered Wood“. I know I’ve said it many times but my Finish Max is one of my favorite tools! It cuts my painting time in half and gives me such a smooth flawless finish. Be sure and enter the giveaway at the bottom of this post for one of you very own!
*****One note I want to include is that laminate furniture is very slick. DIY paint does not require sanding or priming most of the time but in this case I recommend you roughing up the surface with sandpaper to give the paint something to bond to.*****
While the paint was drying I worked on the boards.
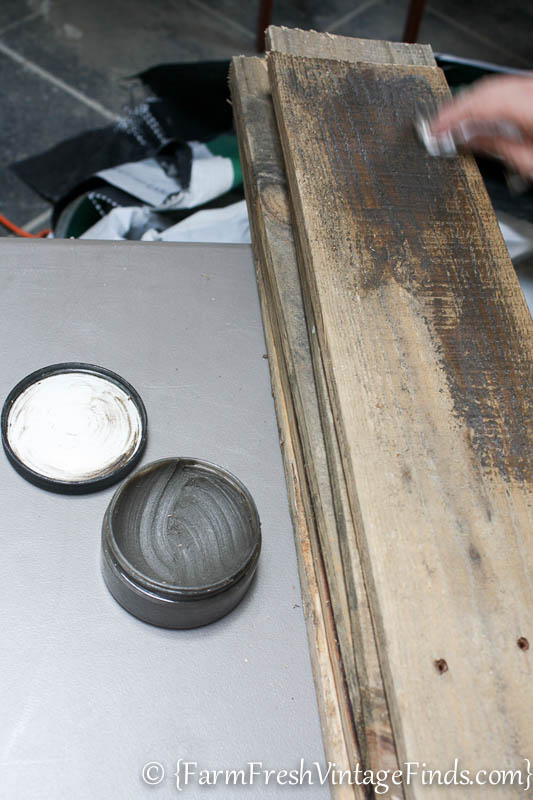
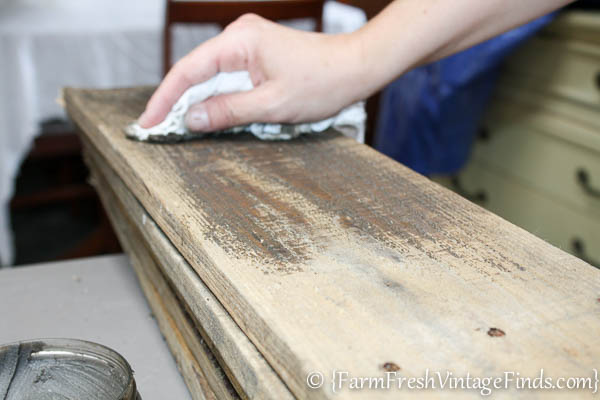
I didn’t really want to sand them but I also didn’t want them to be splintery. So I decided to use DIY dark wax on them. I applied it with a thick rag which helped knock off any raised pieces and gave the planks a much smoother feel.
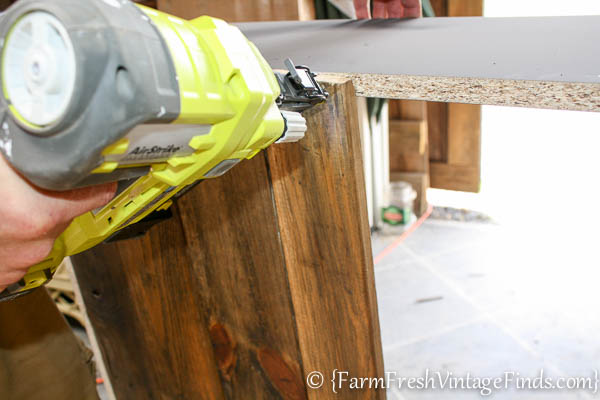
Once the wax was dry we attached the planks to the back of the bookcase and
did a few paint touch-ups.
Then we added more planks to the bottom just to trim it out….
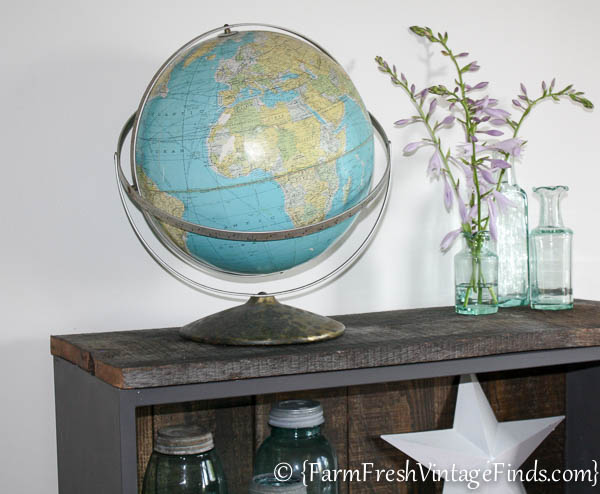
and an old piece of oak we had left over from a previous project for the top.
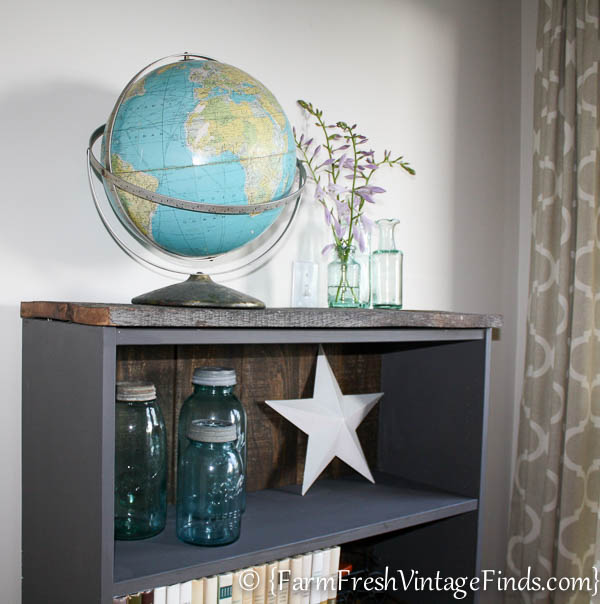
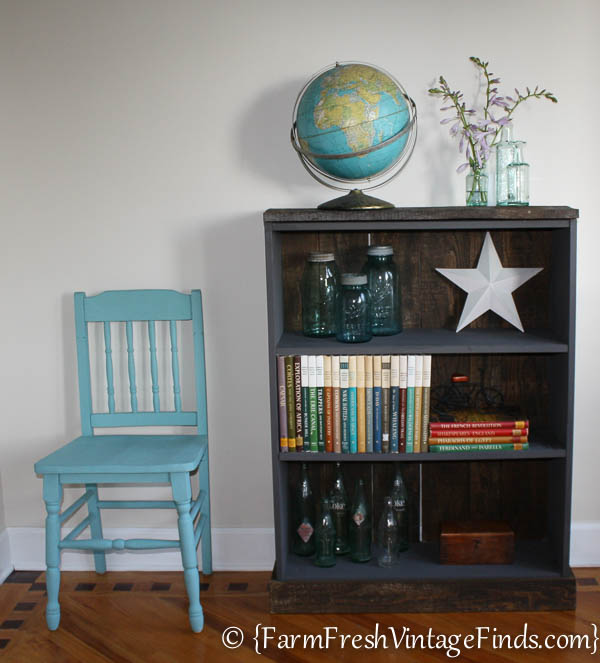
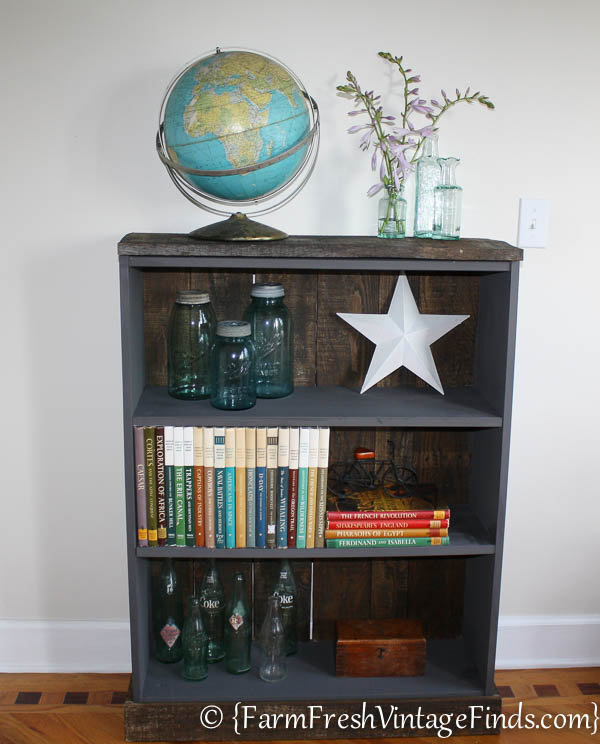
Before we knew it we had a custom bookshelf for the cost of a regular laminate bookshelf!
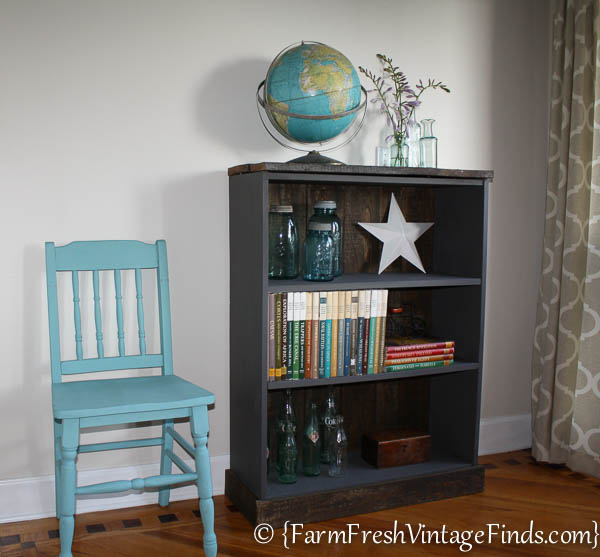
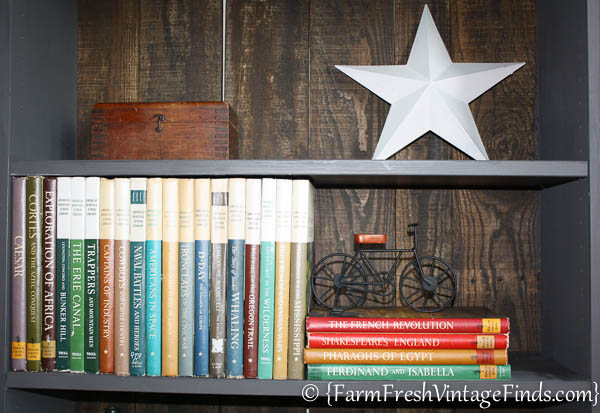
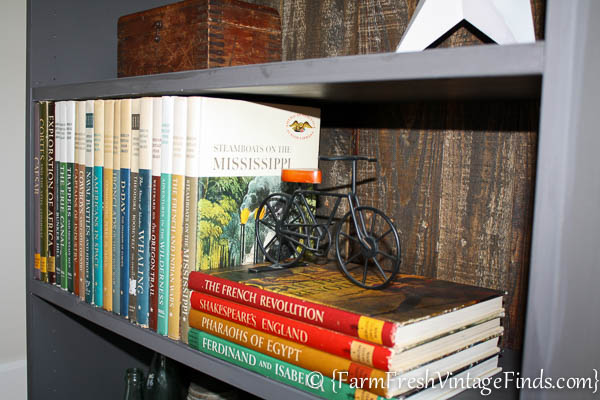
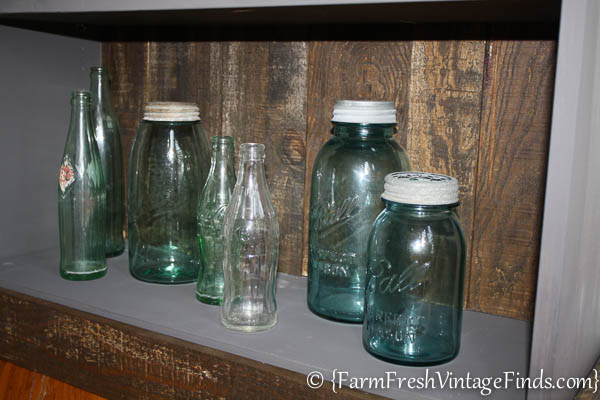
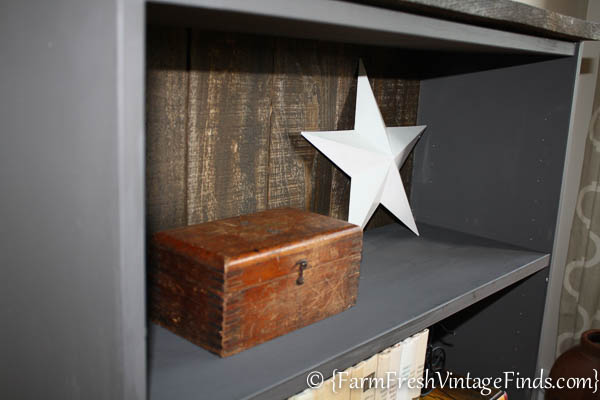
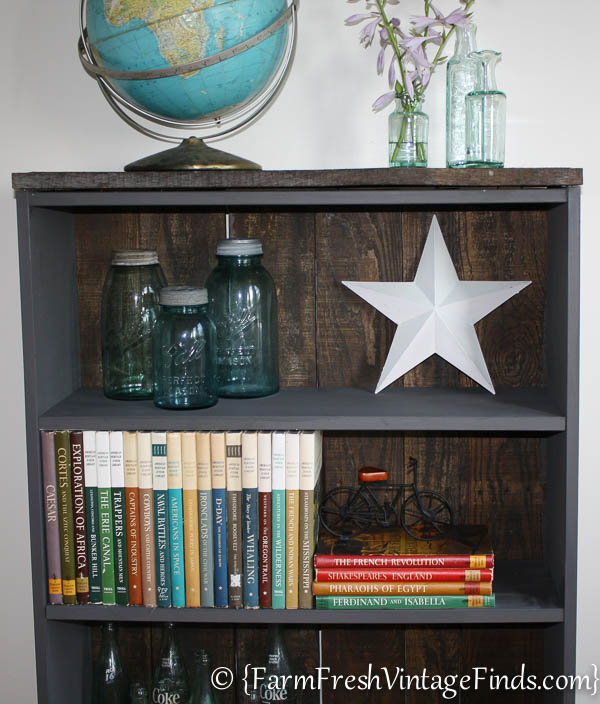
I filled it with some of my favorite things.
I think it looks great and even though it was a fairly inexpensive up-cycle I don’t think anyone would know it started out as a simple laminate bookshelf. Do you?
Be sure and tell me what you think in the comments below and stay tuned for the contest I’ll be entering it in coming up next month. I can’t wait to see what all the other talented ladies did with their bookshelves.



The bookcase looks great!!!
Thank you Sue!
What a great idea love the bookcase super cute idea i was looking for something like this style for my books thanks for sharing your project
You’re welcome Amy!
What a transformation! It turned out fantastic! I love the chair next to it too!
Love it! Y’all amaze me with your ideas and talent😃
Awww thank you Sally!
Hugs,
Beth