How to Paint Cabinets Using Annie Sloan Part 2
UPDATE click here to see the finished kitchen reveal!!!
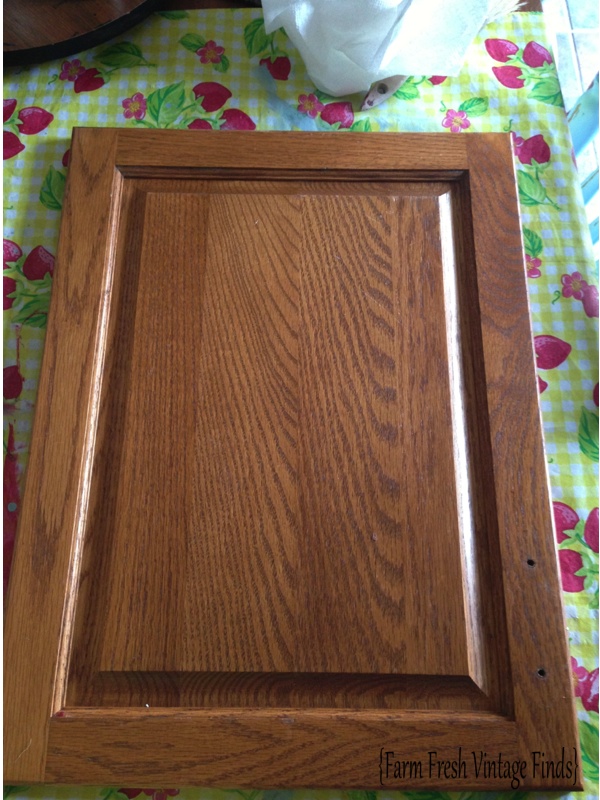
So picking up where we left off in yesterdays post…I brought all of the cabinets doors to my house. Mainly because I like to create as little mess and discomfort as possible for my clients. And because sometimes I work late into the night and even though this client is a long time friend I didn’t think she’d appreciate me being at her house at 1am painting her cabinet doors.
I began by removing all the hardware and then cleaning and degreasing the doors. I think there is a misconception among people that because you don’t have to sand or prime with Annie Sloan that you don’t have to clean either. NOT TRUE! You must throughly clean the surface and allow it to dry completely before adding paint. I did actually sand them a little too. On a job this big I want to make sure I’ve prepped well to get the best end result.
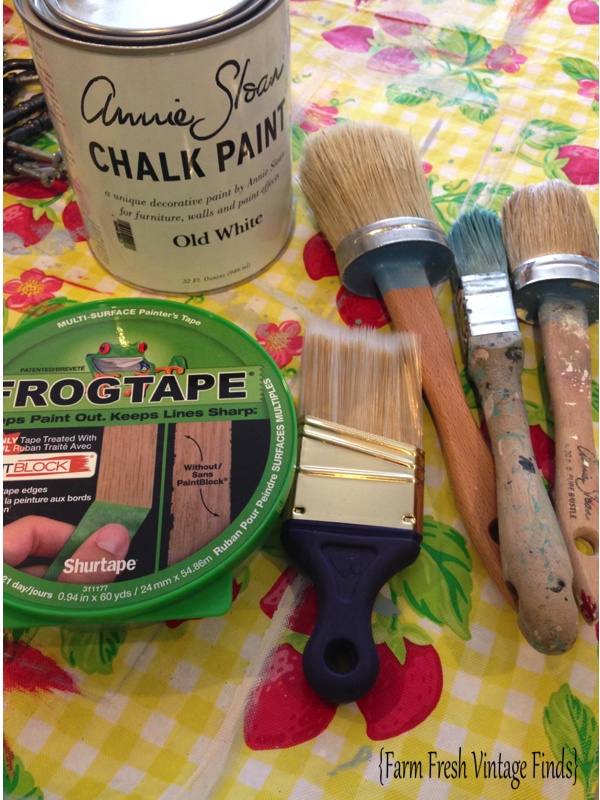
Here are the brushes I used. Wooster is my favorite angle brush. Even though it’s a synthetic bristle you get great coverage and the angle is perfect for cutting in. I also used my Zebra brush and of course my Annie Sloan brushes.
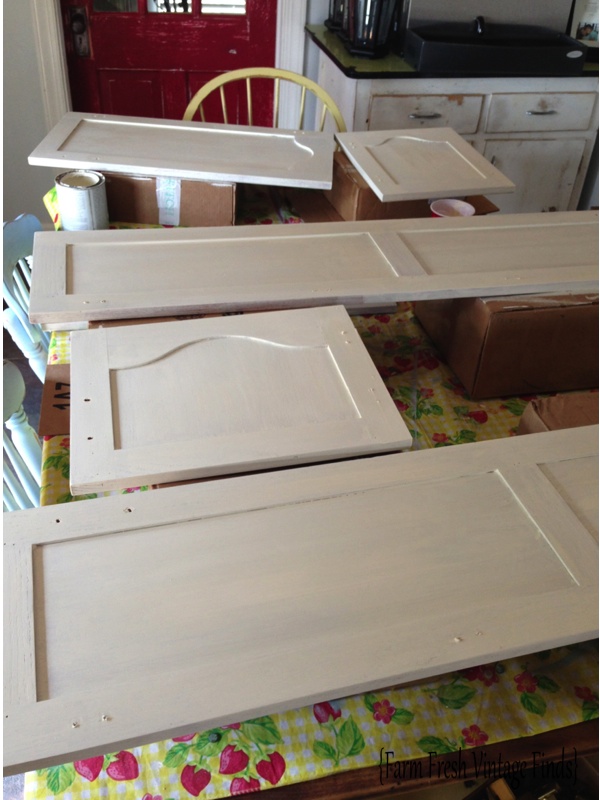
Both sides of the doors got 3 coats of paint. This was time consuming but….
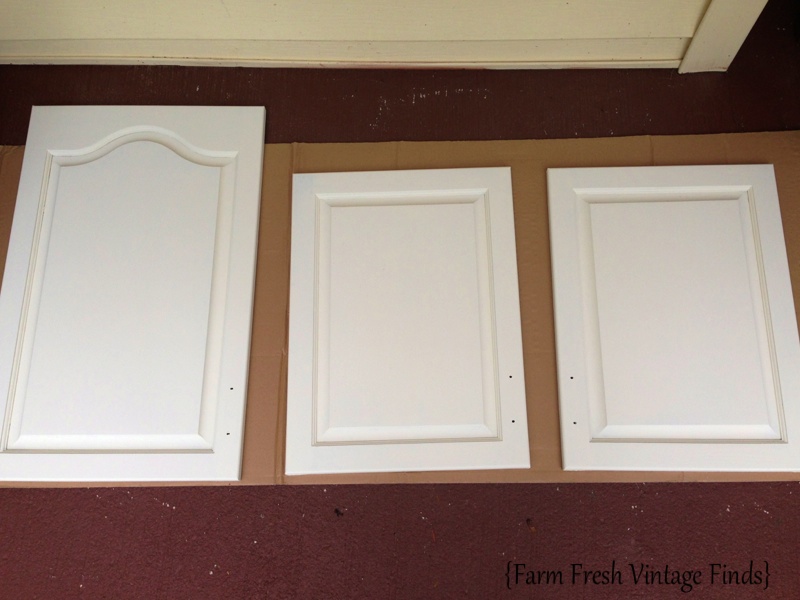
worth every stroke.
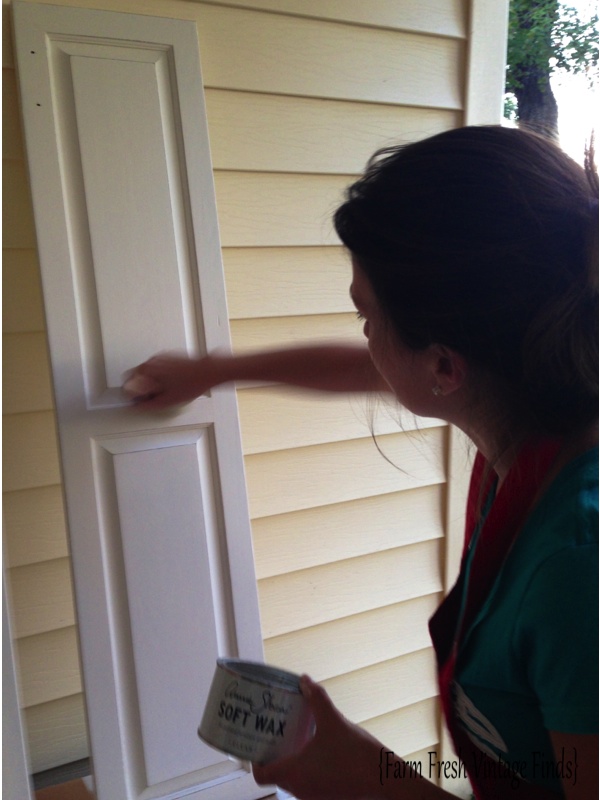
After all the door fronts were painted on both sides and dry I began the giant task of waxing. My sweet friend and mentor Barb at Annie Sloan Unfolded gave me some great advice concerning sealing with Soft Wax versus Polyurethane or Polycrylic. One important thing to note is that when using wax it’s very easy to touch up later whereas with poly’s the entire surface would need to be sanded in order to correct a scratch or chip. This was important to me as this kitchen is in a home with small children accidents are inevitable.
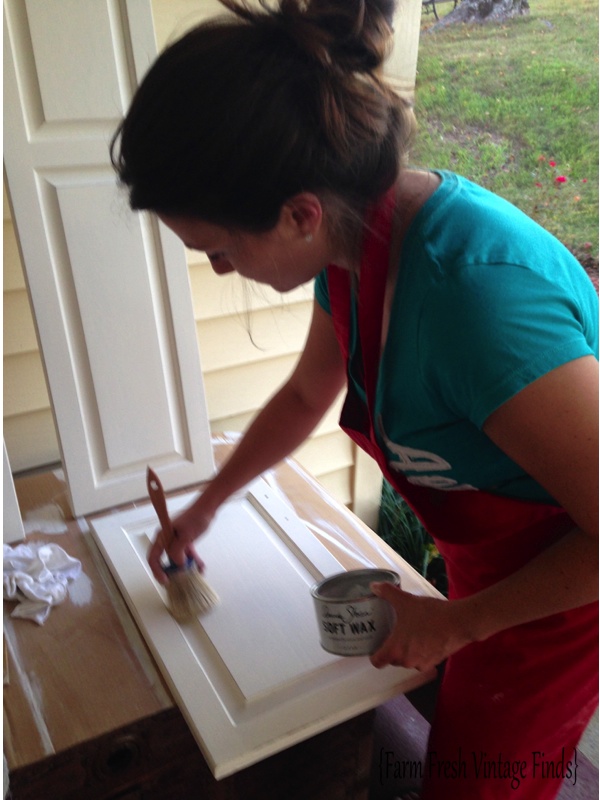
I use my Annie Sloan brush for waxing. When you apply wax ALWAYS apply a THIN coat and wait for it to dry COMPLETELY before adding another. These doors received 3 coats of wax each. As I said before it was time consuming but worth every coat.
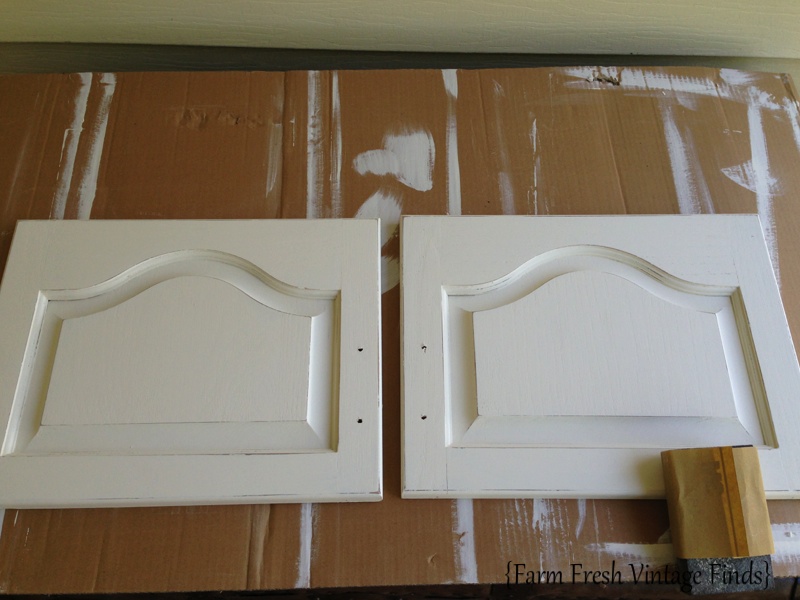
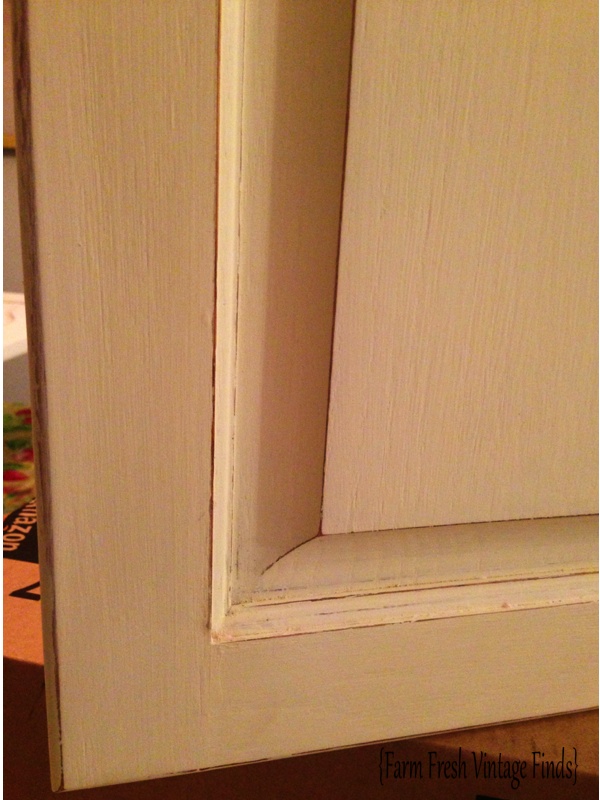
After the second coat of wax I lightly distressed the edges. This helps with dust and also prevents scratching the paint.
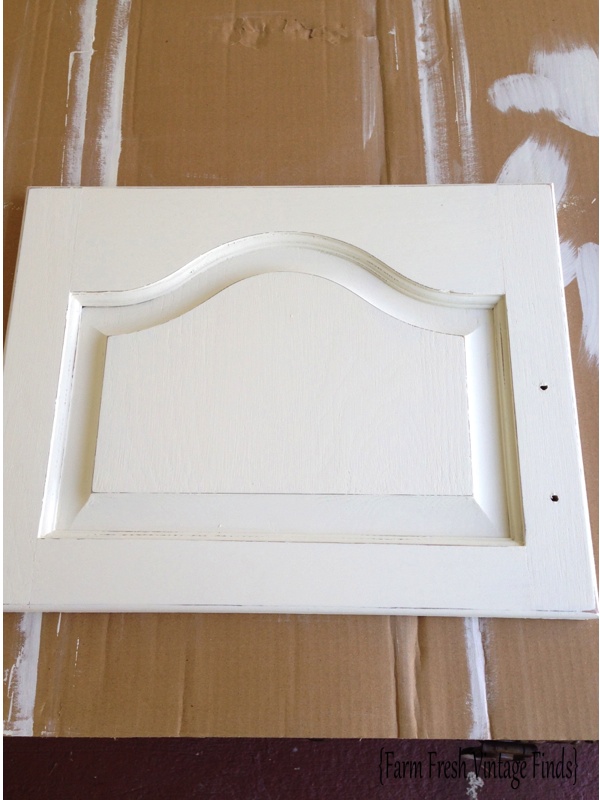
Stay tuned for tomorrows post. You won’t want to miss this transformation. Do you have cabinets you’d like to have painted? If you are within 1 hour of Fairview TN, email me at farmfreshvintagefinds@gmail.com for pricing and details.
Don’t forget to subscribe to get all the latest info delivered directly to your inbox and please check out my Facebook page.
Thanks for reading and commenting below.

Thanks for the info
So after lightly sanding after two coats of wax did you add the third coat of wax?
Hi Donna,
After the third coat you will need to lightly buff the waxed surface. I hope this helps!
Thanks for reading,
Beth