How I Reupholstered an Outdated Chair
Lately I’m realizing that my computer is a treasure trove of projects I’ve worked on over the last couple of months and forgotten about. This chair, for example is just that. I had completely forgotten about reupholstering it until I started my “spring clean” of my computer last week. I blogged about a chair I did a few years ago here. So I thought I would take a little time to talk to you guys about how I reupholstered this one in hopes that you’ll be inspired to try upholstery too!
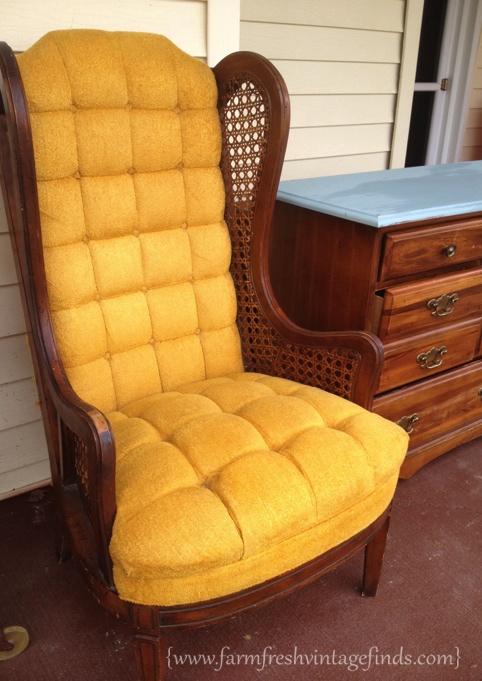
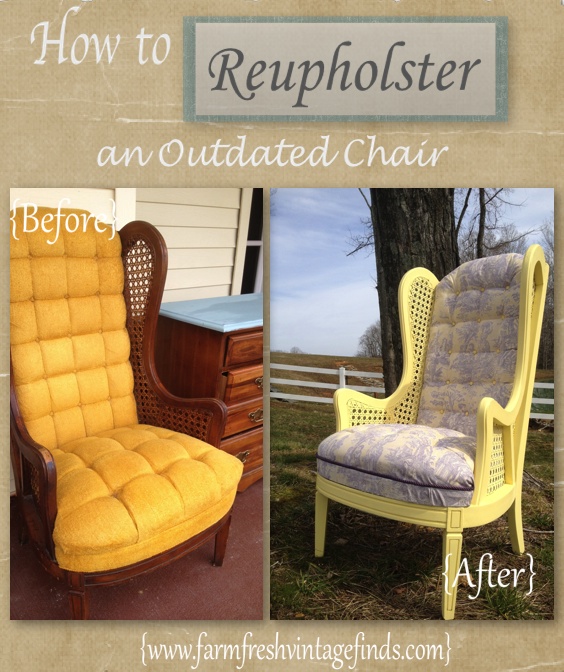
Here’s what we’re gonna start with folks. Golden 70’s goodness right here. When my client contacted me to revive this chair it was hard to contain my excitement. I literally could not wait. Why you ask? Well, because the uglier the before the more fantastic the after. Between the dark wood, cane detail and golden fabric there was lots of potential for improvement!
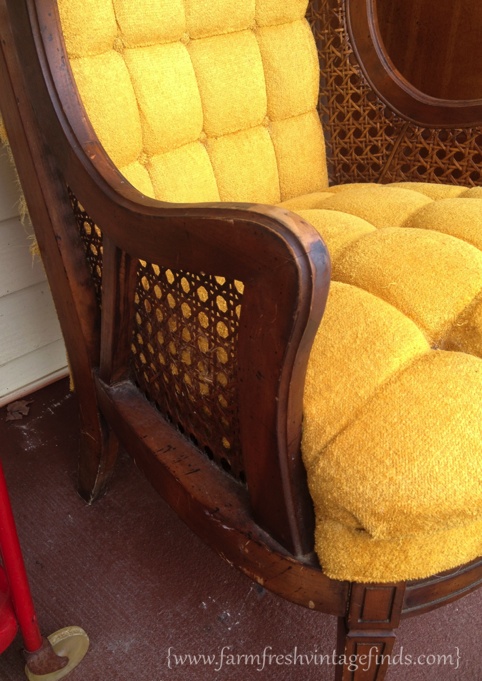
When thinking about reupholstering a chair you need to consider your tools. Here are a few that are a must if you ask me~
~drill
~needle-nose pliers
~a small claw
~staple gun
You may also want gloves to protect your hands.
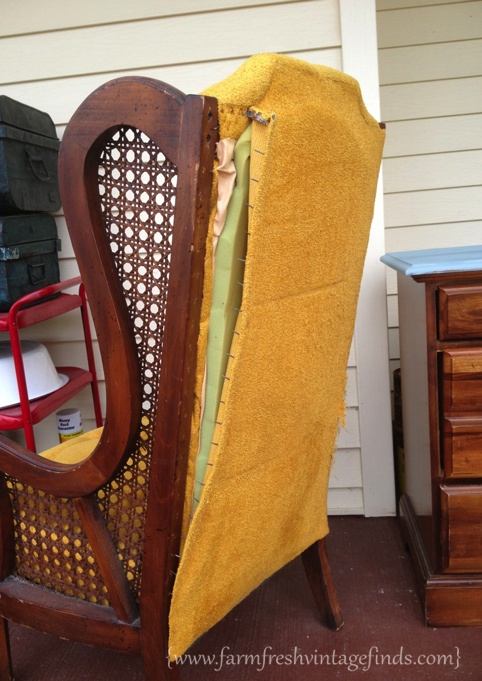
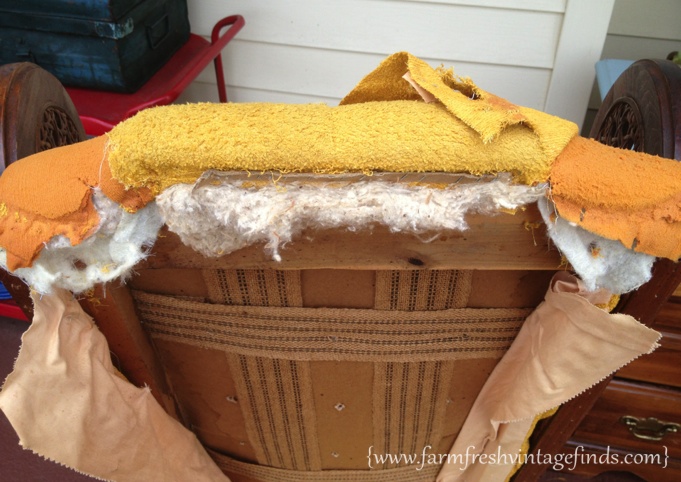
First you are going to deconstruct the chair. I like to take off all the material and take apart as much of the chair as I can. This makes painting and recovering so much easier. I try to keep as many of the original parts as possible. As you can see in the photo below, there are “spikes” sticking out of the fabric down the both side of the back of the chair. This is a metal strip that the fabric is folded over and then tacked into the wood to hold it in place. I tried but then decided not to keep these strips. The spikes are a soft metal and I found it very hard to keep them straight. Plus I had another idea for the back so these got tossed.
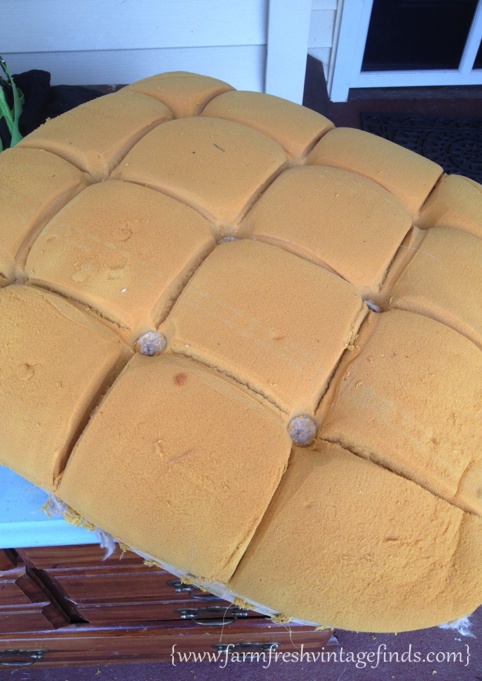
Once you have removed all the fabric and foam, you can see the buttons that are attached to two metal prongs. These go through all the fabric, batting and cardboard and then open up at the back to secure it all together. They are one of the main parts of the chair and I always try to recycle them. Keep this in mind and be careful when removing them. They can also be purchased but can be expensive and hard to find.
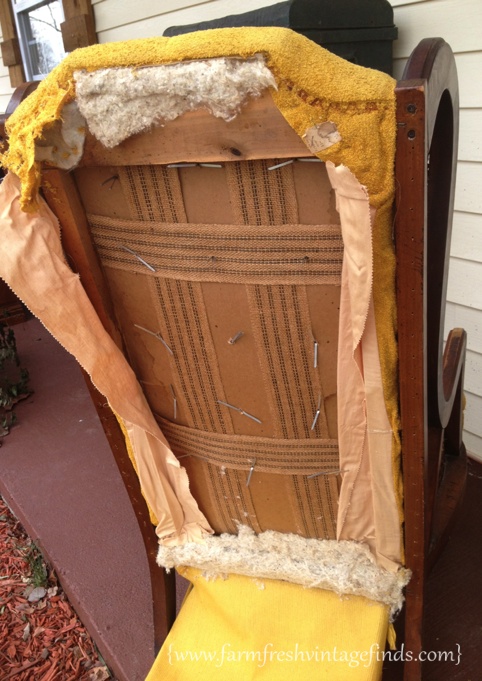
Here’s a shot of the back with all the buttons removed.
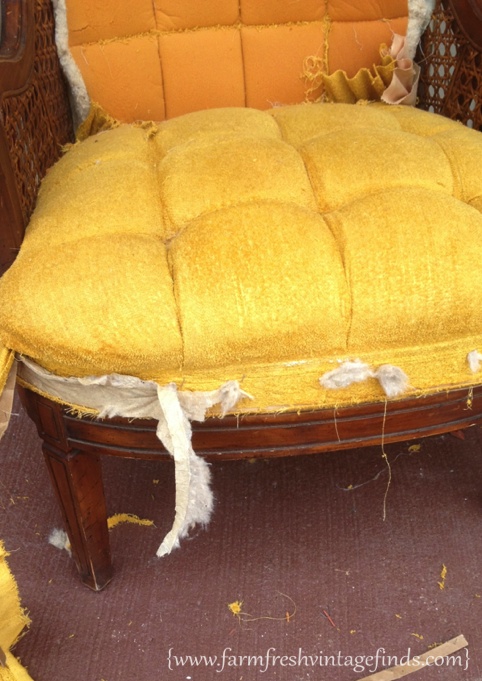
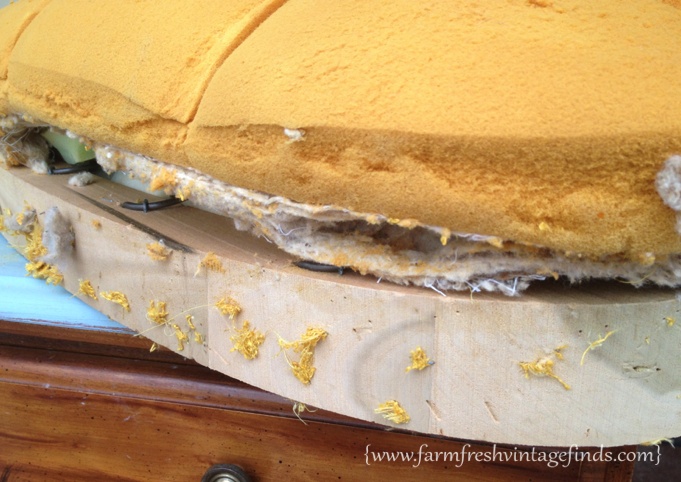
The next step is to remove the seat. I did this by turning the chair upside-down and unscrewing it from the base.
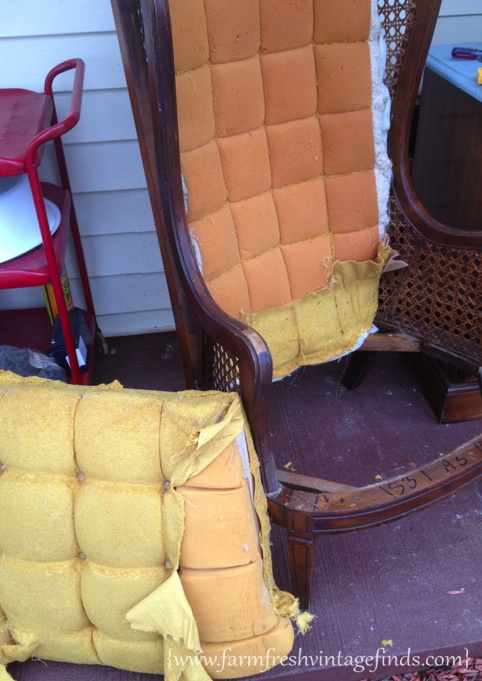
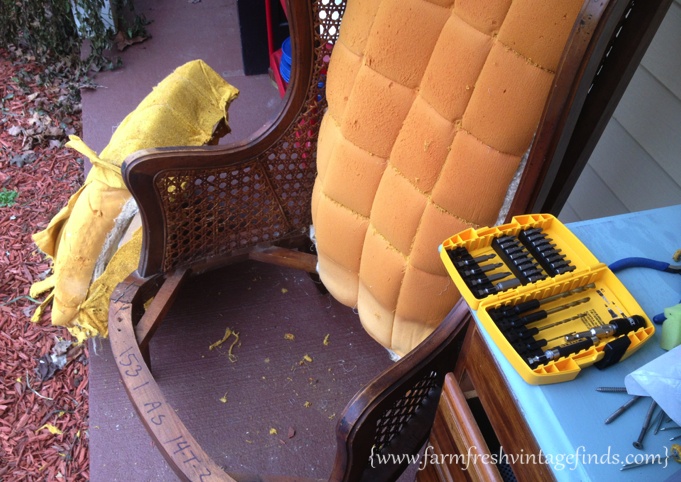
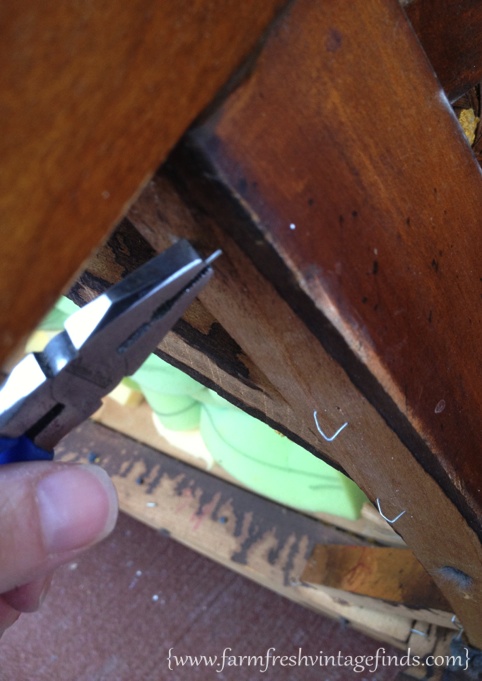
As you can see it’s in excellent shape. The top just needed a little dusting off. Perfection! But the sides…..oh the sides, well that’s where the fun begins. You see my friends every staple and believe you me there are dozens, has to be removed. This is my least favorite part about reupholstery. You just have to tackle them one at a time making sure to remove EVERY SINGLE ONE.
Here’s a photo of the side. See all those little holes. That’s where the staples were. Staples. Staples. Staples.
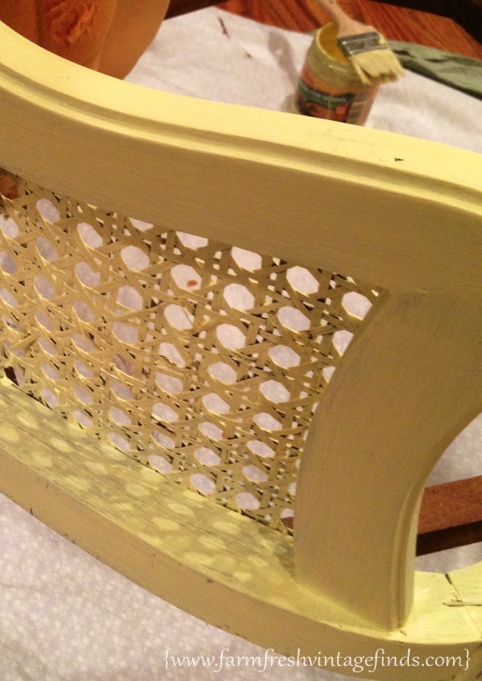
Next is the fun part….the putting back together. I mixed my own concoction of chalk paint for this chair because my client wanted it to match her fabric. I applied two coats.
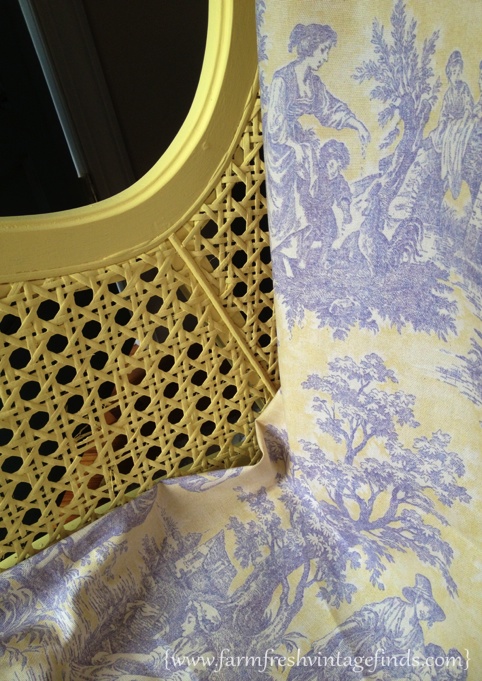
Then it was time to add the fabric back on.
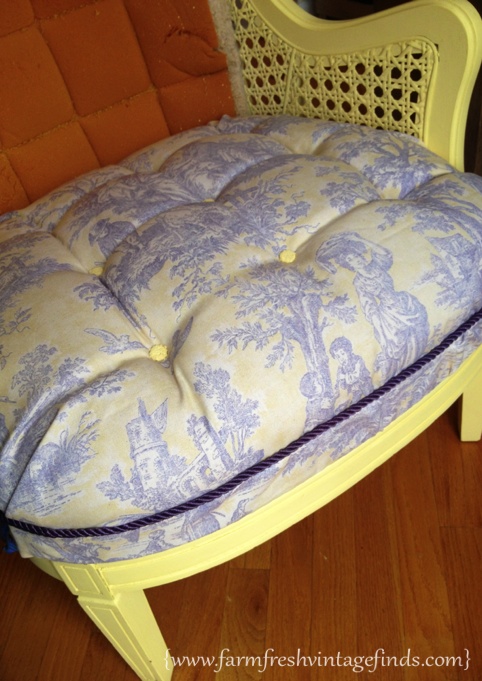
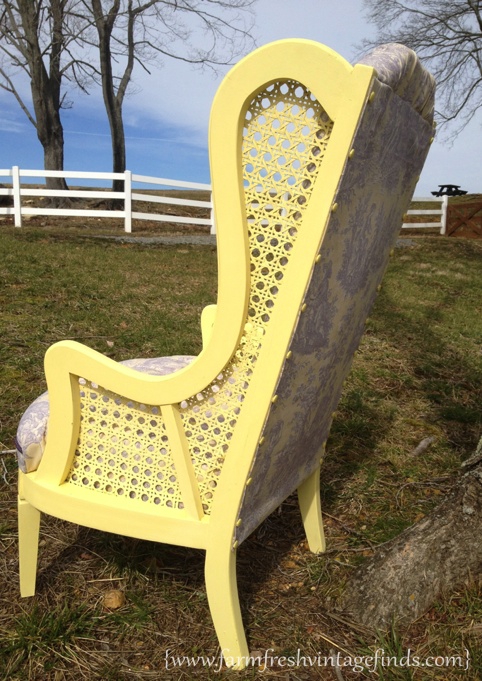
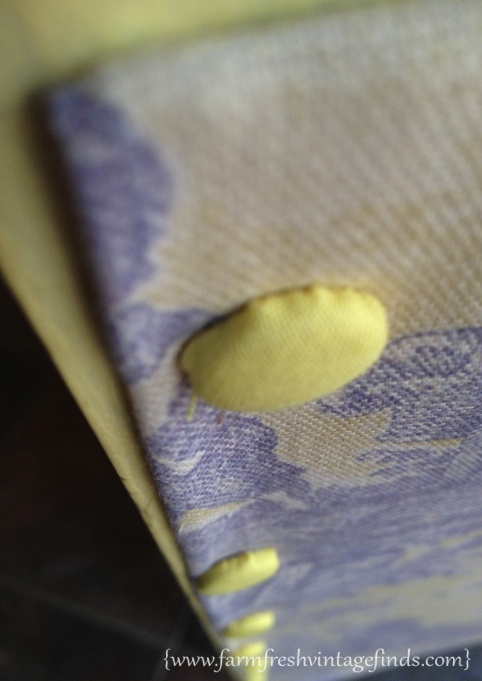
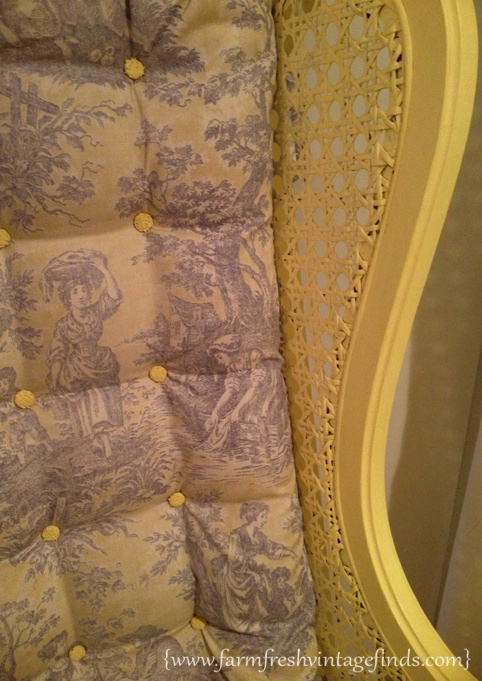
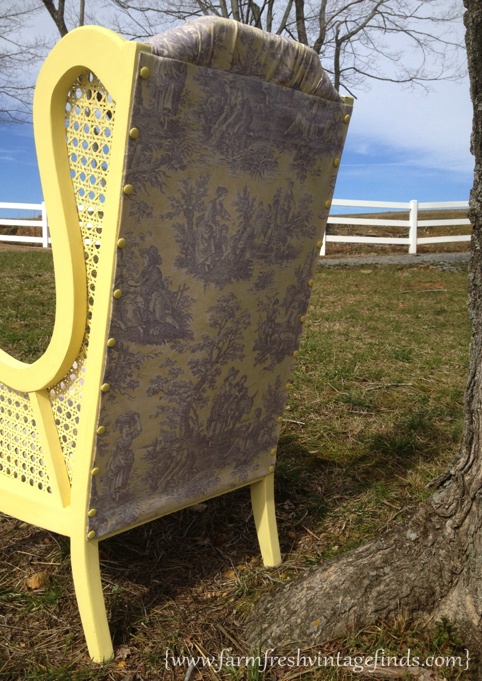
I added the fabric to the seat first and then the back. This is where the buttons become your friend. I always start at the center most point and then go out from there. If you’ve ever done any quilting it’s much the same. Always start in the center and work your way out. Keep in mind that you have piping and all sorts of other trims for your finishing out your edges and hiding staples. In fact as you can see below….since I had decided not to reapply the metal spike strips to the back I used furniture tacks instead and then covered them with these adorable buttons. They added so much detail to the back and I’m so pleased that I chose to use them.
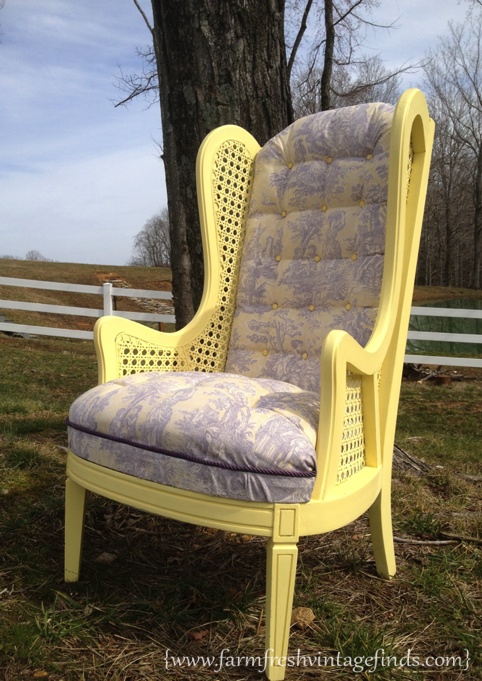
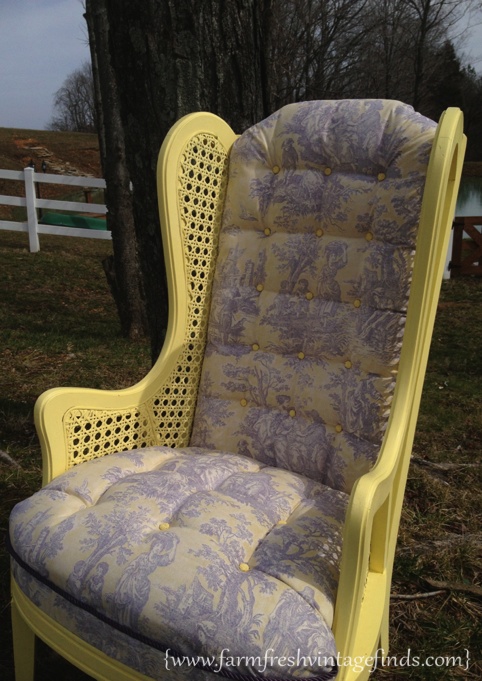
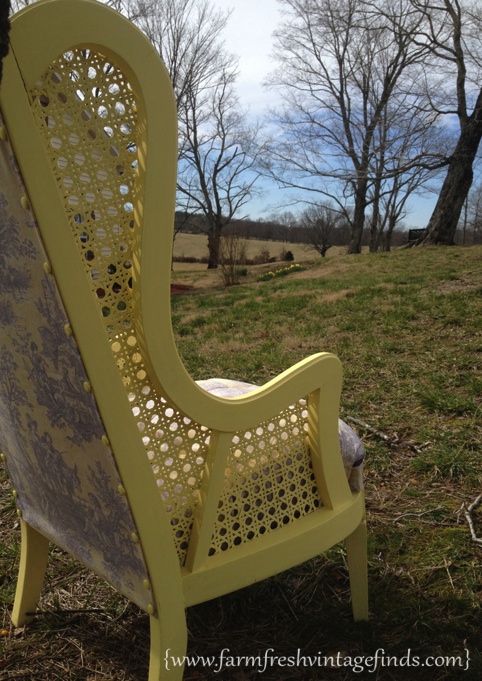
So here she is all finished. This was a big job but worth every second. I couldn’t be more pleased with the outcome. I love upholstery and even though it can be VERY labor intensive it’s worth it in the end.
Do you have furniture you’d like to have painted or reupholstered? Email me at farmfreshvintagefinds@gmail.com for pricing and details about custom work.
Don’t forget to subscribe to get all the latest info delivered directly to your inbox and please check out my Facebook page.
Thanks for reading and commenting below.
~Beth

One Comment