Wet Distressing with DIY Chalk and Clay Paint
Did you know that bloggers have deadlines? I know it seems odd but what I do really is a job. In fact sometimes I don’t plan well because I’m extremely disorganized a creative spirit and said deadlines creep up on me and before I know it I have two posts due in one day. In such cases I just combine all the goodies I have planned for you and create one big post full of info. This post is just that.
Today I’m joining a bunch of my favorite blogging gals as we share our small table makeovers and I’m showing you how to wet distress DIY paint.
Be sure and check out all the links at the end of this post to see all the great makeovers!
It’s going to be lots of fun!
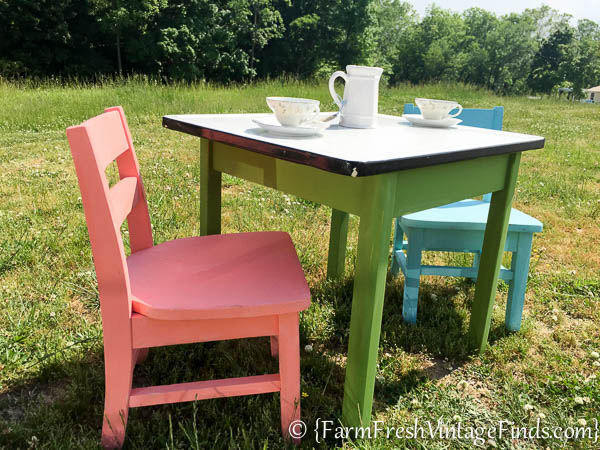
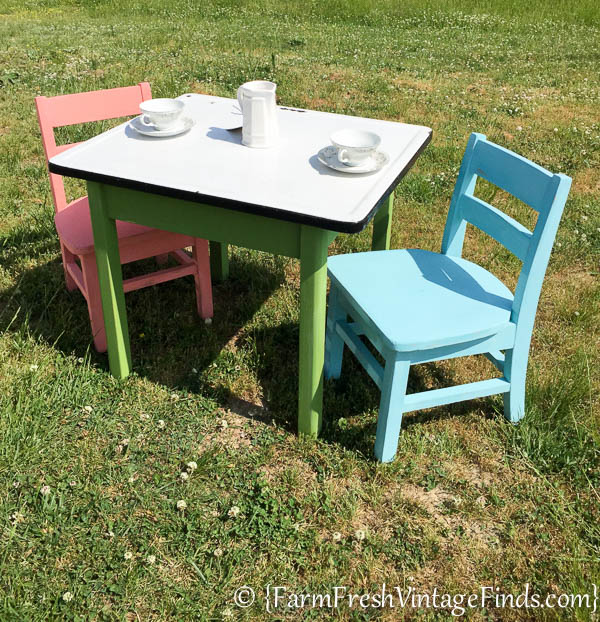
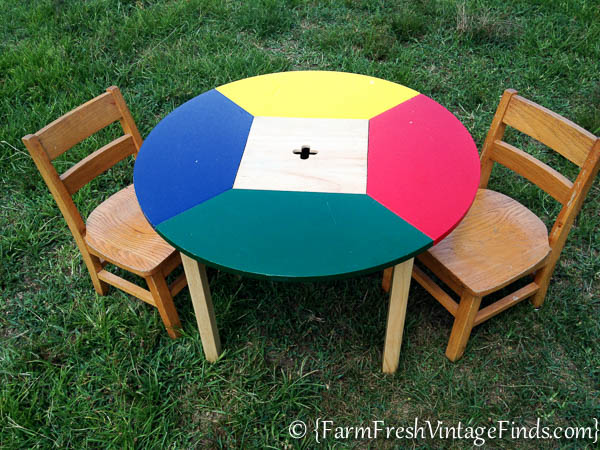 I started with this little set. Too cute, right.
I actually had it in the picking pile during my barn sale a few weeks ago because I had intended to paint it and never had gotten around to it.
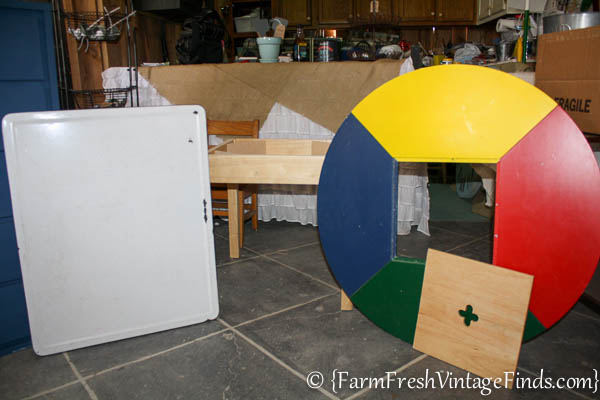
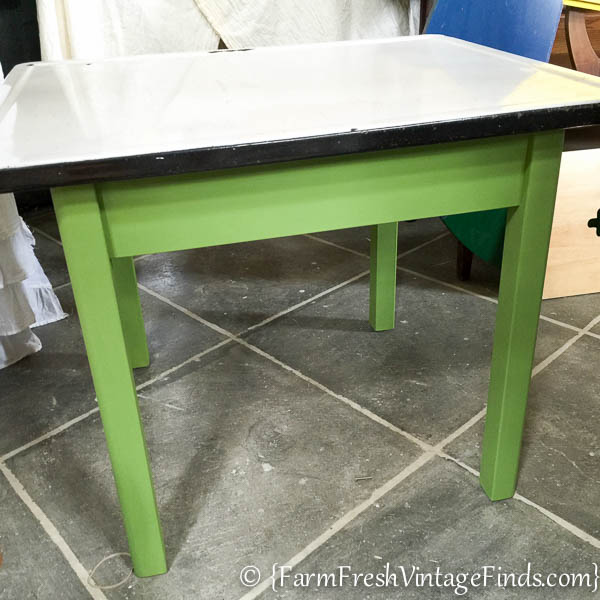
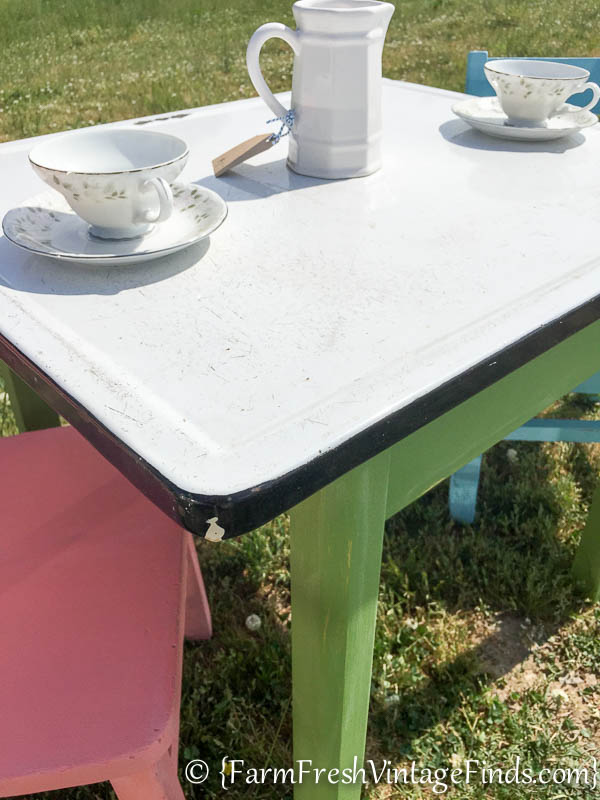
I had also found this cute porcelain top a few weeks earlier at an estate sale. I wasn’t sure what I was going to do with it but I knew I couldn’t pass it up.
The way this porcelain top and child’s table came together ended up being perfect and during my sale one of my customers asked if I could add legs to it and turn it into a child’s table.
Lightbulb moment! Yep you guessed it…I decided to remove the round top from the table I already and add the porcelain top to it.
And do you know it fit perfect?!?!?! I love it when that happens!
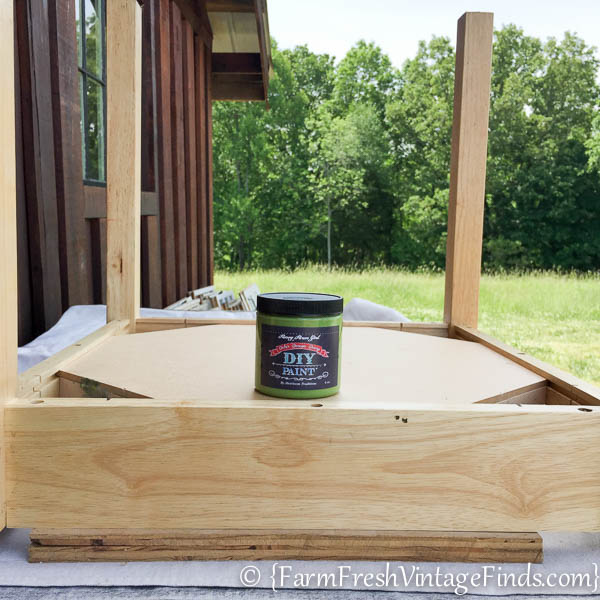
I started out by painting the table in Fancy Farm Girl DIY Chalk Type Paint.
Then added the top. PERFECTION!!!!
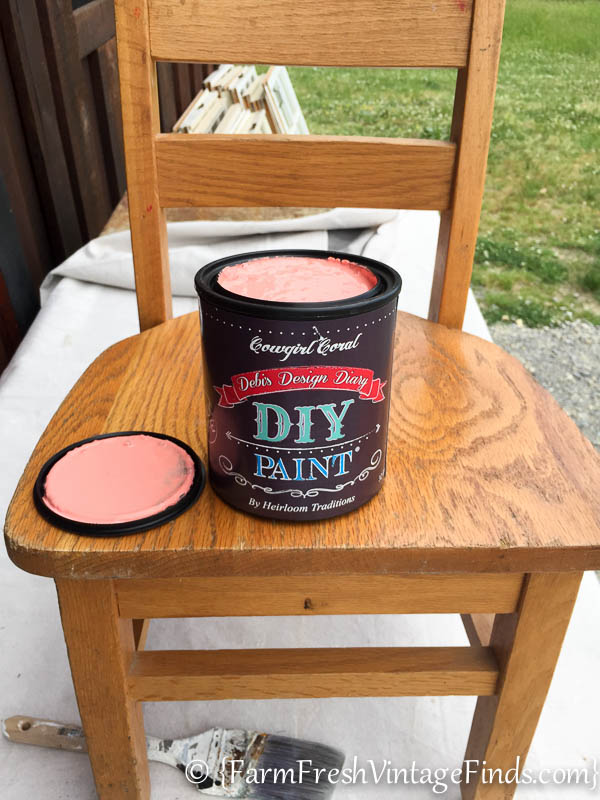
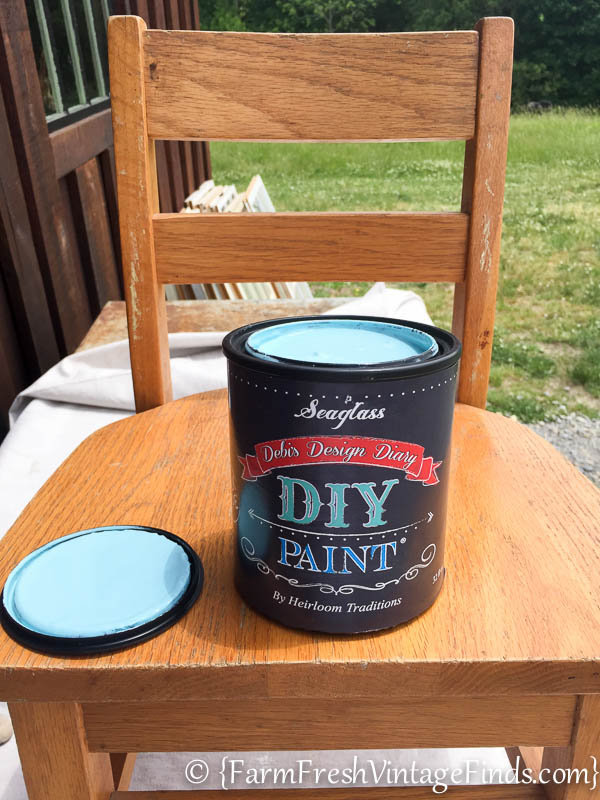
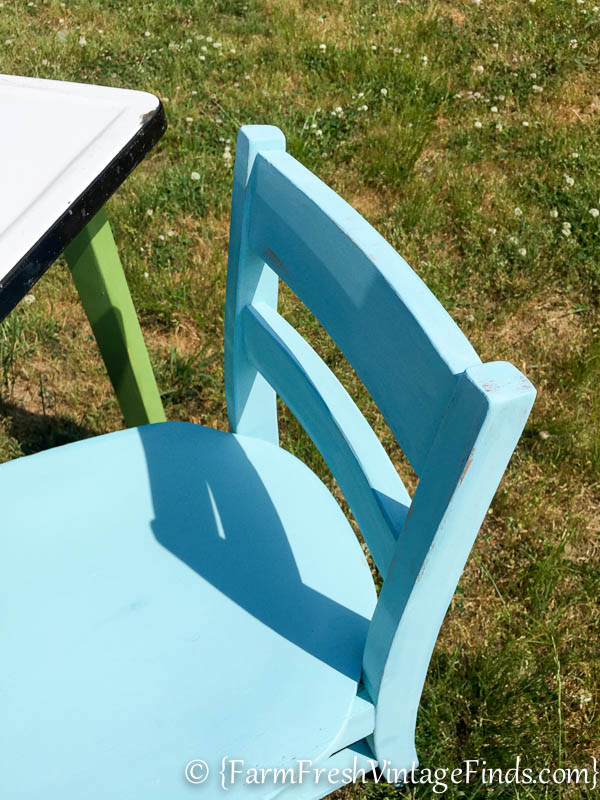
I then painted the chairs. One Cowgirl Coral and the other…..
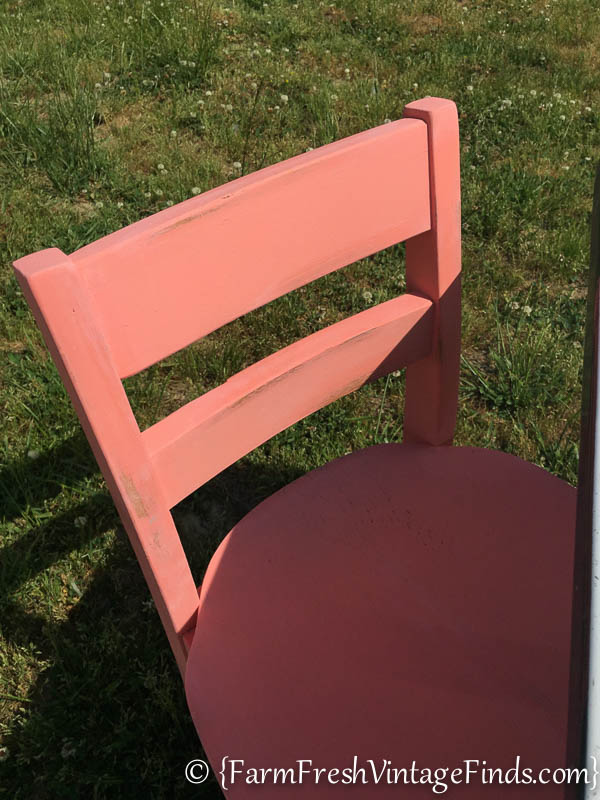
Once the chairs were painted I used the wet distressing technique to distress them. Have you ever distressed a piece with the wet distress technique? I made a little video about it for you right here….
After I finished wet distressing I used DIY Liquid Patina to seal the set so it will be durable and stand up to the wear and tear of use by little ones. I am thrilled with how this little table turned out. I think the porcelain top is absolutely perfect.
Don’t forget to visit all the great posts of small tables featured below.
Thank you friends! Come back soon.

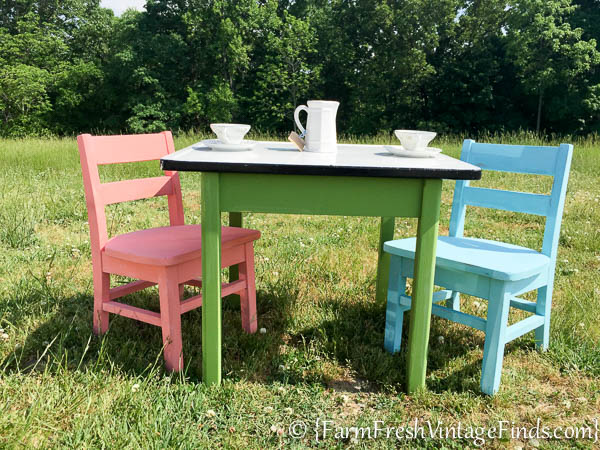

The porcelain top is perfect for a child’s table. The colors you used for the chairs and table bases make this a fun set. I know your client is pleased with this.
Thank you Paula!
I love that little table now. Soooo much better!
Thank you Kathy!
That porcelain top looks like it was made for that table! What a cute set this turned out to be!
Thank you Christy!
so cute for a family with children.
Thank you Rose.
How sweet is that set?! You did a fantstic job, Beth and it’s so much sweeter now. 🙂
Oh that top is just perfect Beth!! I agree, looks like it was always meant for that cute little set. How adorable…love it!
Nancy
What a sweet little table! Love the pretty colors, and that enamel top is perfect!
Beth, amazing! LOVE the porcelain top so much better. Your vision and creativity are impeccable. Thanks for the inspiration
I love how you used such bright, fun colors! Any child would love to sit and use that lovely table!
Wow.. I’ve been looking all over for a vintage childs table set! Super color choice for your paint too. It looks fresh, fun and ready for kids to sit & play:)
How long do you wait for the paint to dry first? Does it have to be freshly dry, or have time to cure, or should I not wait too long…help! Thank you!
Hi Chris,
I like to wet distress as soon as I finish painting but if you have to wait that’s fine too.
Thank you for reading,
Beth