How to Layer DIY Chalk Type Paint | Jewelry Box Makeover
From the first time I saw this photo I knew I needed to paint something with these colors.
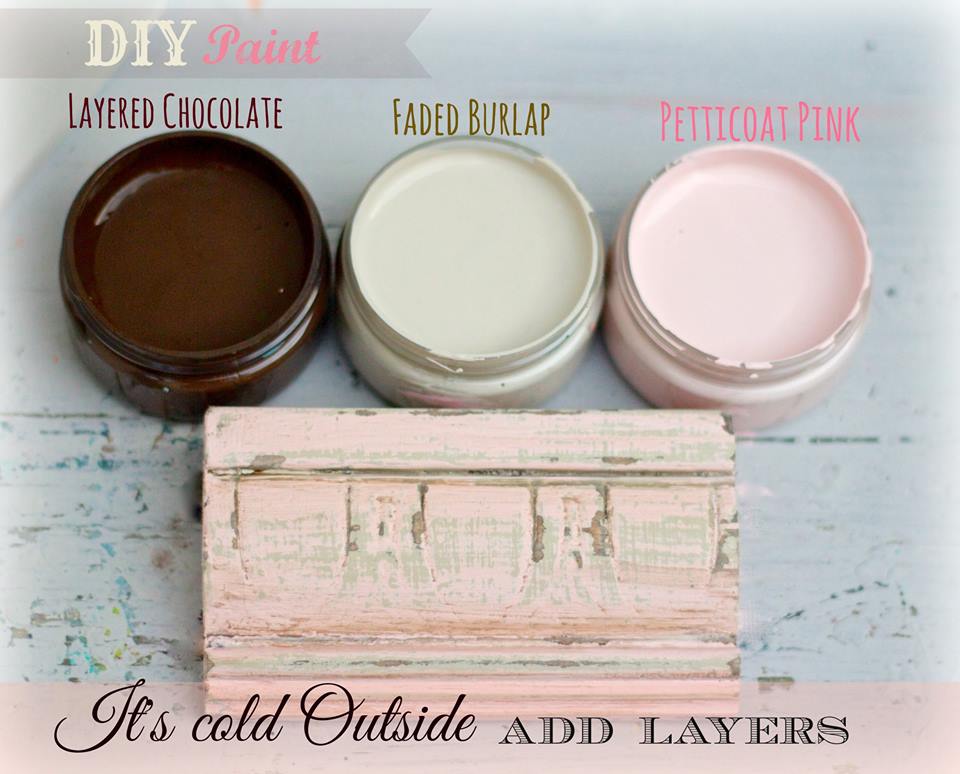
{Photo credit Debi’s Design Diary}
But I also knew Prince Charming wasn’t going to be thrilled if I painted the dresser in our bedroom pink.
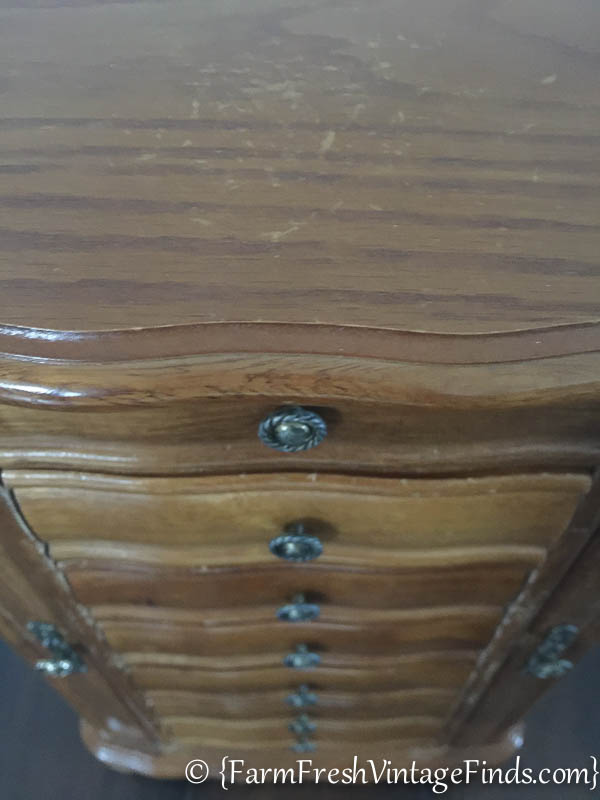
So when I was out junkin a few weeks ago and found this-
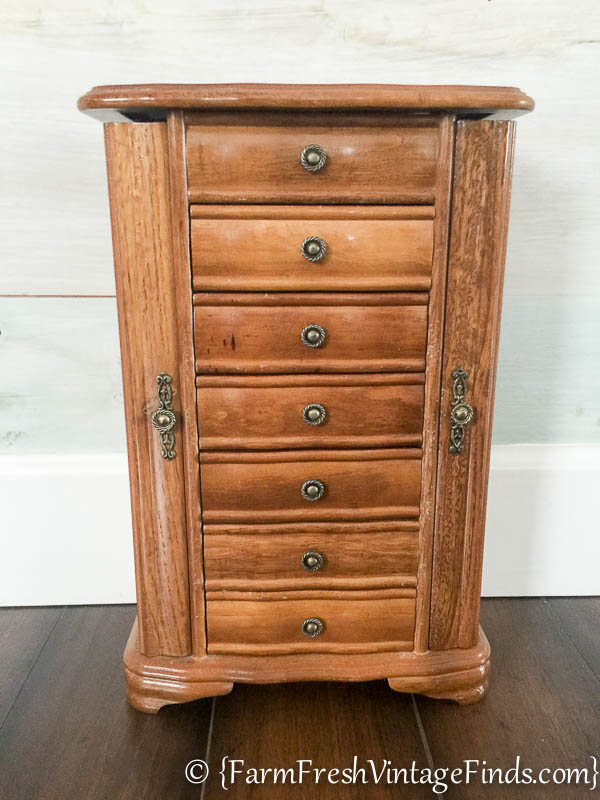
I had a lightbulb moment and decided it was the perfect option.
These little jewelry boxes are perfect for practicing a paint technique, make great gifts and are fairly easy to come by.
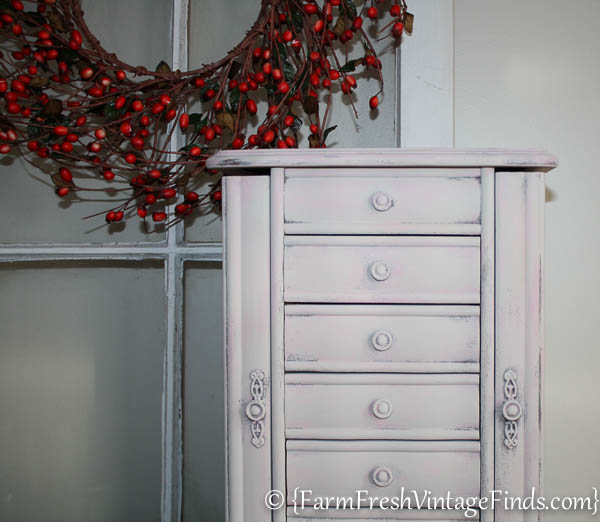
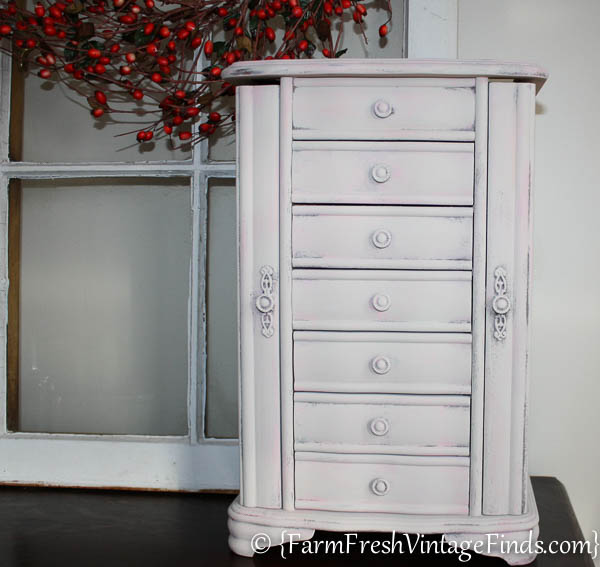
Now on to the layering. I began by painting the whole thing in Layered Chocolate.
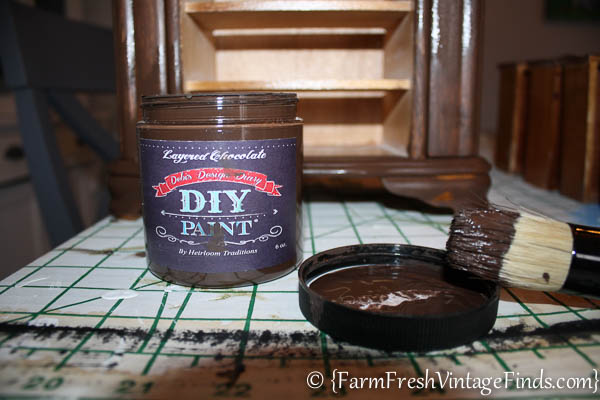
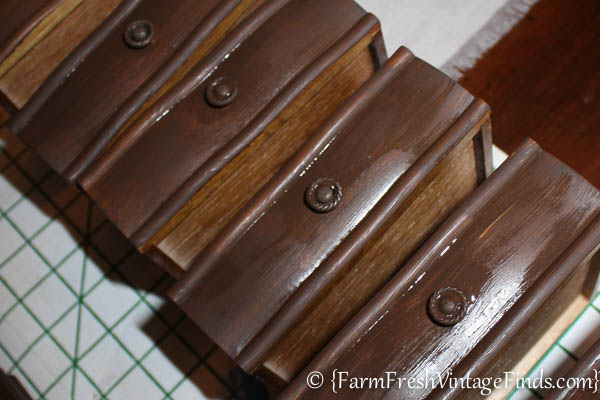
I applied the paint REALLY chucky and messy.
This is hard for me but it creates a great look in the end.
Next I went over the entire piece with Faded Burlap.
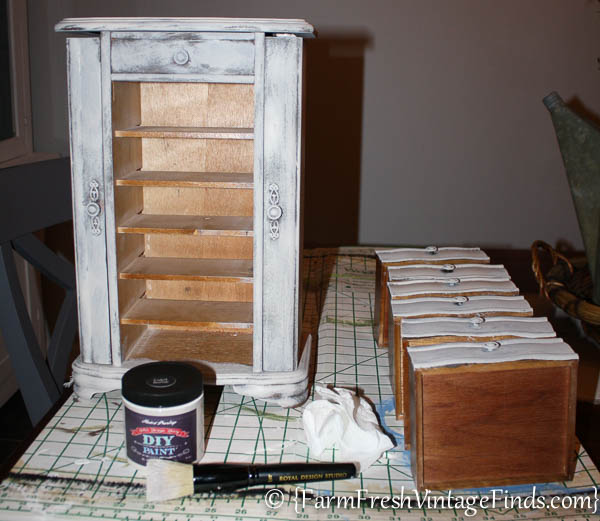
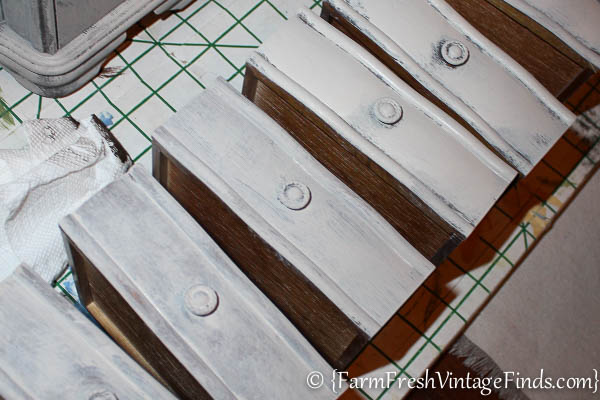
Finally I went over the entire piece with Petticoat Pink

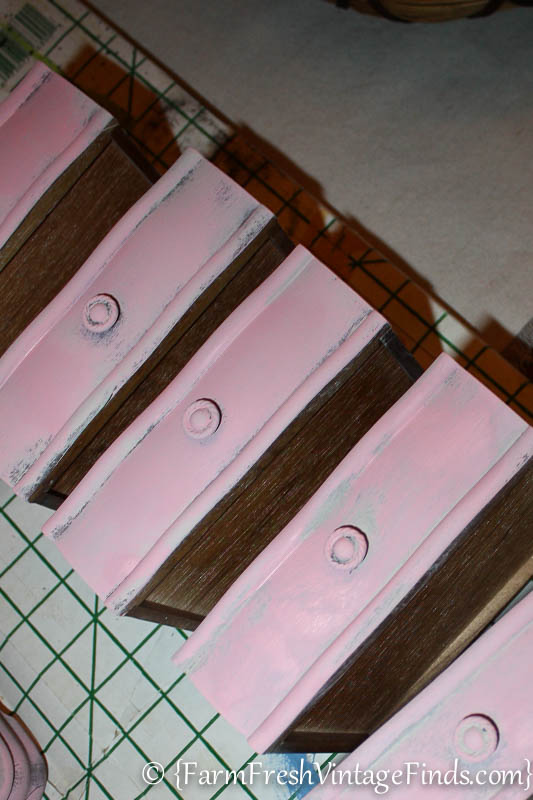
Then I went back over a few areas with Faded Burlap again to tone down the pink.
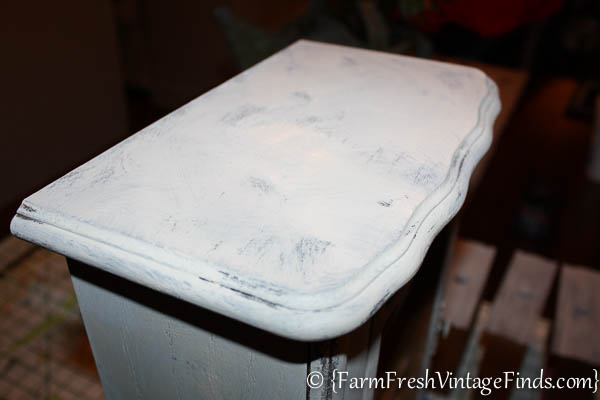
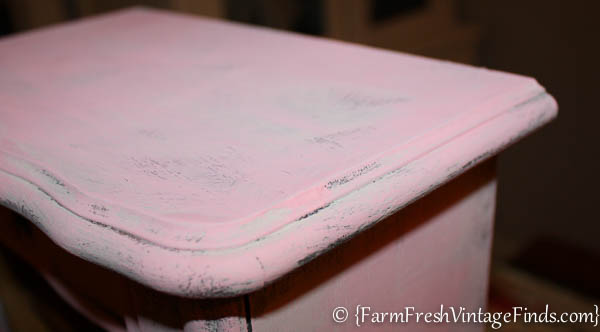
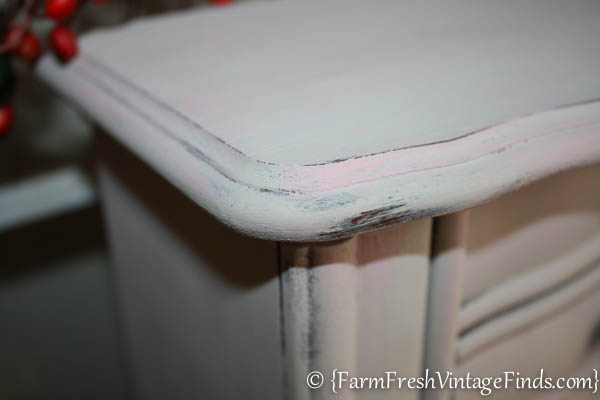
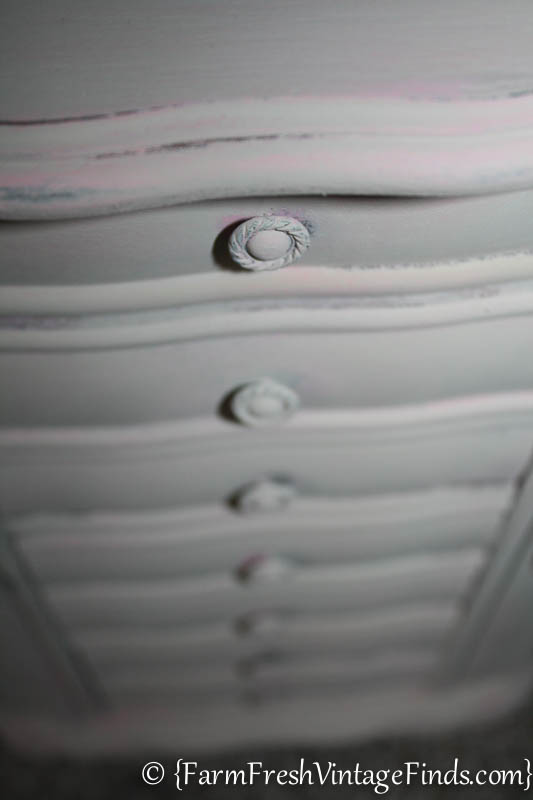
After all the paint was dry it was time to have some fun water distressing.
Yes you read that correctly….water distressing is a fun and easy to distress your project without having to use sandpaper and doesn’t create near the mess!
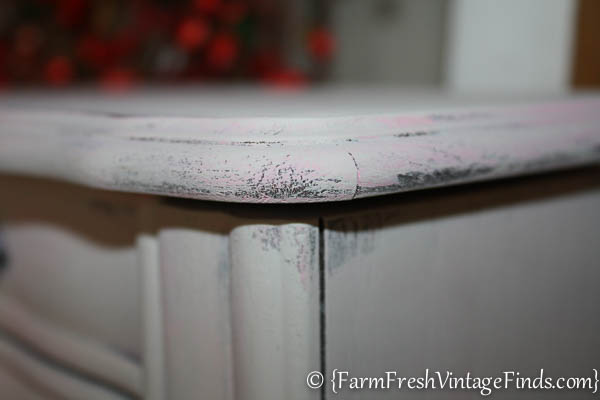
Just wet a cloth or paper towel and wring it out well. Applying light pressure rub the paint off in the high spots, corners and edges.
And that’s…
how to layer paint.

I loved this makeover. I guess because I love using DIY Paint on my smalls. I love the texture it gives and it feels like butter when you sand and wax it. I am going to go search for a jewelry box now. I seem to always pick up the box type jewelry boxes. I wish you had more ideas and inspiration on these types. I live all of your ideas. Thank you.
Thank you for reading Cheryl!
I love this makeover and can’t wait to try this to my jewelry box. Thanks and keep sharing.
You are most welcome! Thank you for reading. 🙂