Transforming a Crib into a Bench
Hey everyone! What’s up? Are you having a busy summer? I know I sure am. We’ve tackled lots of projects around the farm this summer. It’s hard to believe my kids will be starting school soon. Do you get excited or sad when it’s time for your kids to go back to school? For me it’s a little of both. I’m excited because I know they love their homeschool tutorial. But sad because that means my workload triples and we’re one year closer to them being out on their own. Bittersweet. That’s life though, right? So I just roll with it!
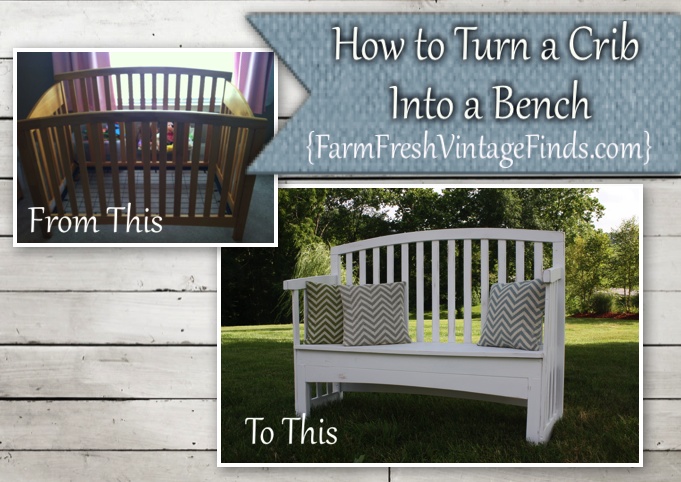
For today’s post I want to share with you how Prince Charming (aka hubs) and I transformed a no longer needed crib into a bench. This crib was a drop side so it wasn’t sellable or useable according to government standards anymore and my client really didn’t want to throw it away.
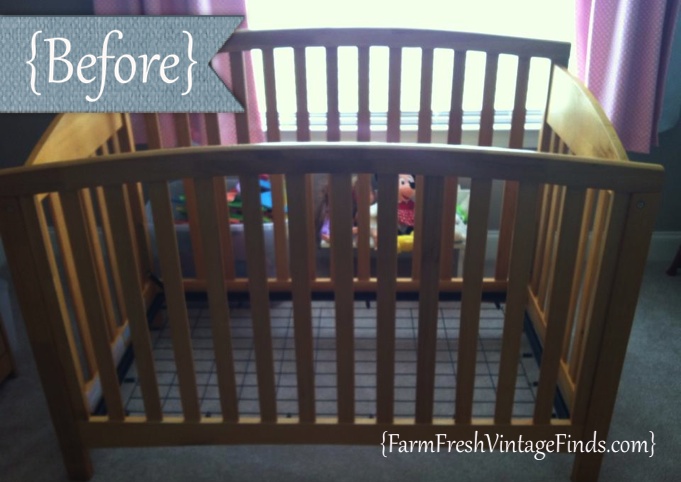
Here’s what she brought me. A solid wood crib in great condition. I’m so glad she contacted me because her alternative was to take it to the dump. NOOOOOOO!
Prince Charming and I started by determining the depth we wanted the bench to be. The average seat depth is around 17″ so that’s what we decided to go with. This number is pretty flexible based on how much room you want for your bum. If you’re going to try your hand at making a bench be sure and measure chairs around your house to see what you like to sit on best.
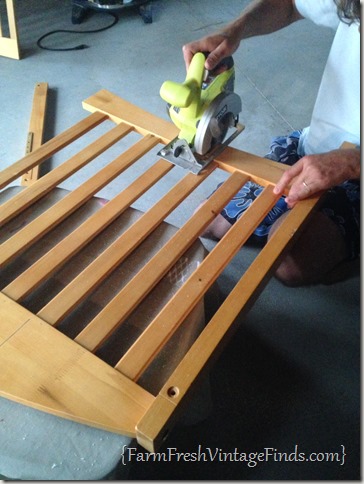
We cut the front piece of the crib (according to the desired seat depth) to use as our sides. I wanted to use the sides of the crib by just trimming them down but oh no Prince Charming had an idea and we had to go with it. I’m not gonna lie we “enjoyed” a little extreme over this decision but in the end I decided to trust the hubby cause he’s proved himself in the past and I think he’s basically brilliant so I knew it would work out.
You see Prince Charming was VERY determined to make a bench that didn’t immediately make you think oh, look at that bench someone made from an old crib. I just wanted to make a bench….WHEW!
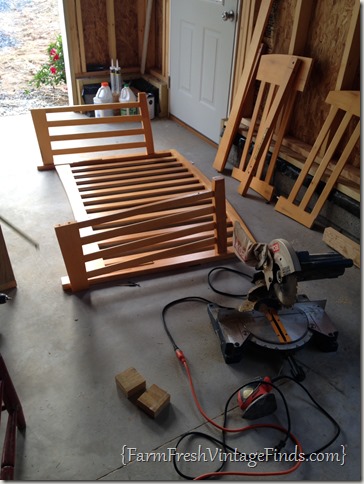
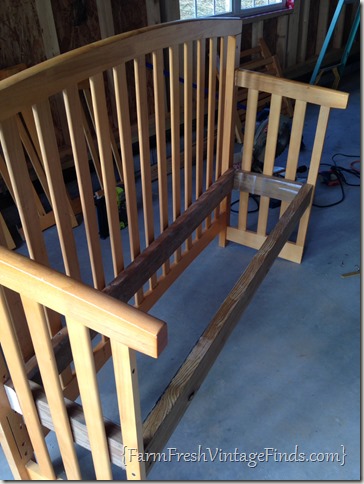
OK back to the ranch…..we the laid the pieces out on the floor to determine the size of the support box we’d need to build to hold everything together.
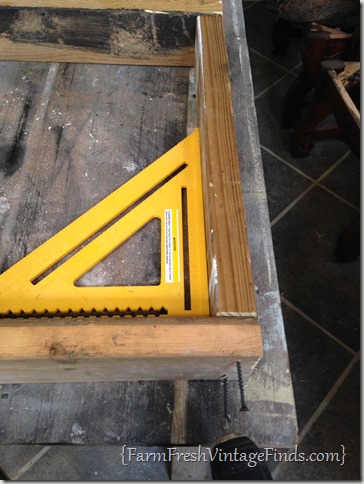
We then cut the pieces from 2×4’s and screwed them all together using our square to make sure everything was well, square.
See. This little rectangle we made is what holds everything together. We secured it with screws and then used my Ryobi brad nailer to attach the vertical slats.
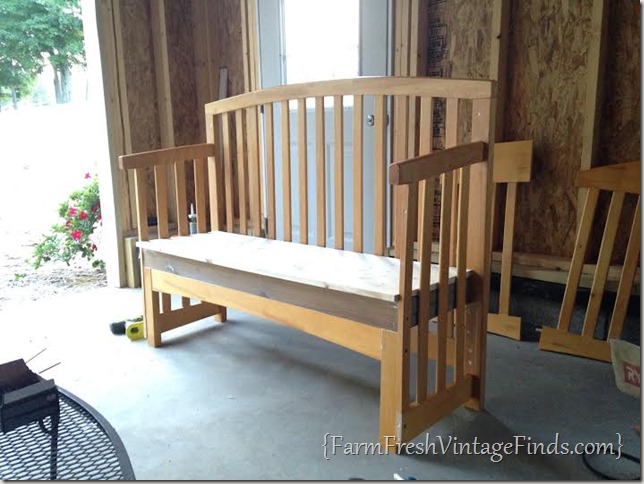
After that it was time to finish out the seat. We bought a wide board from Lowe’s that had already been glued together. Trimmed it down to fit the seat and eureka! We also used one of the left over pieces to add a little curved detail to the front.
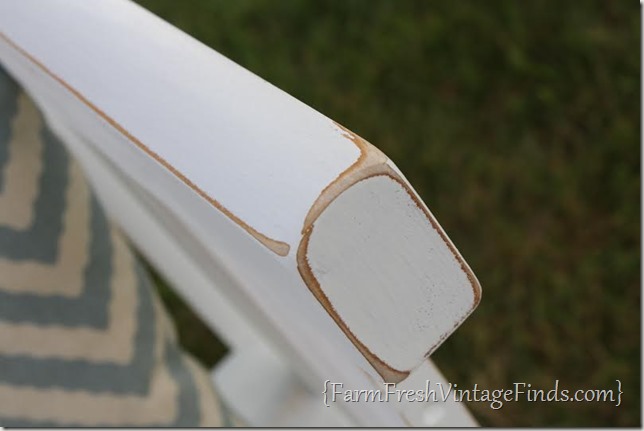
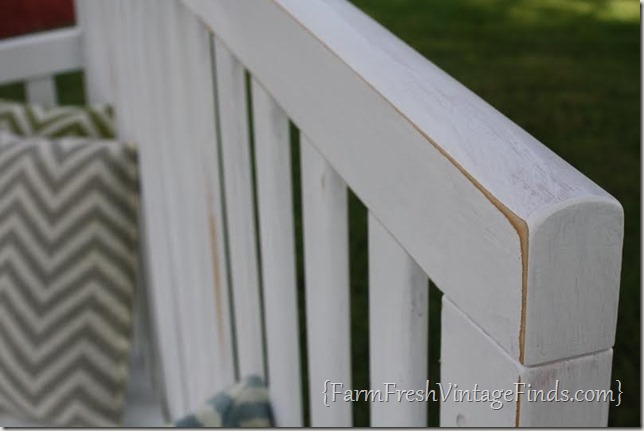
Next it was time to make it pretty with some white paint and distressing. I used latex primer and paint from Sherwin Williams because it was handy (mind you I’m also painting kitchen cabinets during all this) and because I didn’t want to wax all of those slats. No thank you!
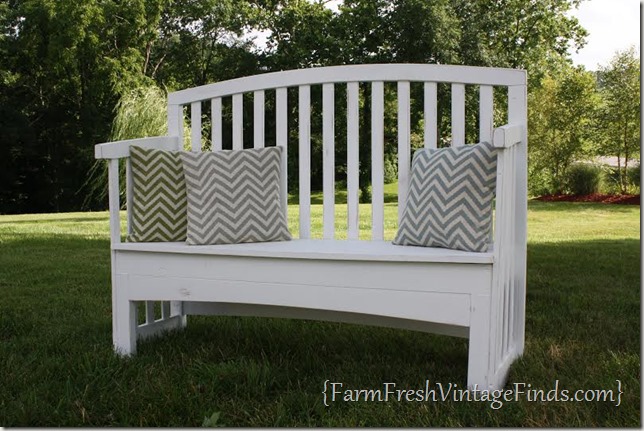
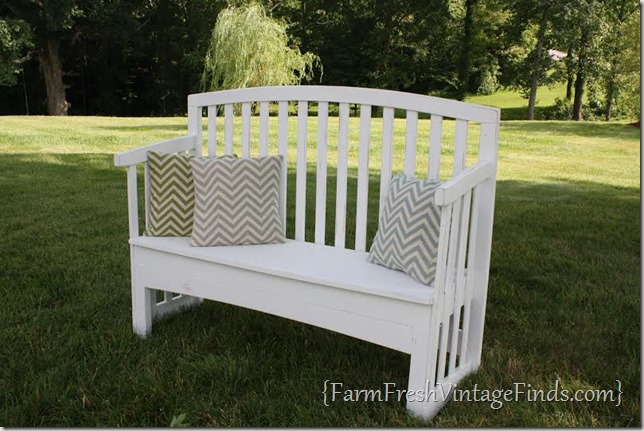
And here you have it. A crib turned bench! This was a fun project and my client was really pleased with the outcome. She’s going to put it in her daughter’s room for now but told me she’s happy to have a bench that will fit in any room of her home.
What about you? Do you have an old crib in your attic or storage shed? Go grab that thing and some power tools and make yourself a bench! It’s not as hard as you might think and it’s a great way to take something unusable and create something useful for your home.
Do you have furniture you’d like to have painted or need something built? Are you shopping for furniture and need help finding the perfect piece? Email me at farmfreshvintagefinds@gmail.com for pricing and details about custom work and my current inventory.
Enjoy this post? Don’t forget to subscribe to get all the latest info delivered directly to your inbox and please check out my Facebook page.
Thanks for reading and feel free to comment below. It only takes a second and helps me continue to create great posts for you!
~Beth

Awesome tutorial!! I’ve been wanting to make a bench using a twin headboard and foot board but this plan looks like it would work better. Thanks for sharing Beth. 🙂
Thanks Kathy! I can’t wait to see yours. I know it will be fabulous!
Hi! I am attempting this project with a similar crib. I see in the beginning when you cut the front for the sides the side had no legs on the front, but the finished bend has legs on. What did you use for the legs? I am stumped at this s my bench tips forward 🙁
Hi Lynette,
We just used a couple of scrap pieces of 1″ boards we had and attached them to the front to add more support.
Thanks for your question!
Beth
Awesome I’ve Been Wanting To Try This This Will Be My Next Project
Great job on this Beth-it turned out beautiful. I am obsessed with making these too and love how it saves/updates old treasures!
Tami Michel
Thanks Tami!
You did an amazing job. I love the distressed look and color.
That is so awesome Beth!! It came out gorgeous 🙂
amazing transformation! I’ll have to keep my eye out for a crib when yard sale-ing this weekend.
Beth, I’ve been thinking of doing that very thing just as soon as my daughters stop having babies! 🙂 Thanks so much for showing us how fantastic the finished result is! GREAT project! ox
Great transformation Beth.
Looks so pretty! I have 2 cribs out in my garage waiting for something to happen! This maybe it! Thanks for the inspiration! It was great to meet you at the Haven conference, even though brief, it was great!
Thanks DeDe! It was great meeting you as well. Be sure and let me know if you make a bench….I’d love to see it!
Blessings,
Beth
Beth, I am so glad I got to meet you. Wish we could have hung out more! I absolutely love the crib idea and your blog. I grew up on a peanut farm and can appreciate the simple life a farm brings! I yearn to be back on the farm-maybe one day I will get there. Until then I will enjoy your blog and farm living through your eyes!!
Thanks Wendy! It was great meeting you also! I’m hoping to start a “walk around the farm” weekly post soon. I hope you’ll enjoy it!
Blessings,
Beth
What a great idea! I see cribs curbside frequently. This is a great way to repurpose one.
I love stuff like this — way to think outside the crib! I mean, box! 😉
Ha ah thanks Sarah!
Amazing transformation! I have crib parts sitting in my basement and now I have the inspiration to create something very fab. Thanks for sharing.
You’re very welcome Michelle!
Blessings,
Beth
I have my grandsons out grown crib in my garage just waiting to be made into a bench. This tutorial is just what we needed to get us started. Thank you
You’re welcome Judy! You can do it!!!!
Blessings,
Beth
I am so looking forward to doing this project. I have looked at for a long time and now feel ready to try.
Thank you for the wonderful directions and pictures. Hope to let you know how it comes out!!
Wanda
Wanda I would love to see it!
🙂 Beth
I’m sure it wouldn’t surprise you to know I have an old crib in my attic! Guess who’s need to pull that baby down and make a bench!
Guess I need to do a spell check before I post a comment too!
How much of the original crib was left over as waste? I was wondering if you could actually make two?
Hi Misti,
There wasn’t enough left to make another one. We made great use of what we had.
🙂 Beth
Did you add a leg to the front of the bench for stability?
Hi Karen,
No, an additional leg wasn’t necessary.
Thanks!
Beth
Great post! I am working on a crib to bench right now, and was wondering how deep you make your bench seat? We have the height of the seat worked out to about 17-18 inches, however can’t figure out how deep to make it for “the average bum”.
Any advice would be appreciated! Thanks!
Hi Juju,
Typically a seat is 15-18″ deep. That’s usually plenty for the average bum. 🙂 However if you have a favorite seat in your home I would measure it and use those dimensions.
Hope this helps!
Beth
This is great! Since I converted my kid’s crib to a full size bed, what I have left over is the sides and the toddler bed front (a short rail to keep them from falling out). Do you think it would be enough to make a short back or backless bench? If so, how would you make sure it was stable? Thanks, your bench looks amazing!
Hi just read your tutorial and love the bench.. I do have a question though, how did your husband join the sides to the back and the curved front piece to the edges on it that go to the floor.. I am also going to try this but needing to know. Thank you
Hi Susan,
They are all joined together with wood glue and screws. 🙂 Good luck with your project!
Thanks for reading,
Beth
How has this held up outside?
Hi Christina,
This was a client project so I’m not sure if it’s been kept outside or inside. I haven’t heard any complaints though. If you intend on keeping furniture outside, a covered area is always best in my opinion.
Thank you for reading,
Beth