Empire Buffet Restoration Part 2
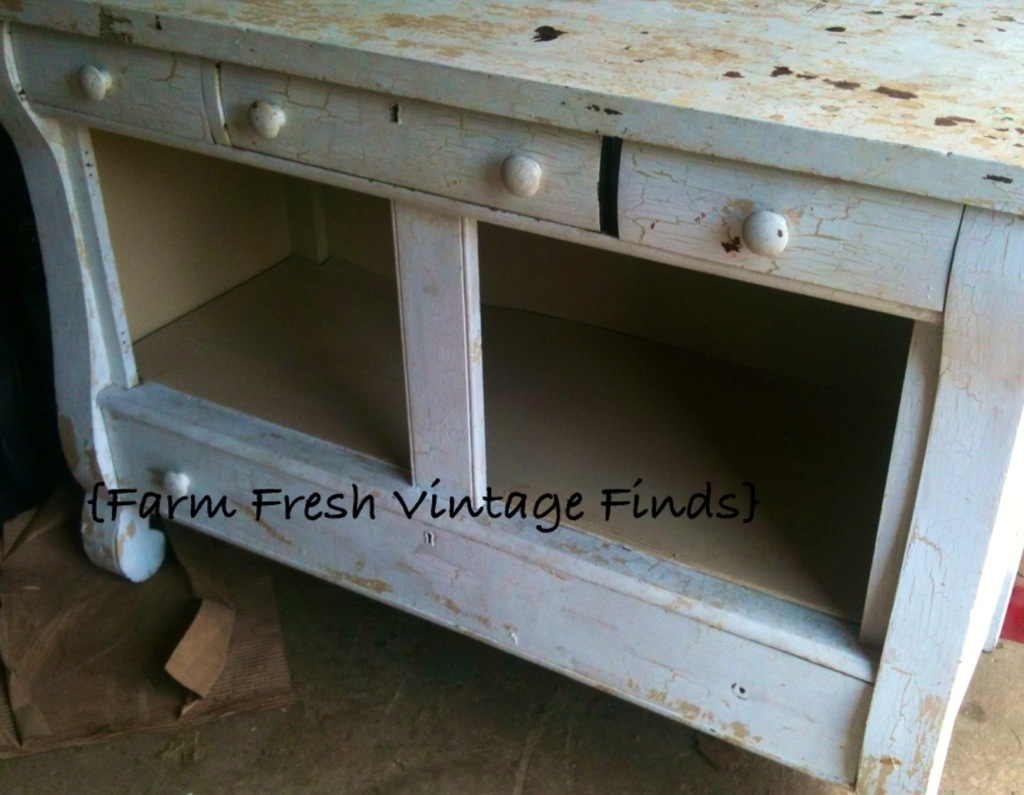
So picking up where we left off….. (You can read all about part 1 of this restoration here.)
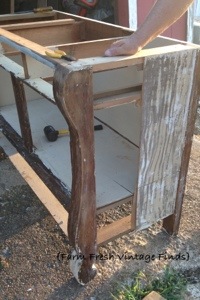
Our next step is to remove all the damaged wood. One of the sides, the bottom and the back of this piece have to be replaced because they have some water damage and have split over time.
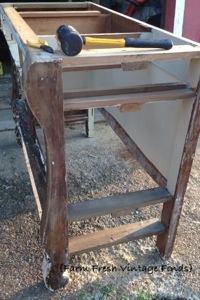
We used a circular saw (thank you Ryobi) set at 1/4″ to cut down the middle of this side so that we could easily remove the damaged wood.
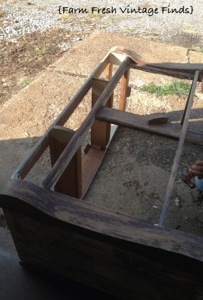
We then repeated that for the back and removed it also. The bottom came out pretty easily and didn’t have to be cut.
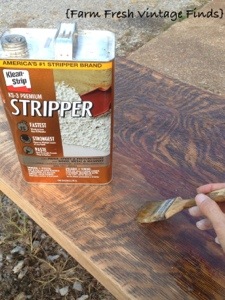
Next we decided to work on the top. I’m going to re-stain this so it has to be completely stripped and sanded in order to receive its new finish.
As you can see I apply my stripper quite liberally. It saves so much elbow grease and helps with sanding. If you try to sand this without throughly stripping it the dust will heat up and stick to the sandpaper. This is not a good thing. Take it from me strip, strip and strip some more. I did a mini tutorial on stripping here. Let me know if you have questions.

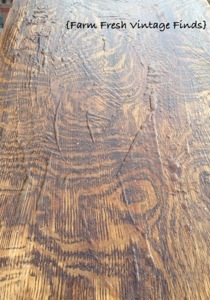
The stripper will cause the stain to bubble. I tried to capture the bubbles in this photo. Not sure you can see it too well. The more you strip furniture the more you’ll be able to gauge exactly when it’s ready to scrape. When in doubt always read the directions and time recommendations on the can.

When you’re ready to scrape use a sharp putty knife. Holding it at an angle gently remove the stripper. DO NOT GET THE STRIPPER ON YOUR SKIN. It burns. Like FIRE. HOT MOLTEN LAVA!!!!!! As you can see my assistant (aka Daddy) and I don’t wear gloves. Some might see this as ignorance I like to refer to us as experienced strippers. We make sure NOT to get it on our skin.
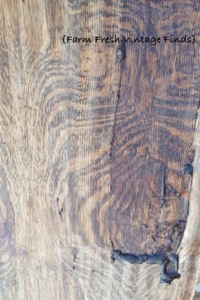
Here’s a shot of the piece with half of the gooey mess removed. See the difference. We just cut hours off of our sanding time.
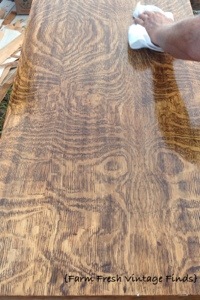
Lastly after all of the stain has been removed by the stripper we use odorless, I use that term loosely because there’s still an odor, mineral spirits to remove the rest of the goo and clean off any left over stipper.
Alright friends that’s it for today. Next up sanding, sanding, sanding and then onto paint and stain. Stay tuned.
If you missed the first post in this series of posts you can read more about it here.
Looks like it will turn out awesome!
Thanks Deneen. I think it’s going to be beautiful. 🙂
Such a neat piece of furniture! I can’t wait to see the final product!
This is perfect timing for me! I don’t usually strip 🙂 but I have a possible job that will need to have some old paint removed! I’ll wear gloves though!
Holy cow, that top is gorgeous! The wood grain is totally fab! I think I am going to have to give that stripping solution a try, looks like it works like a charm…!
Oh how I can’t wait to see the final reveal! I’ve always loved that furniture piece, and I wish I had one in my home! Good luck!! 😉
I have a piece similar to this that I’m working on refinishing. The sides on my buffet are so warped from moisture that they are cracked like crazy. I’m hoping I can remove the top and then just slide the old wood out and new wood in. My question is, how did you remove the top on yours?
Hi Chrissy,
Typically they just unscrew. You’ll have to take all the drawers out, turn it upside down and take a look to see how it’s attached. I hope this helps!
🙂 Beth